5 ways to edit cinematic footage with Adobe Premiere Pro
When you take the plunge into filmmaking and video editing, it’s tough to get a professional finish. Here are five tips on how to edit cinematic video with Adobe Premiere Pro and Epidemic Sound.

When you take the plunge into filmmaking and video editing, it’s tough to get a professional finish. You want to nail that polished, cinematic video style, but it requires a lot of work – it can feel overwhelming.
Check out Herman Huang's video below, then keep reading for 5 tips on how to edit cinematic video with Adobe Premiere Pro and Epidemic Sound.
What is a cinematic video?
There are endless ways to make a video feel cinematic. It could be a larger-than-life drone shot, a next-level gimbal shot or even just a dramatic, direct-to-camera monologue. Actors, directors, lighting crew, sound designers, scriptwriters – anyone and everyone can help shape cinematic footage. Let’s dig into some of the key factors.
1. Nail the soundtrack
Something you can do on your own is find the right soundtrack: a cinematic video needs an equally cinematic song. Nowadays, some content creators might overlook music, given it’s become the norm to scroll through muted videos on social media. However, music is vital for conveying the mood to viewers – spending the time to find audio that fits can make the difference between a hit and a miss.
For example, a corporate-sounding lounge track probably won’t feel right soundtracking an epic landscape shot. The sonic and visual tones will clash, and you won’t give viewers a cohesive story. Here’s how you can find the perfect track every time.

1. Instead of sifting through thousands of songs from royalty-free music sites, we can find what you need without ever leaving Premiere Pro. Adobe Stock audio is integrated right inside the Premiere Pro app, giving you access to a bunch of music catalogs. This is where you can browse more than 50,000 Epidemic Sound tracks in this section – more on that in a minute, though.
2. Open the ‘Essential Sound’ section in ‘Window,’ then hit the ‘Browse’ tab. This lets you start looking for music at the click of a mouse.
3. You can narrow down your search based on filters like ‘Mood’ or ‘Genre.’ Music plays such a crucial role in establishing the mood of a piece, so it’s worth thinking of this before you start applying filters. Sure, you’ve decided you want an electronic track, but there are so many variables – the mood of electronic music can range from chilled-out ambient to hyper-violent happy hardcore.
4. Let’s tell your story with Epidemic Sound. Underneath the ‘Audio Partners’ section, select ‘Epidemic Sound.’
5. You can preview the track right away with ‘Timeline Sync’ to see how it complements your video content and any other audio, like dialogue or sound effects.
6. If you want to use the track in your footage, you don’t even need to leave Premiere Pro to buy it. Just click the shopping cart icon on the right-hand side of the track and purchase it using Adobe Stock credits.
2. Stabilize your footage
You might notice that most cinematic video edits involve buttery smooth camera movements. Like music, every camera movement has the potential to express different emotions. Here’s how you can apply a stabilizing effect in Premiere Pro if your shot’s gotten a little shaky.
1. Let’s use this handheld shot of a dog – it’s very cute, but jittery when played back. If you watched it at the movies, you’d think you were sitting through an earthquake.
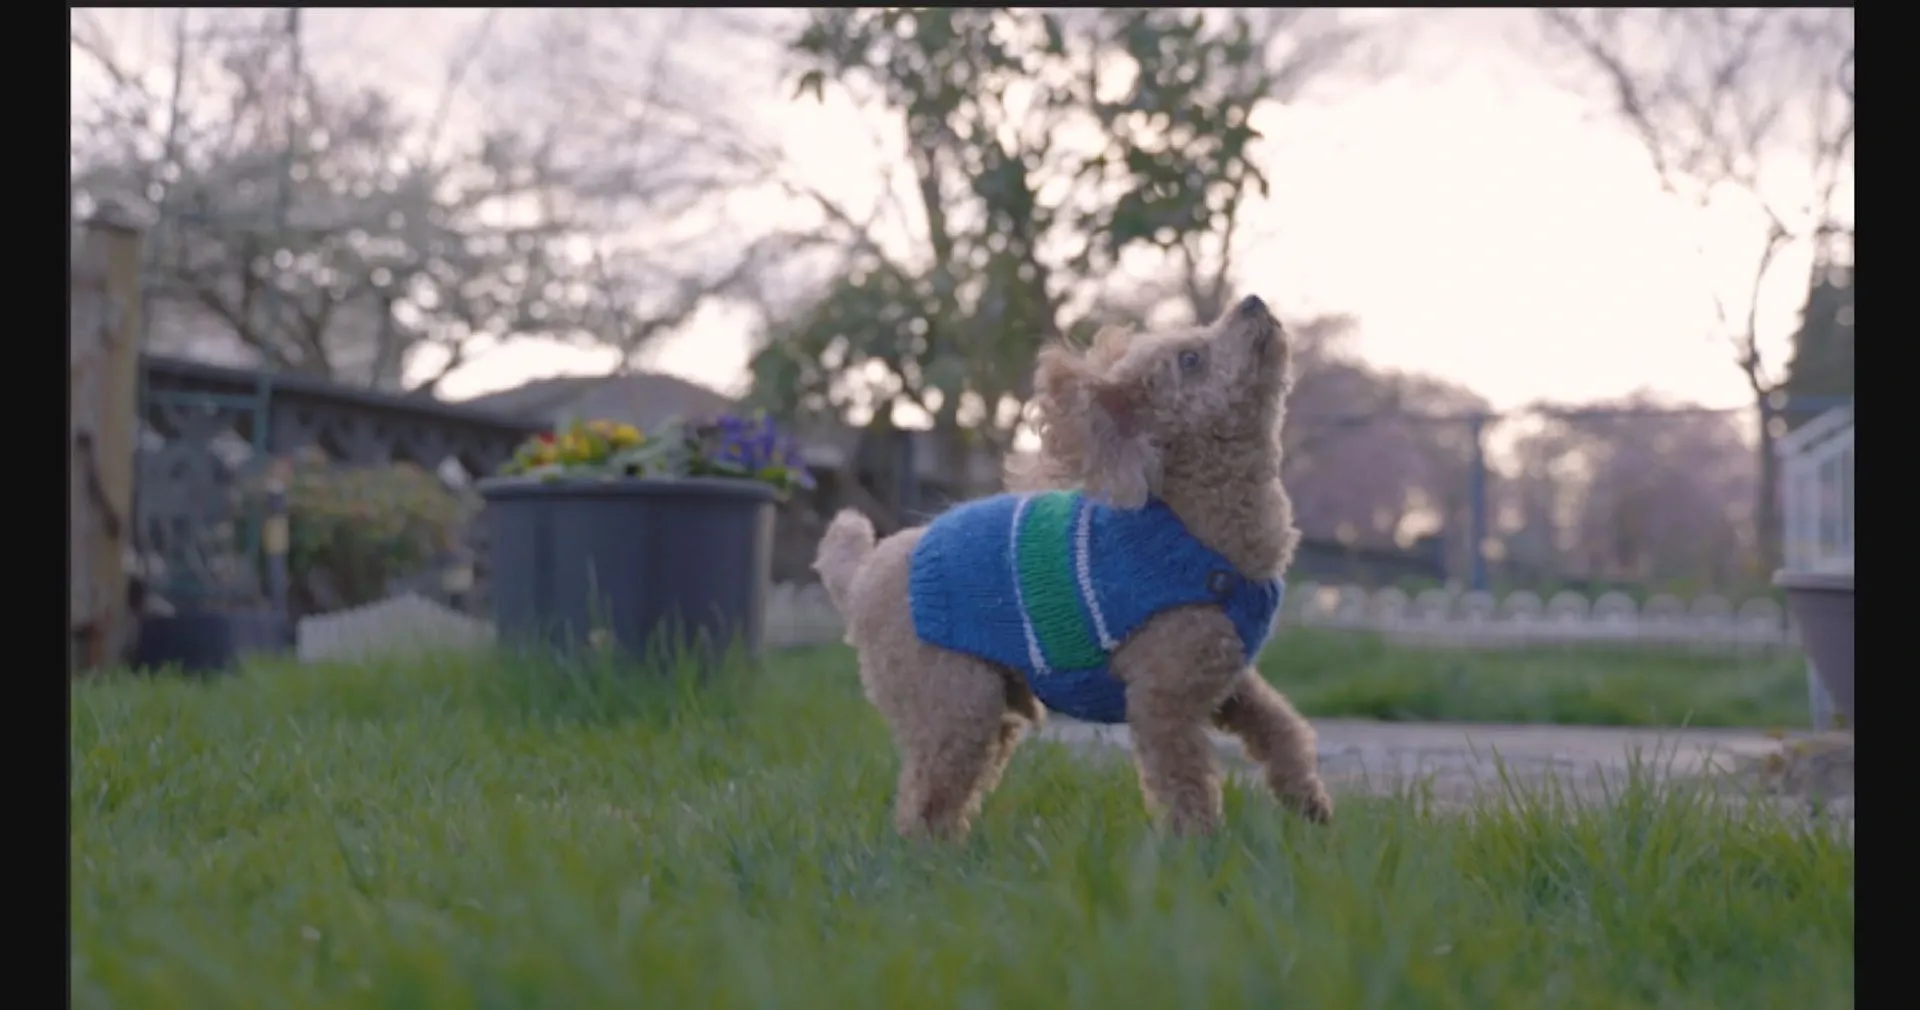
2. Head to the ‘Effects’ panel and look up ‘Warp Stabilizer.’ Drag and drop this effect over the footage, and it’ll start analyzing.
3. This effect smooths the motion. Change the smoothness to something like 2%, as the default setting of 50% is usually too much. Just like that, you’ve created smoother, cinematic footage that isn’t off-putting or out of character.
3. Don’t dismiss stock footage
Stock footage is a genius way to introduce cinematic video into your edit – it’s a lifesaver if you don’t have access to things like a high-speed camera or drone. Adobe Stock has one of the world’s largest collections of stock footage, offering an unmatched filtering feature that helps you find exactly what you need. Here’s how to get involved.
1. Head to the Adobe Stock website, then the ‘Videos’ tab. You just need to type your desired keywords into the search bar, then click the ‘View panel’ button to open up your filter options.
2. You can sort by ‘Shot Size,’ ‘Shot Angle,’ and even filter by if you want people in the footage or not. Let’s say you want to filter close-up shots – you’re missing an epic slo-mo shot for your baseball edit, so simply tick the boxes that apply and scroll through the options.
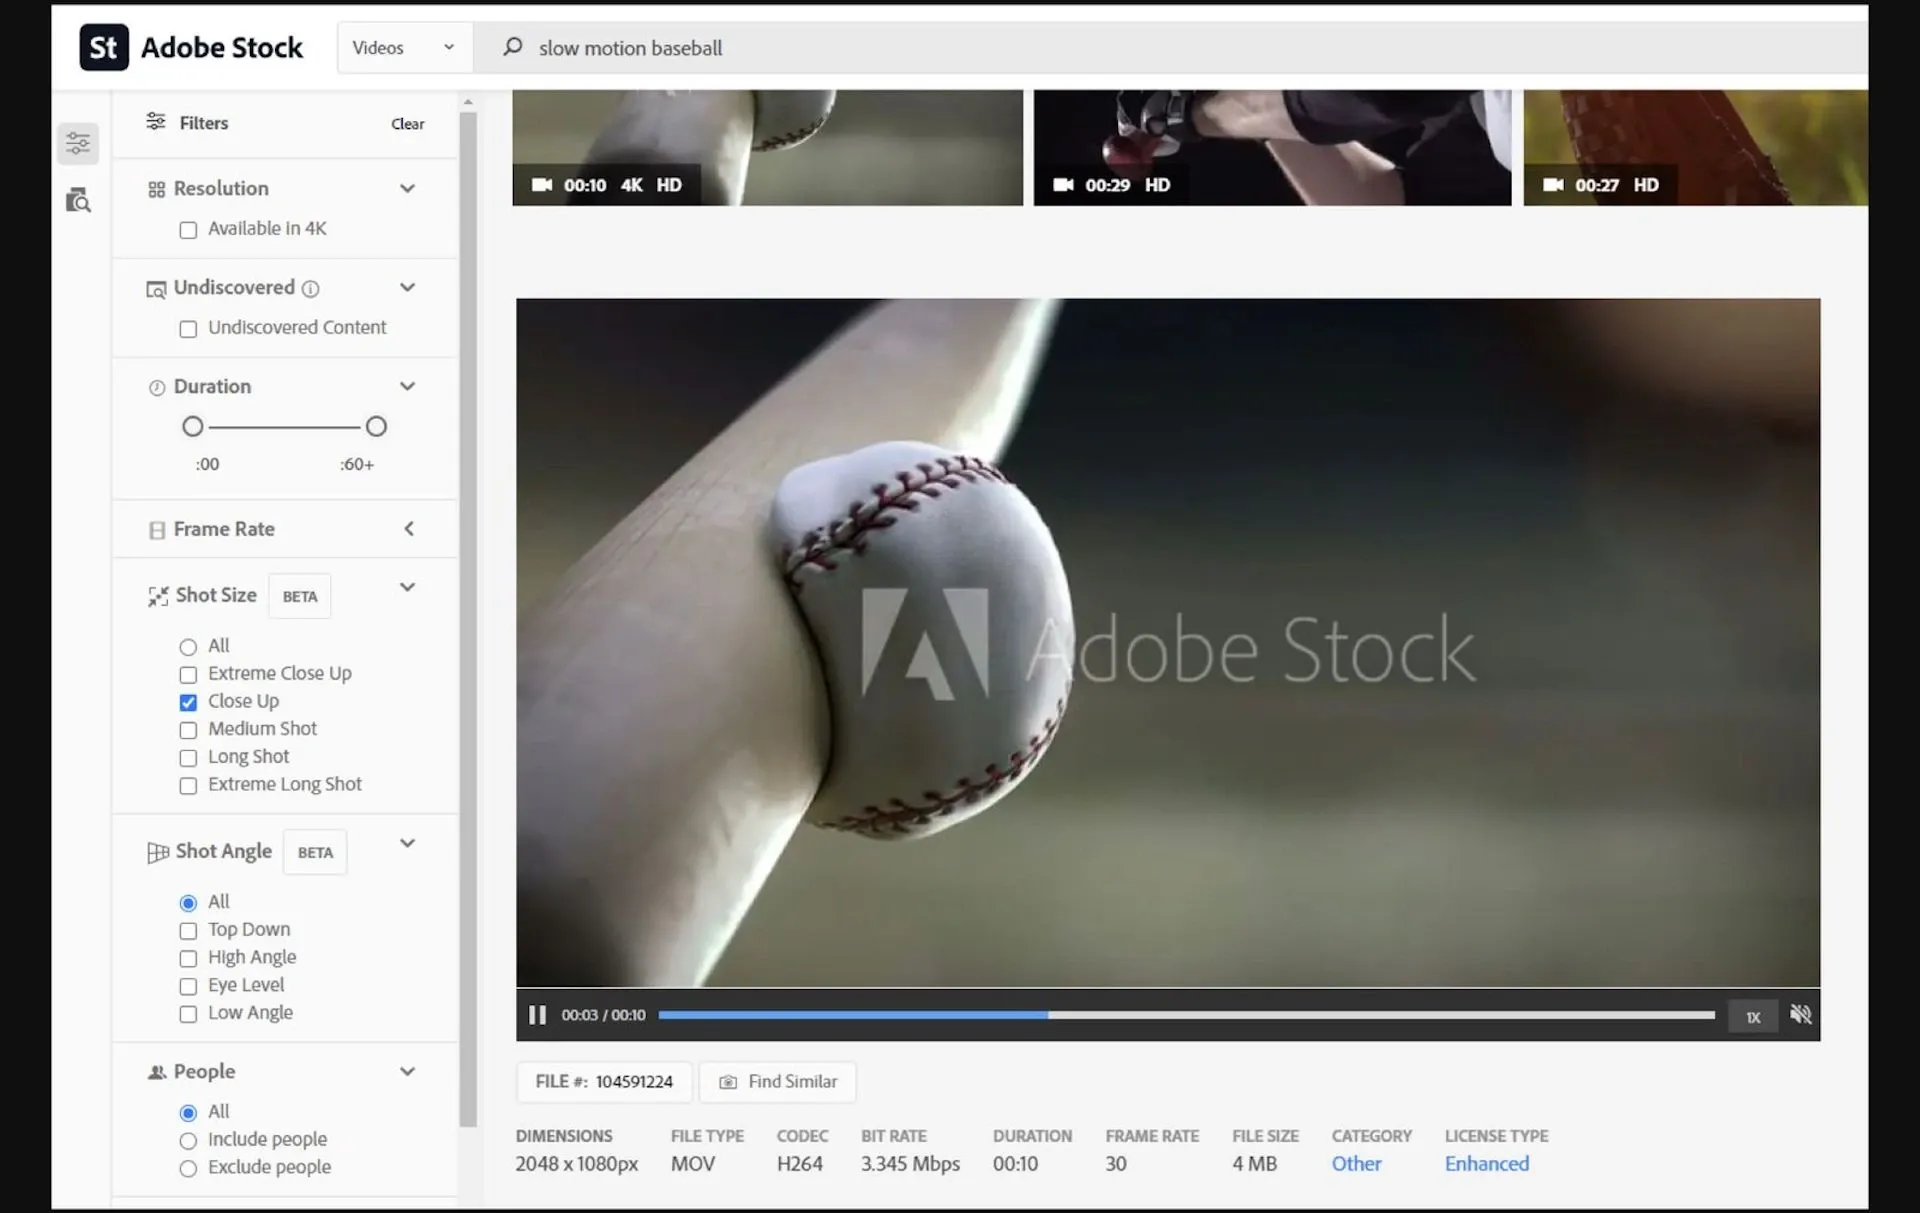
3. If you like one of the shots’ vibe but it isn’t 100% right, that’s no problem. Hit the ‘Find Similar’ button, and you’ll be given a bunch of similar clips. Some call it witchcraft; we call it Adobe Stock.
4. You can bring the clip directly into your edit as a preview without manually importing it. Hit the ‘Open in App’ button, choose Premiere Pro, and the stock footage will download and wait patiently for you to use it in your project.
5. If you’re happy with your epic slo-mo baseball shot, you can buy it for your finished project. Like you can do with music, it’s as easy as clicking the shopping cart icon next to the stock footage file.
4. Master the aspect ratio
Aspect ratio is the width and height of an image on screen; altering it can help create different atmospheres. The classic ‘cinematic’ video aspect ratio is 2.35:1, also known as ‘letterboxing.’ This gives you the black bars at the top and bottom of the screen.
1. You’d usually decide on an aspect ratio before filming. However, you can use a chart like this as a cheat sheet, which can help you figure out how to tweak it in post-production.
2. The easiest way to edit cinematic video in Premiere Pro is by using the letterbox aspect ratio, as we touched on earlier. You can do this by changing the resolution in ‘Sequence Settings,’ then reducing the horizontal field of the aspect ratio. This will ‘shrink’ the height and create the black bars you’d usually see at the movies.
3. You can either export the video at this resolution, or place it in a new sequence at the regular 16:9 ratio. Once you place it in a 16:9 project, the black bars will appear.
5. Learn how to color grade
Color grading does things natural light just can’t achieve, helping you edit cinematic video in Premiere Pro like nobody’s business. Here’s how.
1. Let’s say you want your footage to look like it belongs in Blade Runner 2049. Why wouldn’t you? It’s a great movie. All you need to do is find a clip or still image from the film, then place it in your sequence to act as a reference frame.
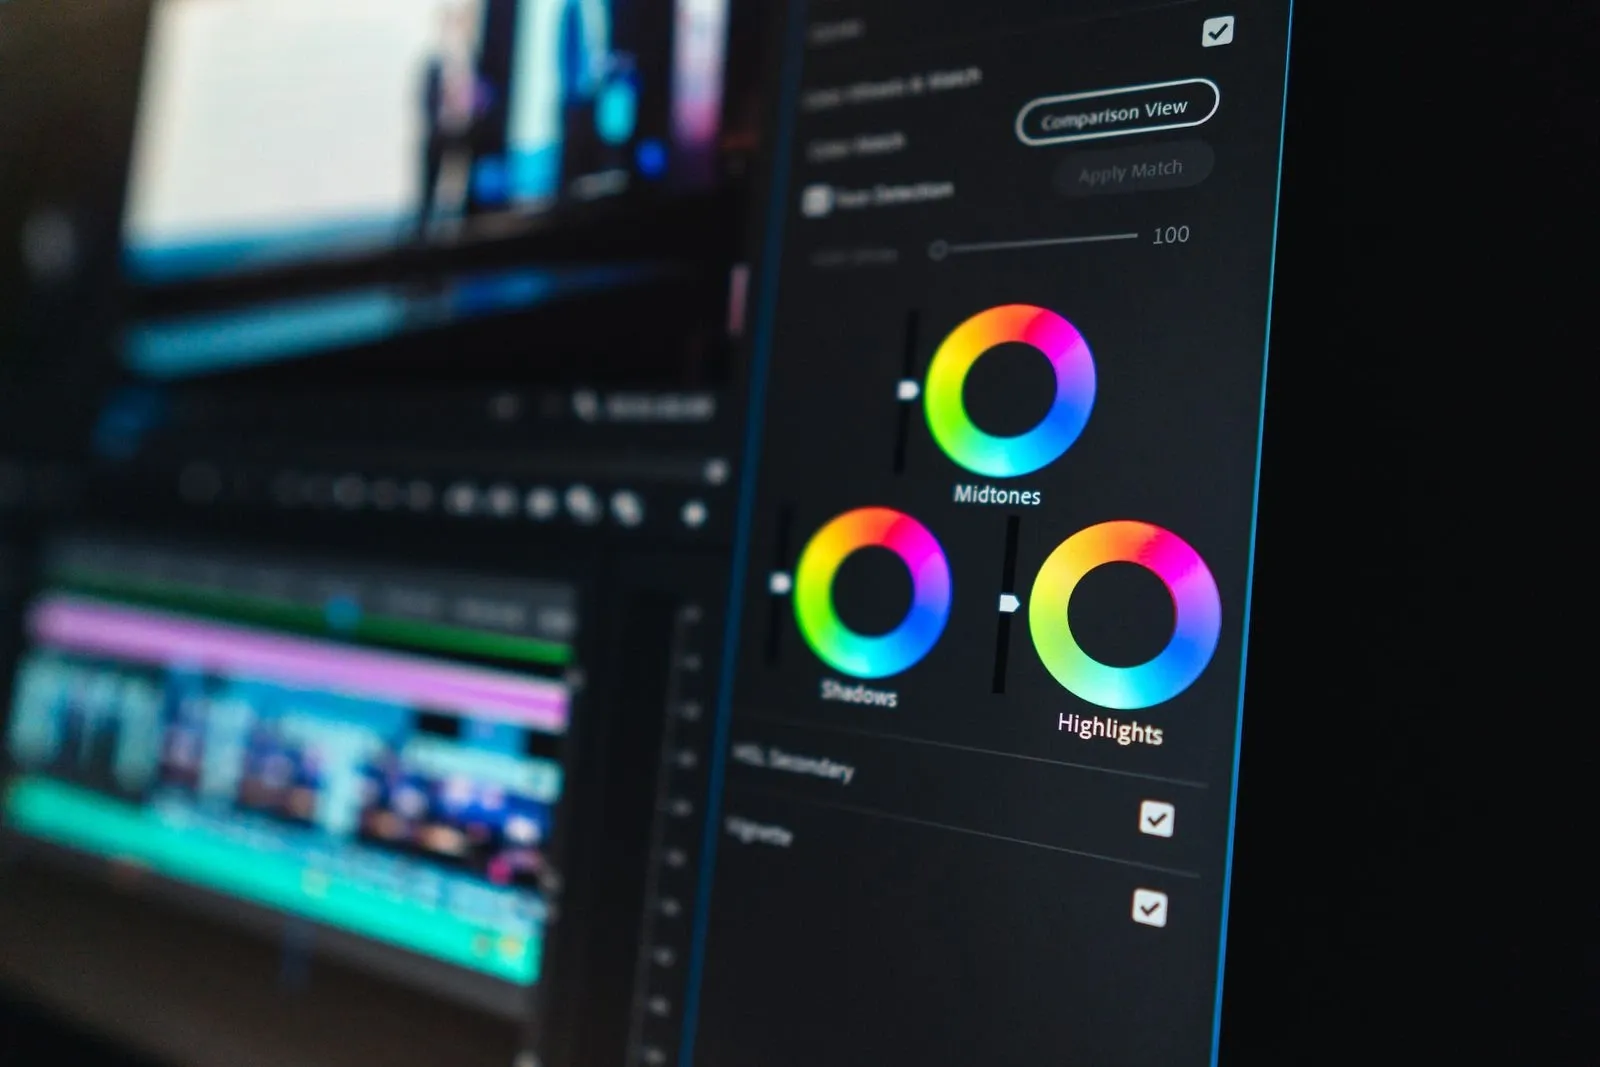
2. Shift your workspace over to ‘Color’ and bring up the ‘Lumetri Color’ panel, which should appear on the right.
3. Select your footage and go to ‘Color Wheels & Match.’ From there, hit the ‘Comparison View’ button to the right, which brings up a reference frame from your Blade Runner snippet. You can use this to try and mimic the color palette in your own footage.
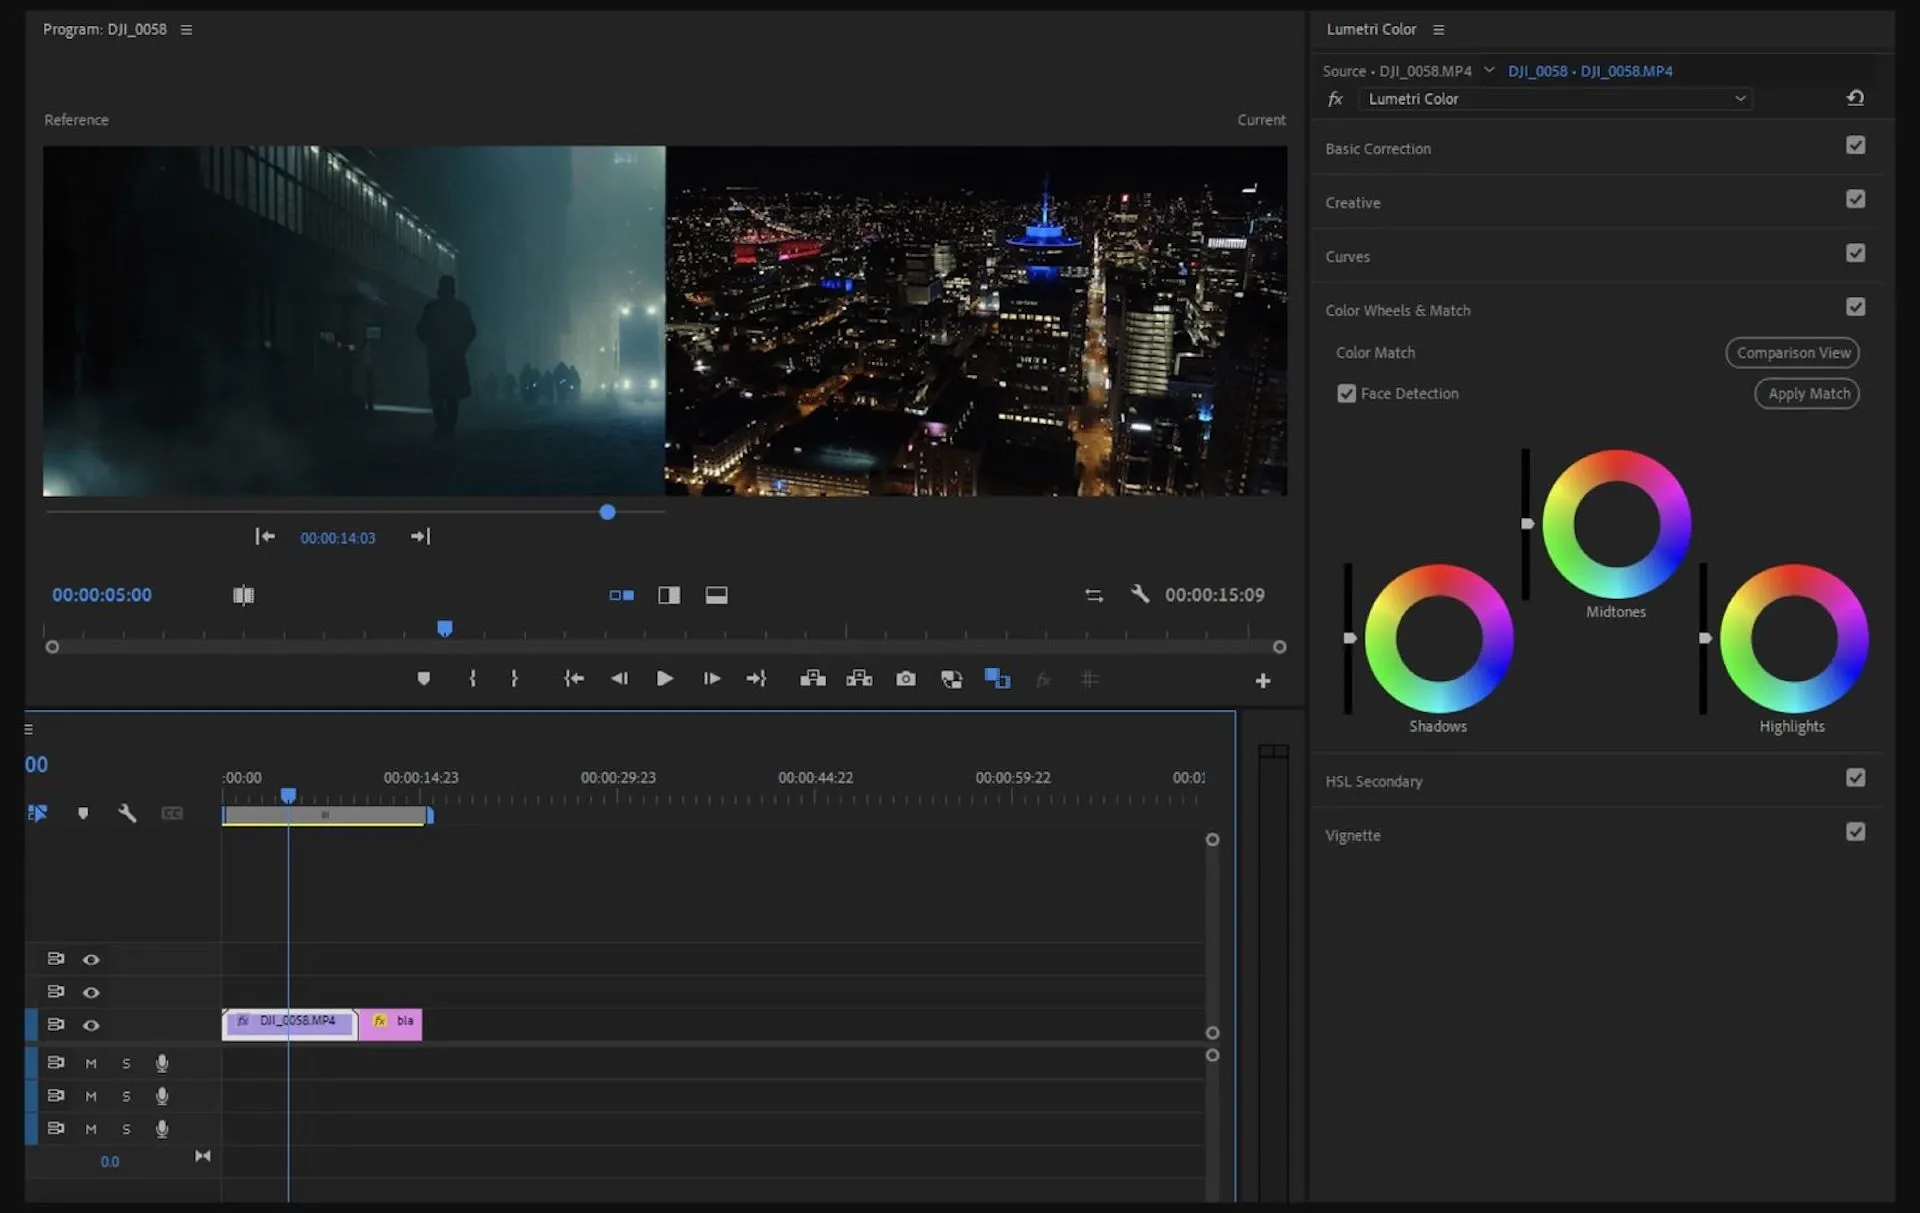
4. Move the playhead to the reference frame you want to match. In this case, we’re going with a still from Blade Runner 2049.
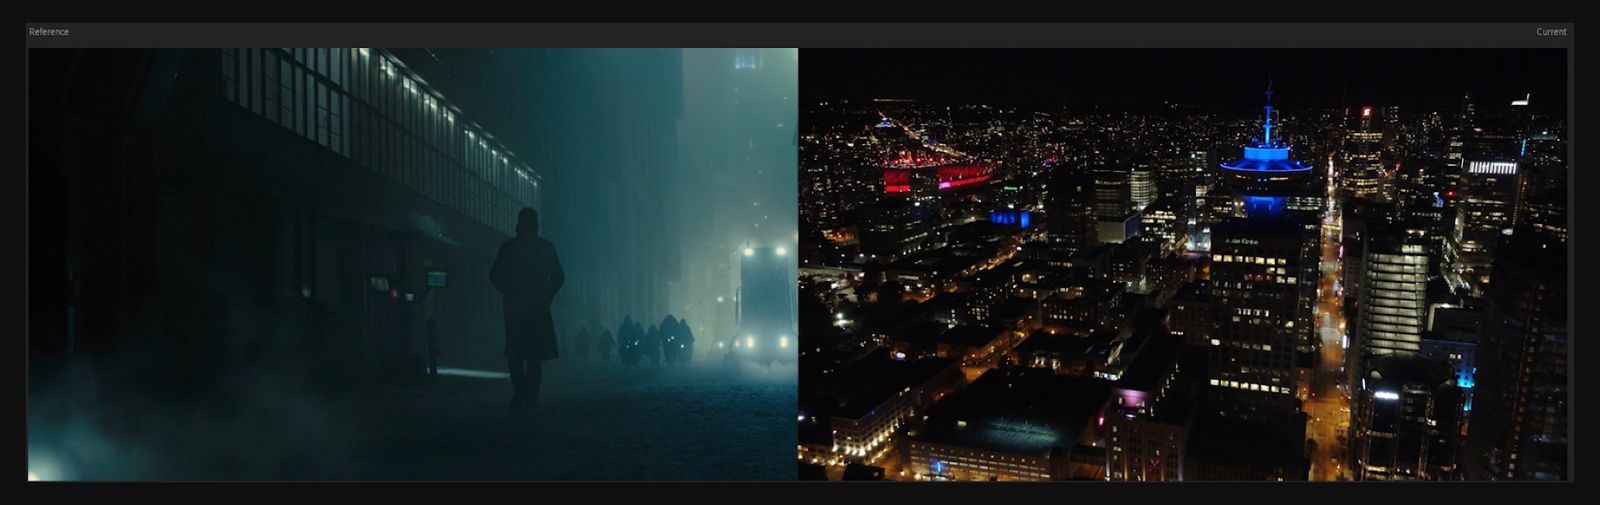
5. There’s one magic button: ‘Apply Match.’ This does the majority of the color grading – just like that, your footage is packing a gritty, futuristic vibe. You might need to make some fine adjustments, but otherwise, this is a one-stop shop for creating cinematic video footage. Check out the before and after stills and see for yourself.
Before:

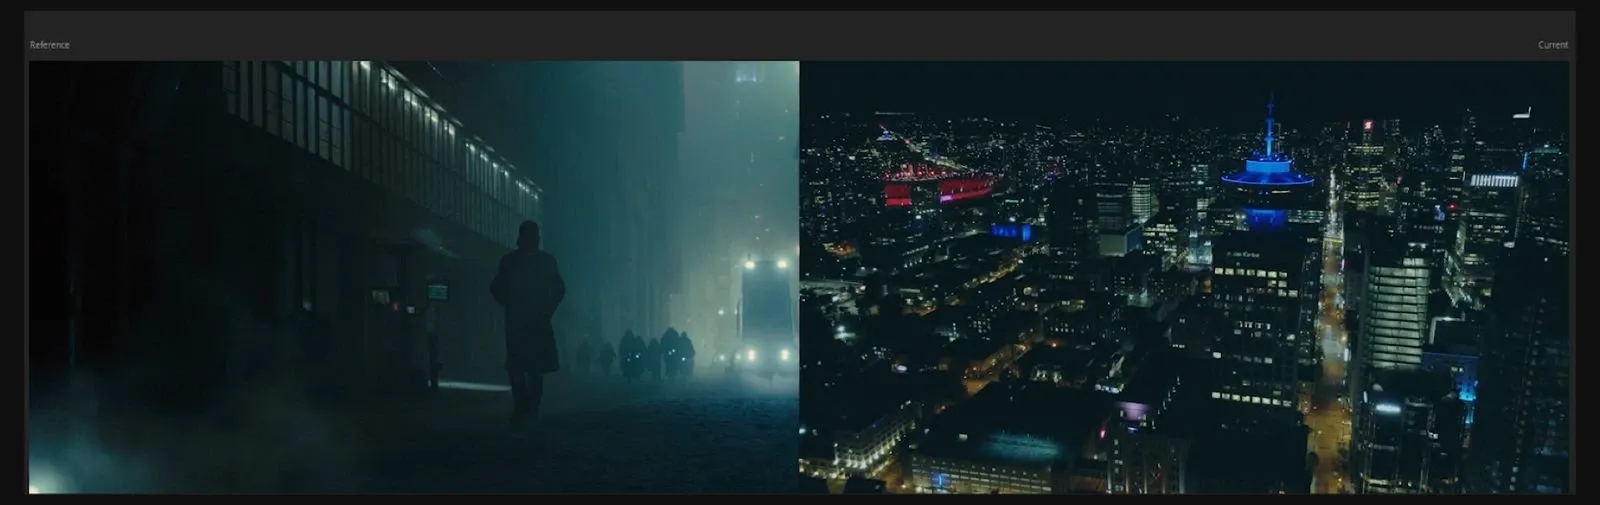
After:

Related posts: