5 essential Adobe Premiere Pro effects
Adobe Premiere Pro is one of the all-time great editing software. But if you’re new to this whole editing thing, here are 5 essential tips and tricks you should know.
Adobe Premiere Pro is one of the all-time great editing software. But if you’re new to this whole editing thing, you might not know about all the Premiere Pro effects you can get stuck into. The opportunities are endless, and today, we’re diving into 5 essential tips and tricks you should know.
Does Premiere Pro have effects?
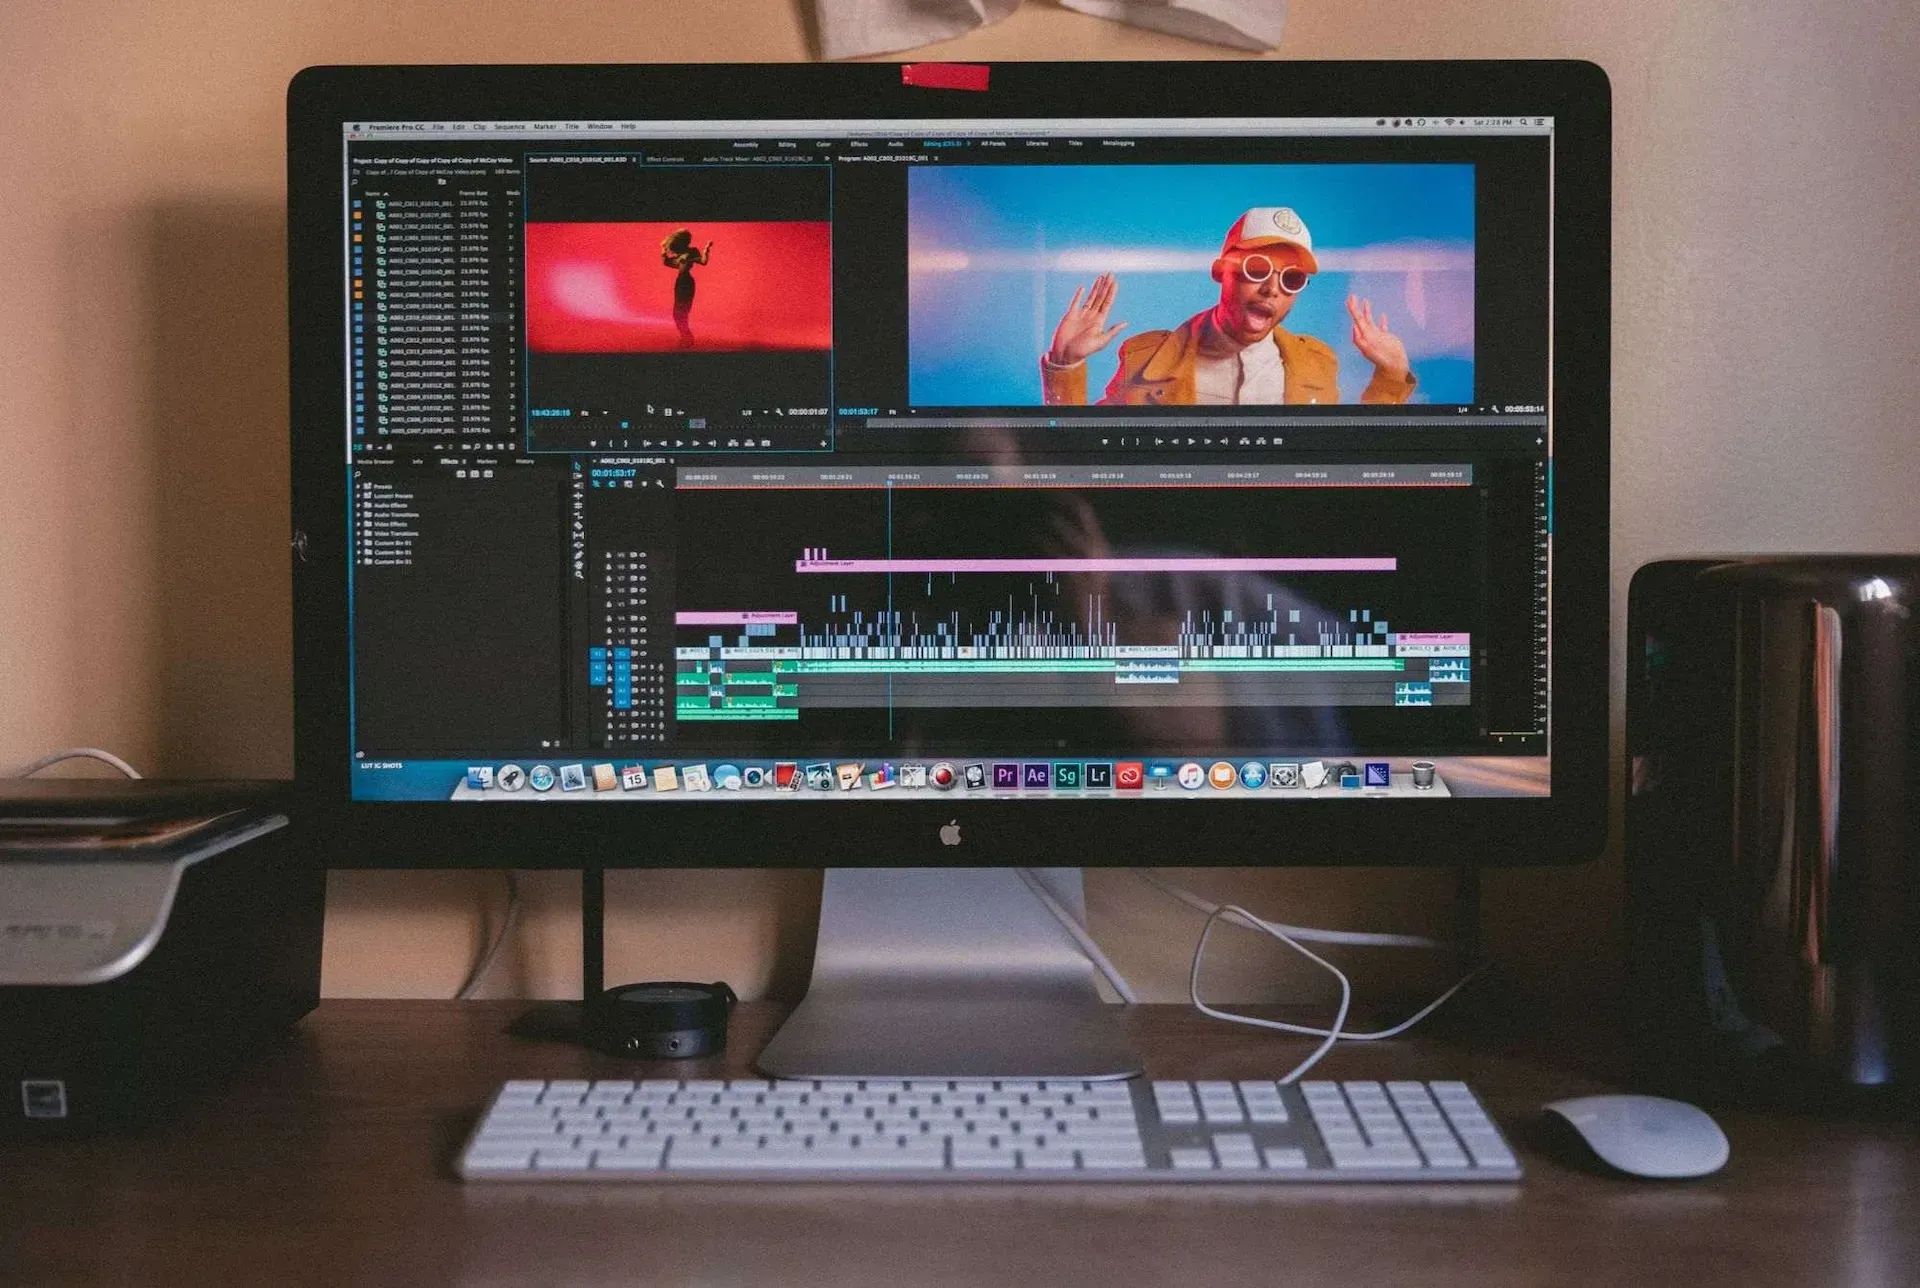
Once you install Adobe Premiere Pro, you’ll have access to a whole bunch of filters, special effects, and more. There’s a lot going on under the hood, and if you master the art of Premiere Pro effects, you can level up your content and make videos like a pro. Here are your 5 essential Premiere Pro effects!
1. Warp Stabilizer
Warp stabilizer sounds like something you’d use in a time-traveling Delorean, but really it’s just an effect that smooths out and removes any unwanted shakiness from your video. You can create a crazy warping effect with this tool, but most people use the warp stabilizer to, well, stabilize any warping.
The smoothing effect is what you’re after. It won’t completely fix your footage if it looks like it’s come straight from Cloverfield, but it can certainly help smoothen any imperfections in a video that’s not shaking like a leaf.
To use the warp stabilizer, you need to nest your footage. You can do this by:
- Right-clicking your footage and hitting ‘Nest.’
- Once you’ve done that, move over to your Effects and search for ‘Warp Stabilizer,’ then apply it to your footage.
- Next, head to the Effects panel, keep it on 'Smooth Motion,' dial the smoothness to around 25%, and switch the Method to reduce the smoothness to 'Position, Scale, Rotation.'
- The footage will crop a little bit as it analyzes and processes your effect. And that’s it! Your footage is now smoothed and stabilized!
2. Exponential Fade
Exponential fade is pretty fancy – it crosses your audio sources, meaning it fades one in while bringing the next track to the front. It’s super easy to use: just find it in your Audio Transitions effects, then apply it between your two pieces of audio. You can decide how long the transition goes on for, too, by just dragging the effect further across.
That was a piece of cake. Tell you what’s not a piece of cake, though – finding no-hassle tracks to soundtrack your killer footage. Lucky we have a catalog of more than 50,000 tracks and 200,000 unique sound effects and variations, then. Check it out below!
3. Gaussian Blur
You probably know the Gaussian blur as the ‘censoring’ blur – it’s what they use on TV when they want to hide faces, documents, logos on t-shirts, and all that jazz. It’s also a killer effect if you want a title or object to pop out over some footage.
To get in on the Gaussian blur, you just need to find it in the Blur & Sharpen effects. But to take it to the next level, you need to understand the next effect: key framing.
4. Keyframing
A keyframe is a shot that defines the start and end of a transition, deciding how much dominance one effect has over another when they transition. Two keyframes ensure an effect takes place between them in a gradual, linear manner.
Let's say you want to reduce the opacity of a video clip from 100% to 20%, over the course of five seconds. You set the first keyframe at the start point, where opacity is 100%. Then, five seconds later, add a second keyframe, where the opacity sits at 20%. When you play the clip, the opacity will evenly drop by 80% over five seconds.
Keyframes can be applied to everything from position to fade, scale, blur, and every other effect you can think of in Premiere Pro. Getting to grips with keyframes will make your life a lot easier, but will also spice up your editing and offer a level of dynamism you can’t get without them.

5. Lumetri Color
The Lumetri Color panel is a color correction and grading interface built into Premiere Pro. It’s not the best color correction tool out there, but it’s perfect if you’re getting started with Premiere Pro, given it comes with the program. Color grading is a nifty way to convey a certain feel or tone in your content – if you want to learn how to color grade videos in Premiere Pro, click here.
How can I get more effects for Premiere Pro?
If you want more preset effects, then good news: they’re often easy (and free!) to get hold of. For example, if you’re dying to score some Premiere Pro glitch effects, you can download 15 of them for free, right here.
And if you’re hankering for some tracks to go alongside your awesome edits, why not try Epidemic Sound?

Are you a video editor or filmmaker? Whether you’re an absolute master or just a beginner, discover what Epidemic Sound has to offer on our Epidemic Sound for Filmmaking page. Oh, and if you’re looking for some background music for your videos, we got you covered.
Related posts: