How to export your video from Adobe Premiere Pro
Once you’ve finished your awesome edit in Adobe Premiere Pro, you need to export the video. The interface can seem quite intense, but we’re here to guide you through each step.
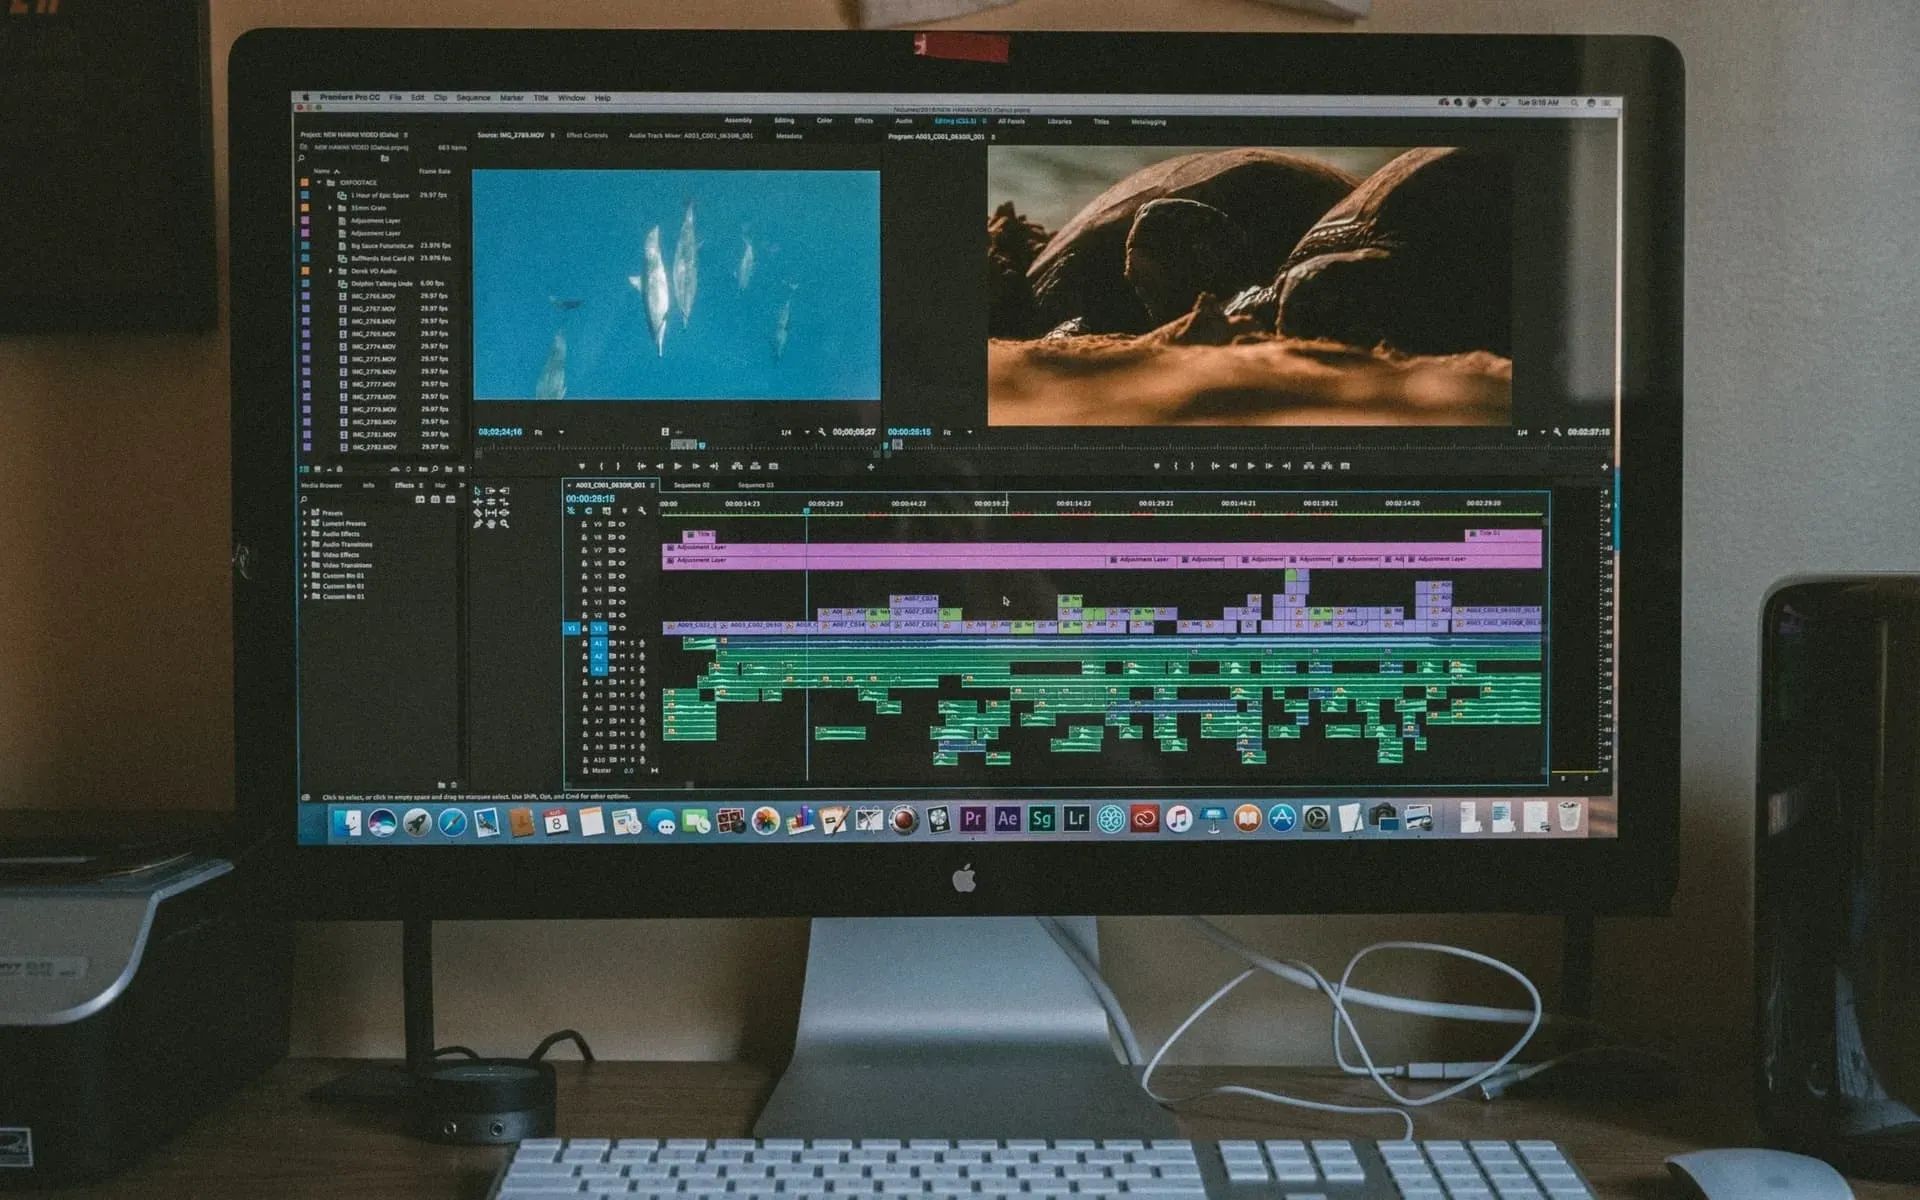
Once you’ve finished your awesome edit in Adobe Premiere Pro, you need to export the video before you can send it to your friends or upload it to social media. The interface can seem quite intense, but fear not! We’re here to guide you through each step of exporting your video from Premiere Pro.
Check out our video with filmmaking pro and Epidemic Sound ambassador Lila, then keep reading for the full rundown.
Step 1: Open the ‘export’ window
There are a few ways to do this, but whichever method you choose, you need to have the sequence/timeline you want to export selected. You can either navigate to File -> Export -> Media or use the shortcut below.
- PC: Ctrl + M
- Mac: Cmd + M
Step 2: Adjust the export format
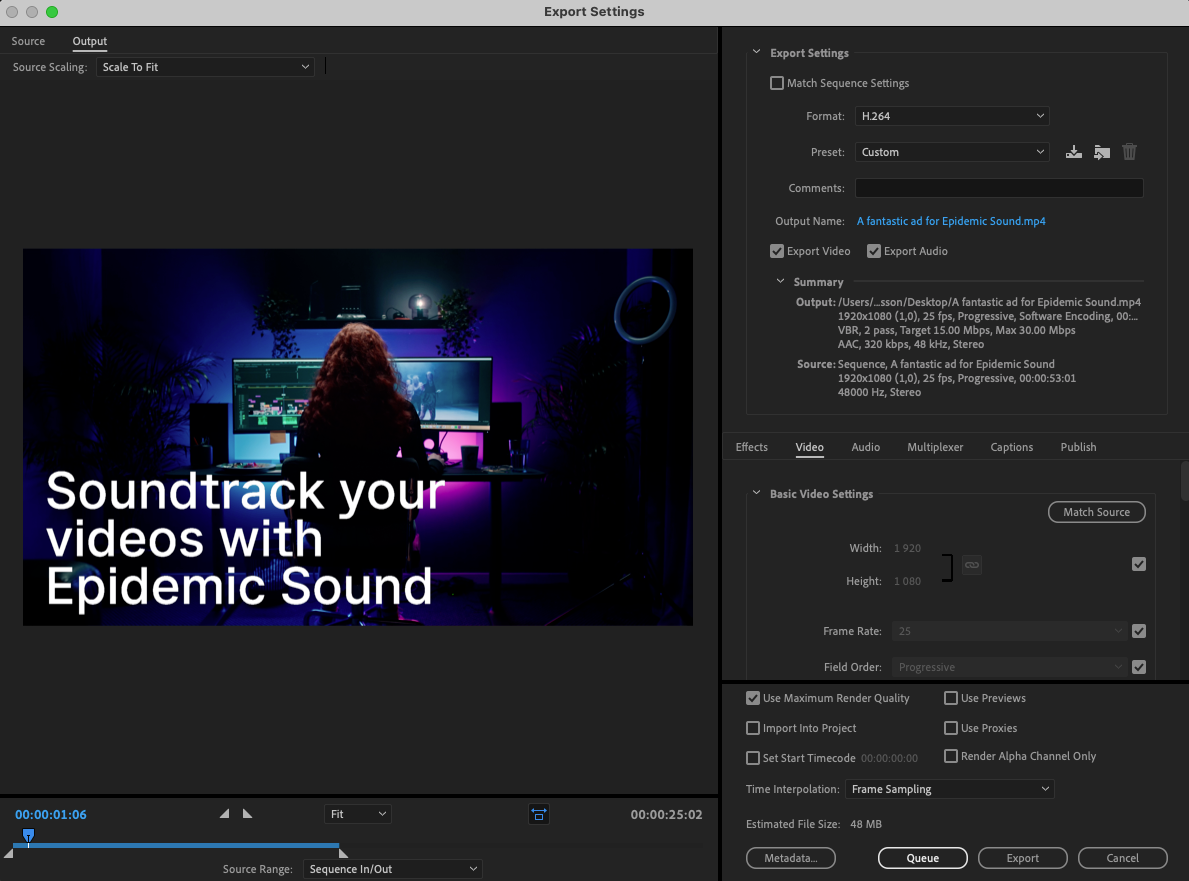
The export window will show a preview of the video you’ve selected to export on the left, and a variety of export settings to the right. There is no ultimate combination of settings that works for any video, and to know which settings are right for you, you need to know where the video will be hosted. For example, best practice export settings for YouTube are different from export settings for Instagram or TikTok.
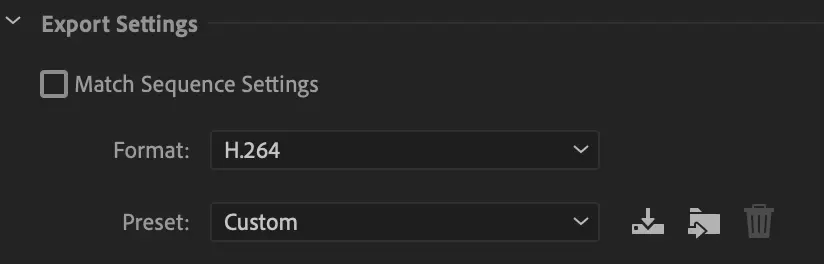
If you want to stay safe and use a general format, H.264 is widely used and accepted, and suitable in most cases.
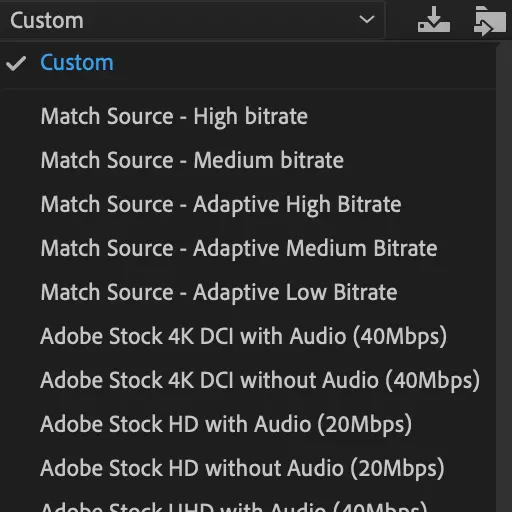
If you know where you’re going to post your video, you can start with one of the presets from Adobe. This guide won’t use a preset, but rather show suggested settings for a general export.
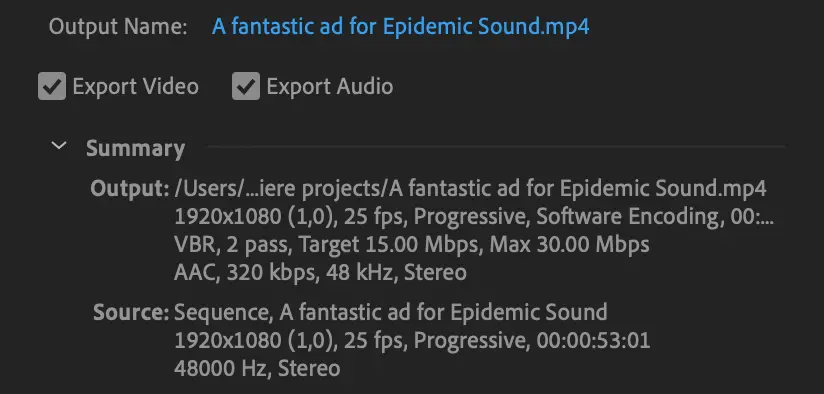
Step 3: Name your file and decide where to store it
Next, you have to decide on a good name for your video and where you want Adobe to place the exported file on your computer. This section also lets you choose if you want to export video, audio, or both. We’re exporting a video ad to YouTube in this example, so naturally, we want both video and audio.
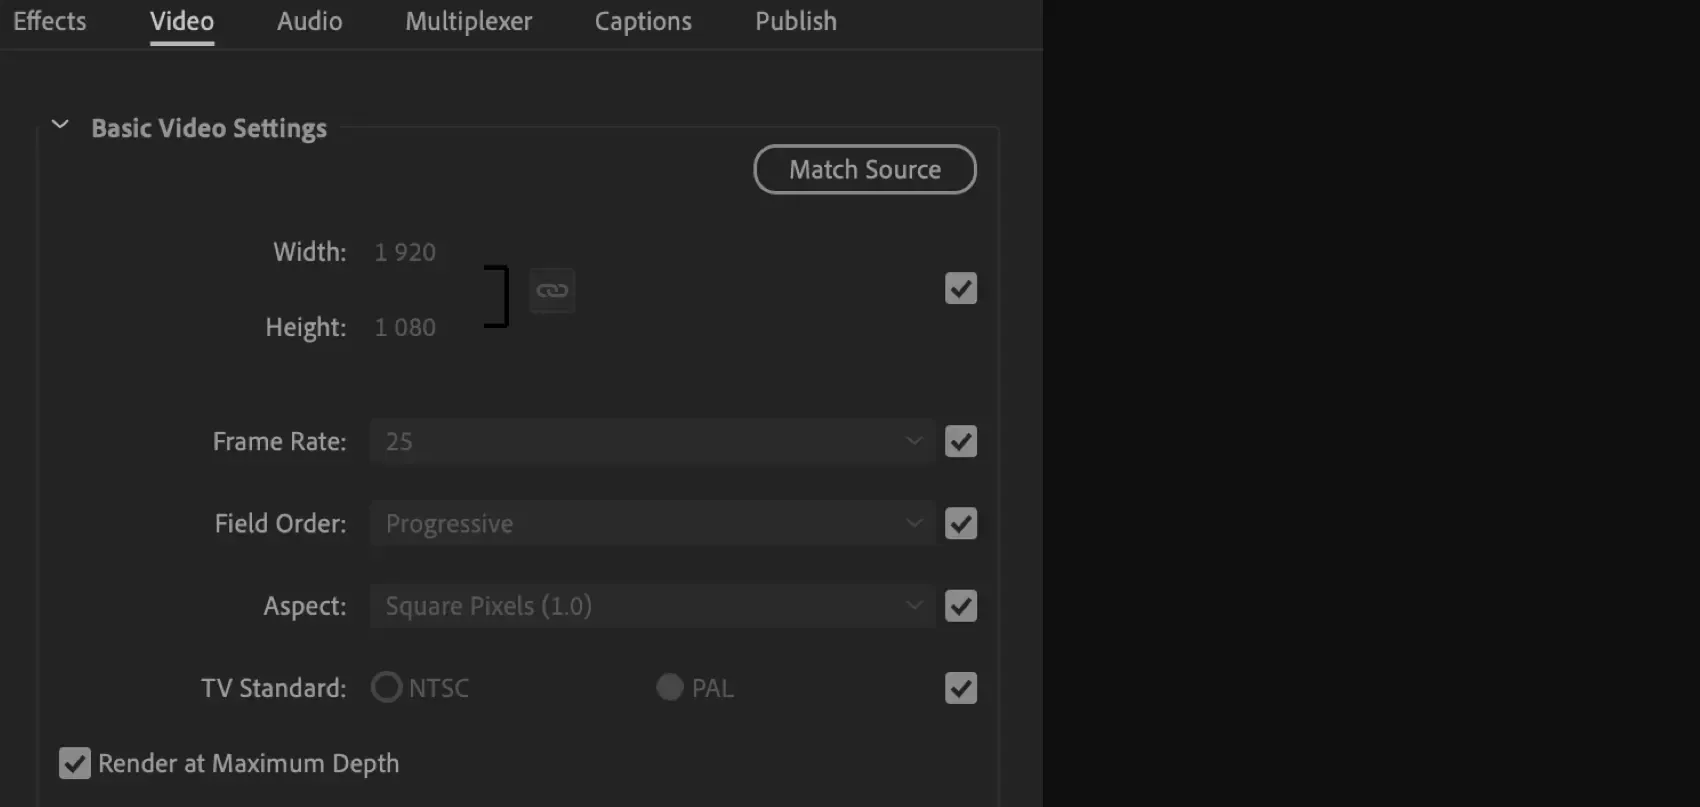
Step 4: Adjust your ‘basic video settings’
We recommend you keep most of these settings matching the source settings, and if you want to make changes to things like the width or height, make sure you do that in your sequence settings before you initiate an export. Also, remember to toggle ‘Render at Maximum Depth’ at this stage for the highest quality.
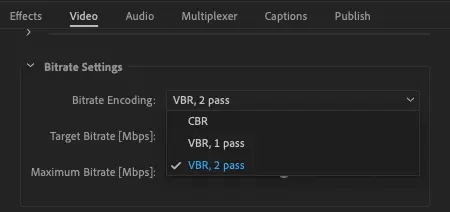
Step 5: Set your ‘video bitrate settings’
We’d suggest using the Bitrate Encoding setting ‘VBR, 2 pass.’ This will take longer than the ‘VBR, 1 pass’ but will ensure a more solid export. It also lets you set a target bitrate and a maximum bitrate, to allow particularly intense parts of your video to look their best.
If you’re in a rush or your export is not the final export of the project, you can save some time and use the ‘VBR, 1 pass’ on a low bitrate setting for a faster export.
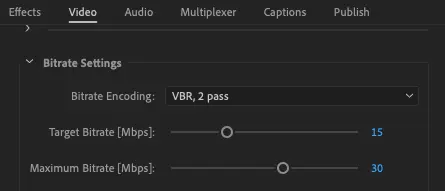
For the final export, your optimal settings will differ depending on where you plan to post the video. Higher target and maximum bitrates will generate a larger file size, and most platforms will compress content when uploaded.
In general, videos for YouTube can use a target bitrate of 15 or even higher without any problems. However, short-form platforms like Instagram Stories, Instagram Reels, and TikTok will compress the video more when uploaded; you can bypass some of that compression by going for lower target and maximum bitrates at this stage.
Step 6: Don’t miss the audio export settings

Pretty much half of your video will be audio, so don’t miss these settings when exporting! If you’ve soundtracked your video with music from Epidemic Sound, you can use the maximum sample rate of 48,000 Hz for the highest possible audio quality export.
We suggest using the ‘Audio Codec’ AAC, which is common in video and streaming – it sounds better than MP3 per bitrate.
To maximize your audio quality even more, you can set the bitrate to 512 kbps. A higher bitrate means a higher quality export.
Step 7: Export your video
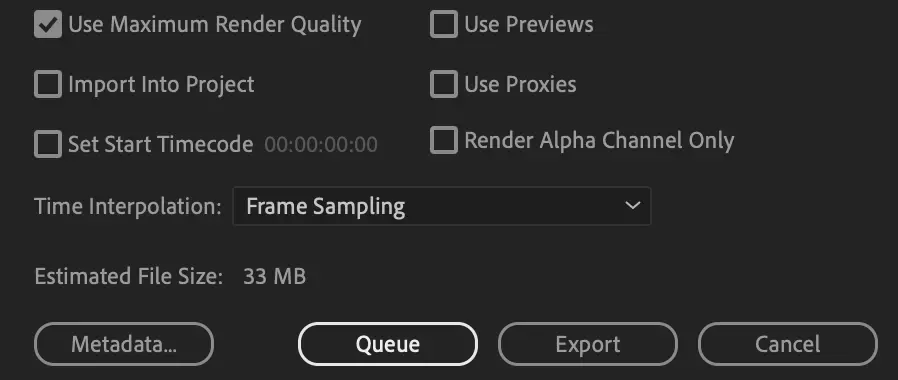
For the final settings, we recommend you check the box ‘Use Maximum Render Quality.’ In this window, you get an estimate of the final file size, and if you’ve gone through all the steps in this guide, you’re now ready to hit ‘Export.’
Great job! You’ve now mastered exporting video in Adobe Premiere Pro.
Our export came out looking like this:
We hope your export is just as good-looking (and sounding!) If not, perhaps you need some better music. We can help with that.
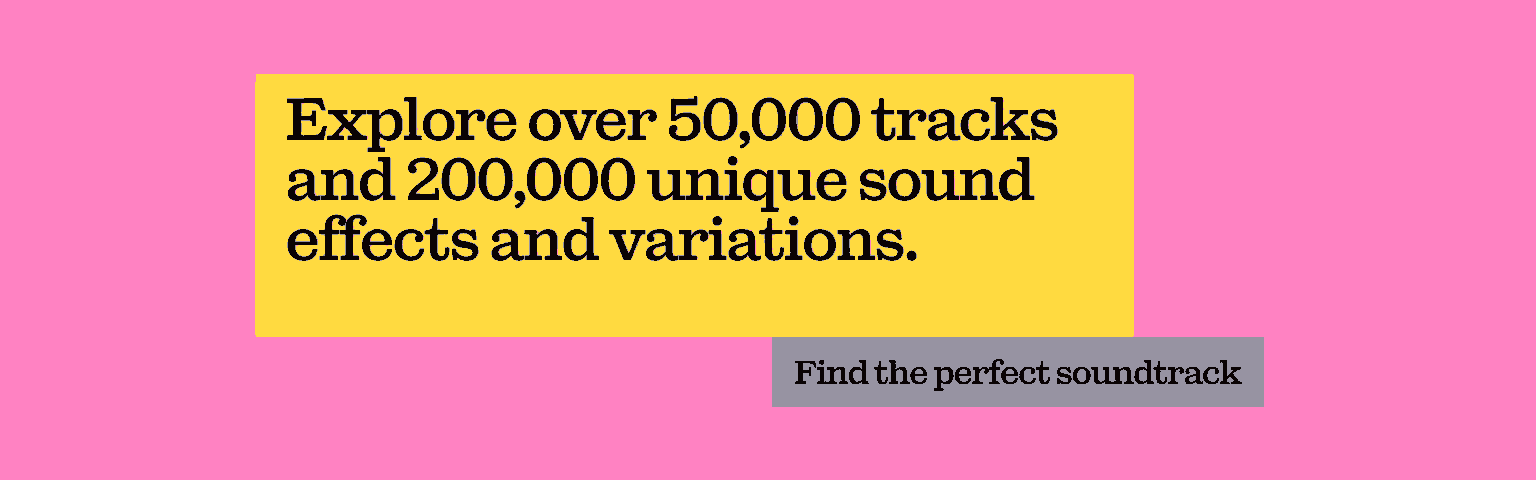
Our catalog is high-quality, affordable, and safe. An Epidemic Sound subscription goes beyond royalty-free music, removing the headache of licensing and freeing you up to do what you do best. You can enjoy the safety of our license hand-in-hand with our massive catalog of 50,000 tracks, covering just about every genre you can think of. You’ll also gain unlimited access to our advanced search functions — finding the right sound’s never been easier.
It’s better than royalty-free. It’s worry-free. Get started with Epidemic Sound below.

Are you a video editor or filmmaker? Whether you’re an absolute master or just a beginner, discover what Epidemic Sound has to offer on our Epidemic Sound for Filmmaking page. Oh, and if you’re looking for some music for video editing, check out our dedicated page.
Related posts: