How to color grade videos in Premiere Pro
What’s the difference between color grading and color correction? And what do you use it for? In this blog post, Lizzie Peirce discusses all things color and how to color grade your videos in Adobe Premiere Pro. In collaboration with Adobe Stock and Epidemic Sound.

What’s the difference between color grading and color correction? And what do you use it for? In this blog post, Lizzie Peirce discusses all things color and how to color grade your videos in Adobe Premiere Pro. In collaboration with Adobe Stock and Epidemic Sound.
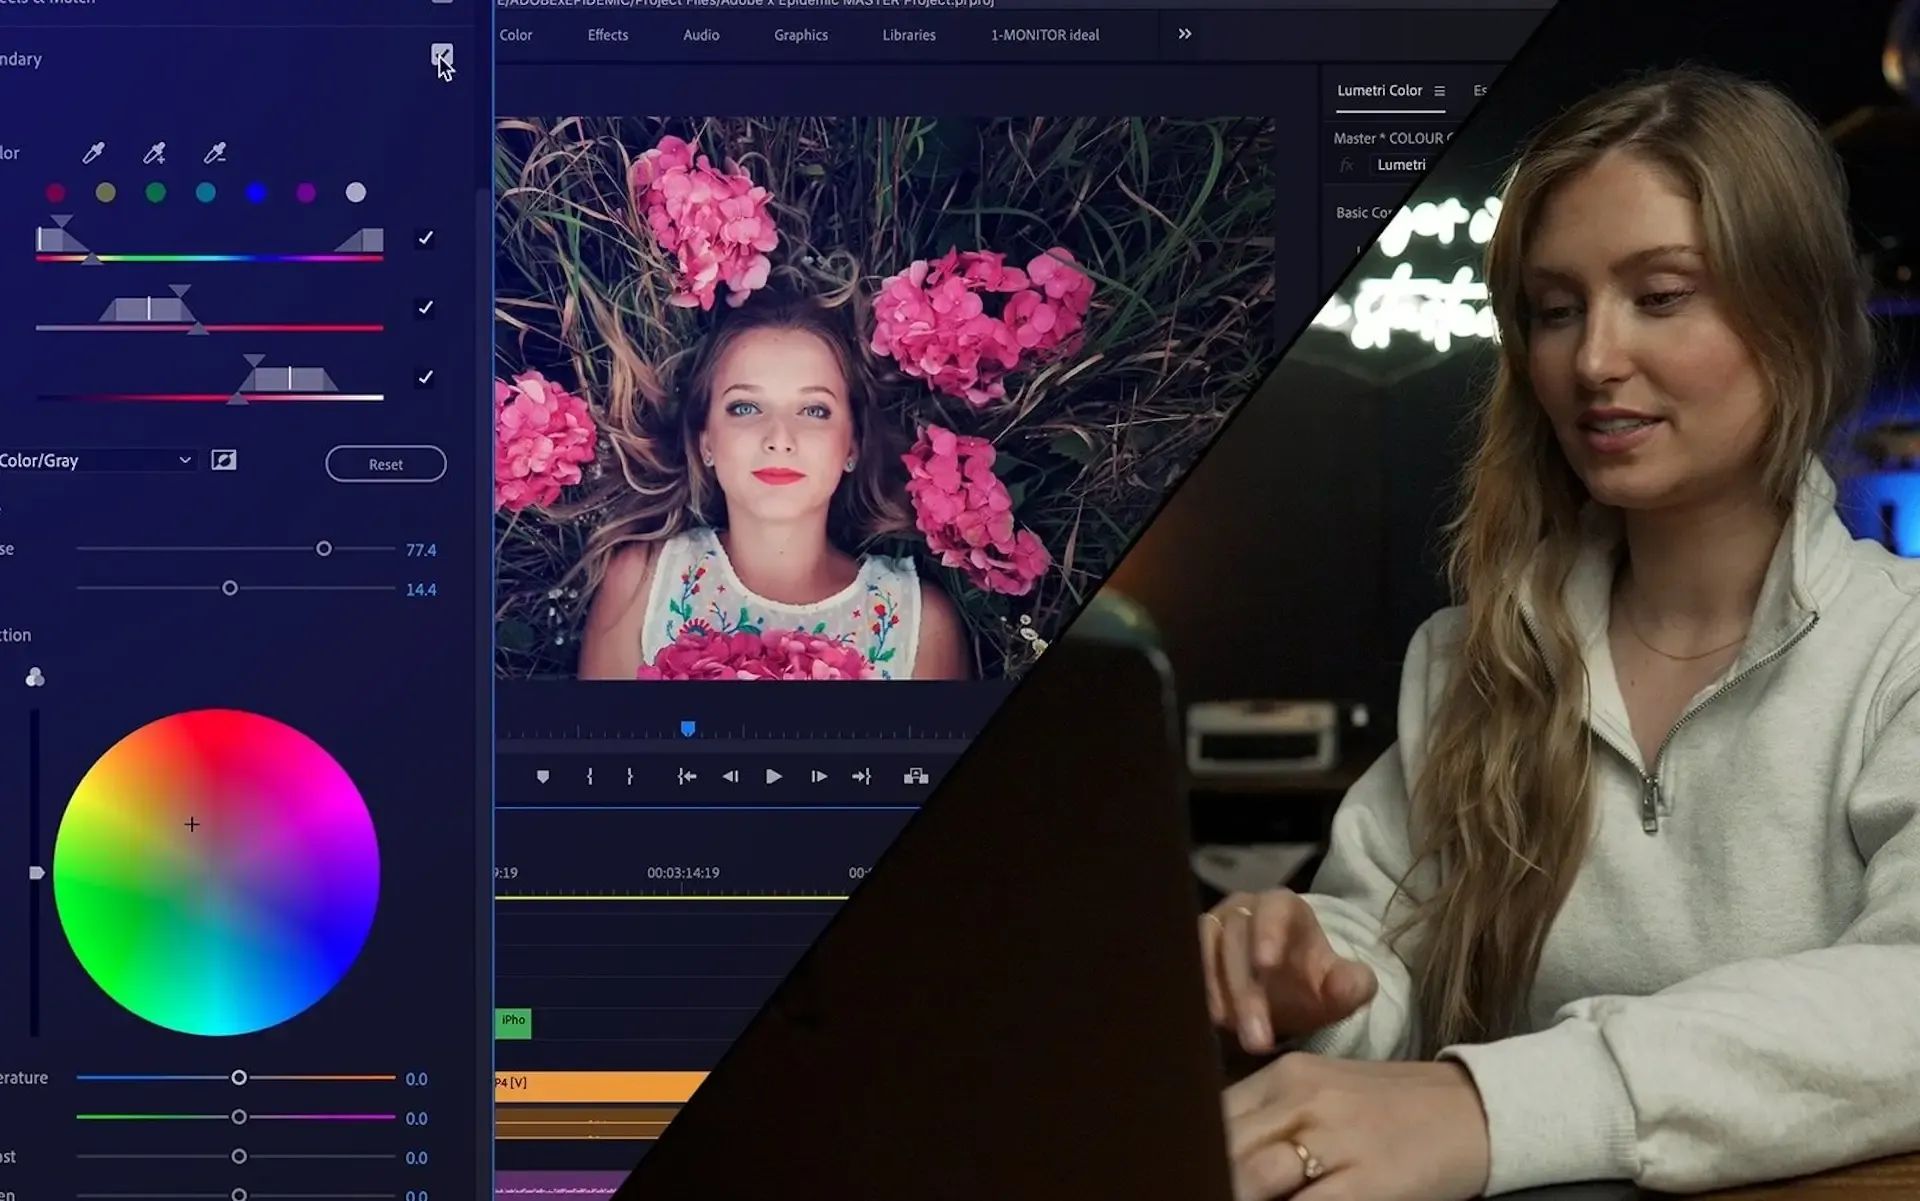
Color grading can drastically change the tone and style of your video. It can make all the difference in conveying the feel of your next video project. So let’s get into the nitty-gritty of how to color grade in Premiere Pro.
Color grading vs. color correction
First, I’d like to take a minute to explain the difference between color correcting and color grading. Most people use these terms interchangeably, but they actually mean very different things. Color correction is getting your video back to neutral and natural colors. Perhaps you shot your video in warm lighting, and in that case, you’d be adjusting the temperature. Or, maybe you shot your video a little bit underexposed, and you need to bring that color exposure back. Color correction is not stylized; it’s simply trying to get your footage to look as authentic as possible.
Color grading, on the other hand, is kind of like adding a stylized filter to your footage, in addition to that additional color correction. This blog post will be all about color grading.
How to use color grading
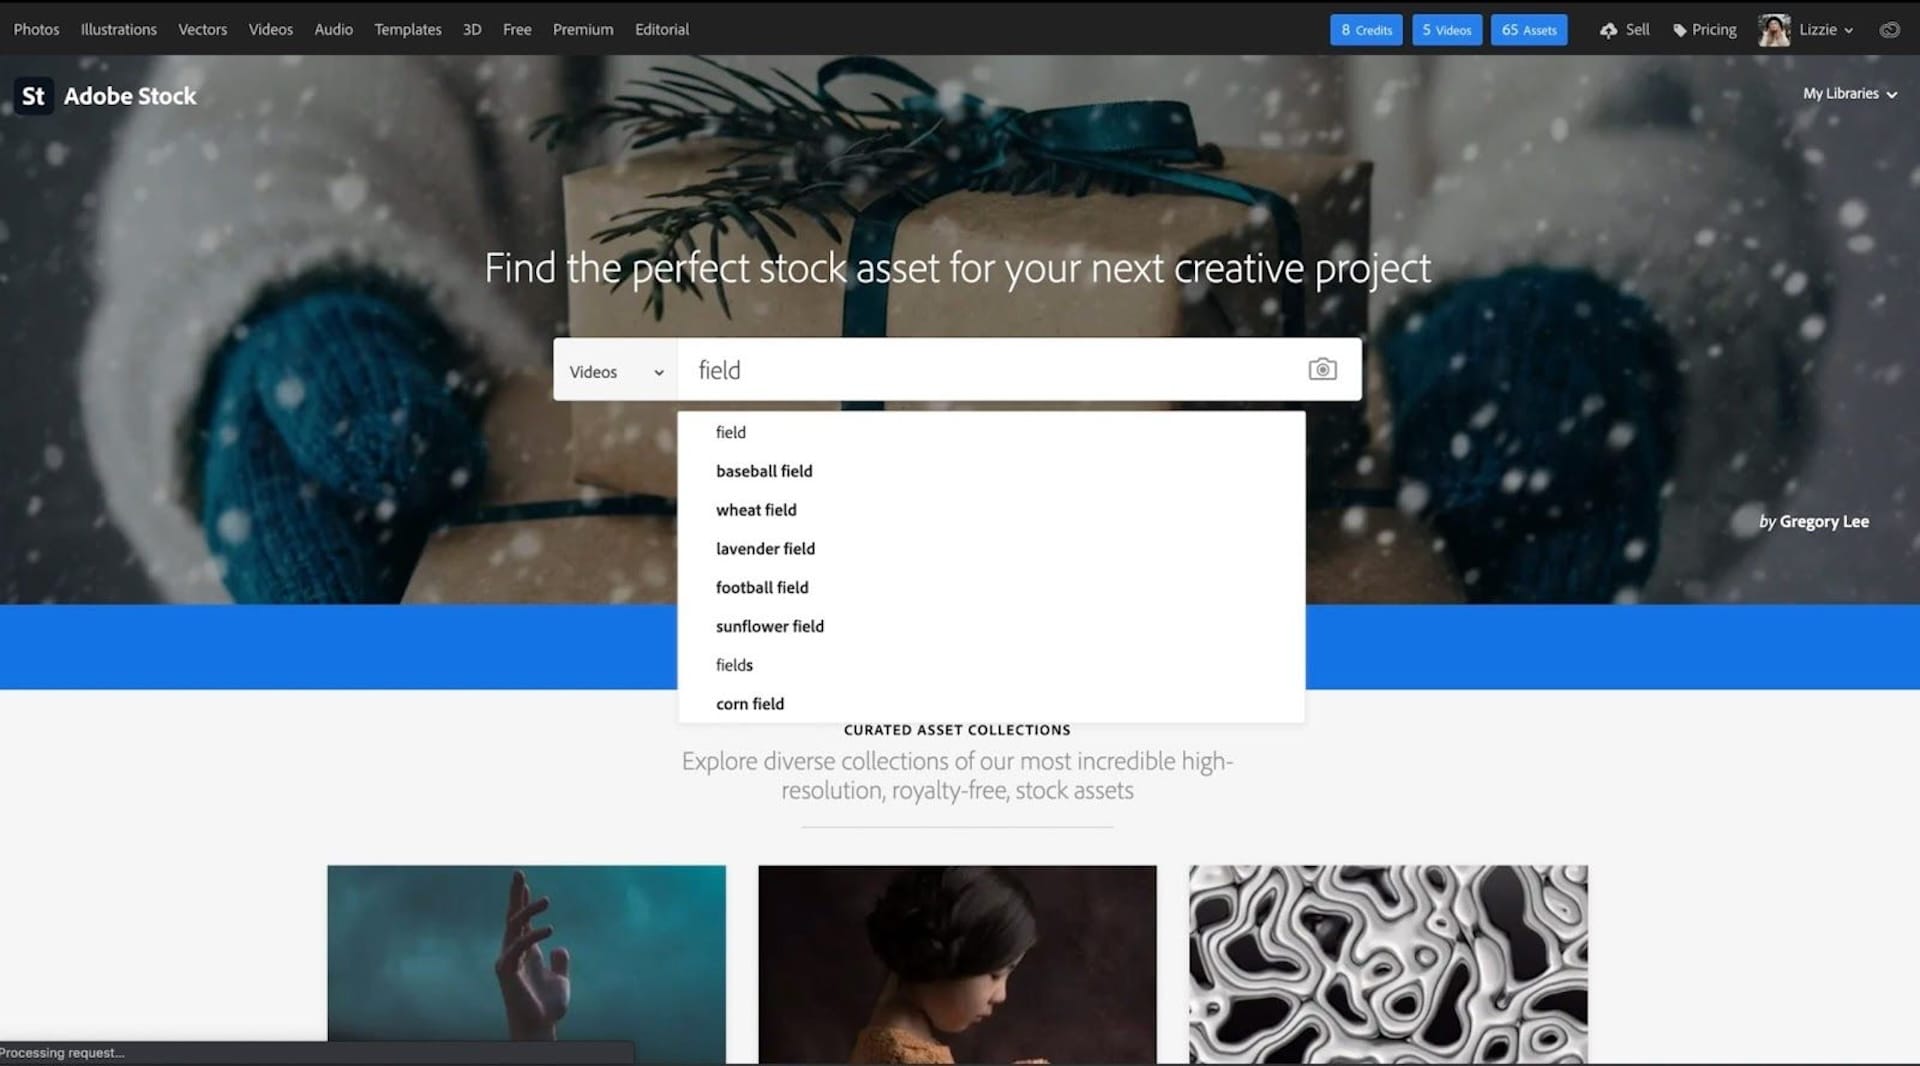
So, one good way to start off is by searching for some clips on Adobe Stock. This is a great place to find clips that can fill in gaps in the narrative of the video you’re editing. Search by using a few keywords that describe what you’re looking for and scroll until you find a clip that you like. Once you find something that tickles your taste buds, click the ‘License’ button on the right to license the clip. Then follow the prompts to checkout, and your clip will appear in ‘My Library’ under ‘Videos.’
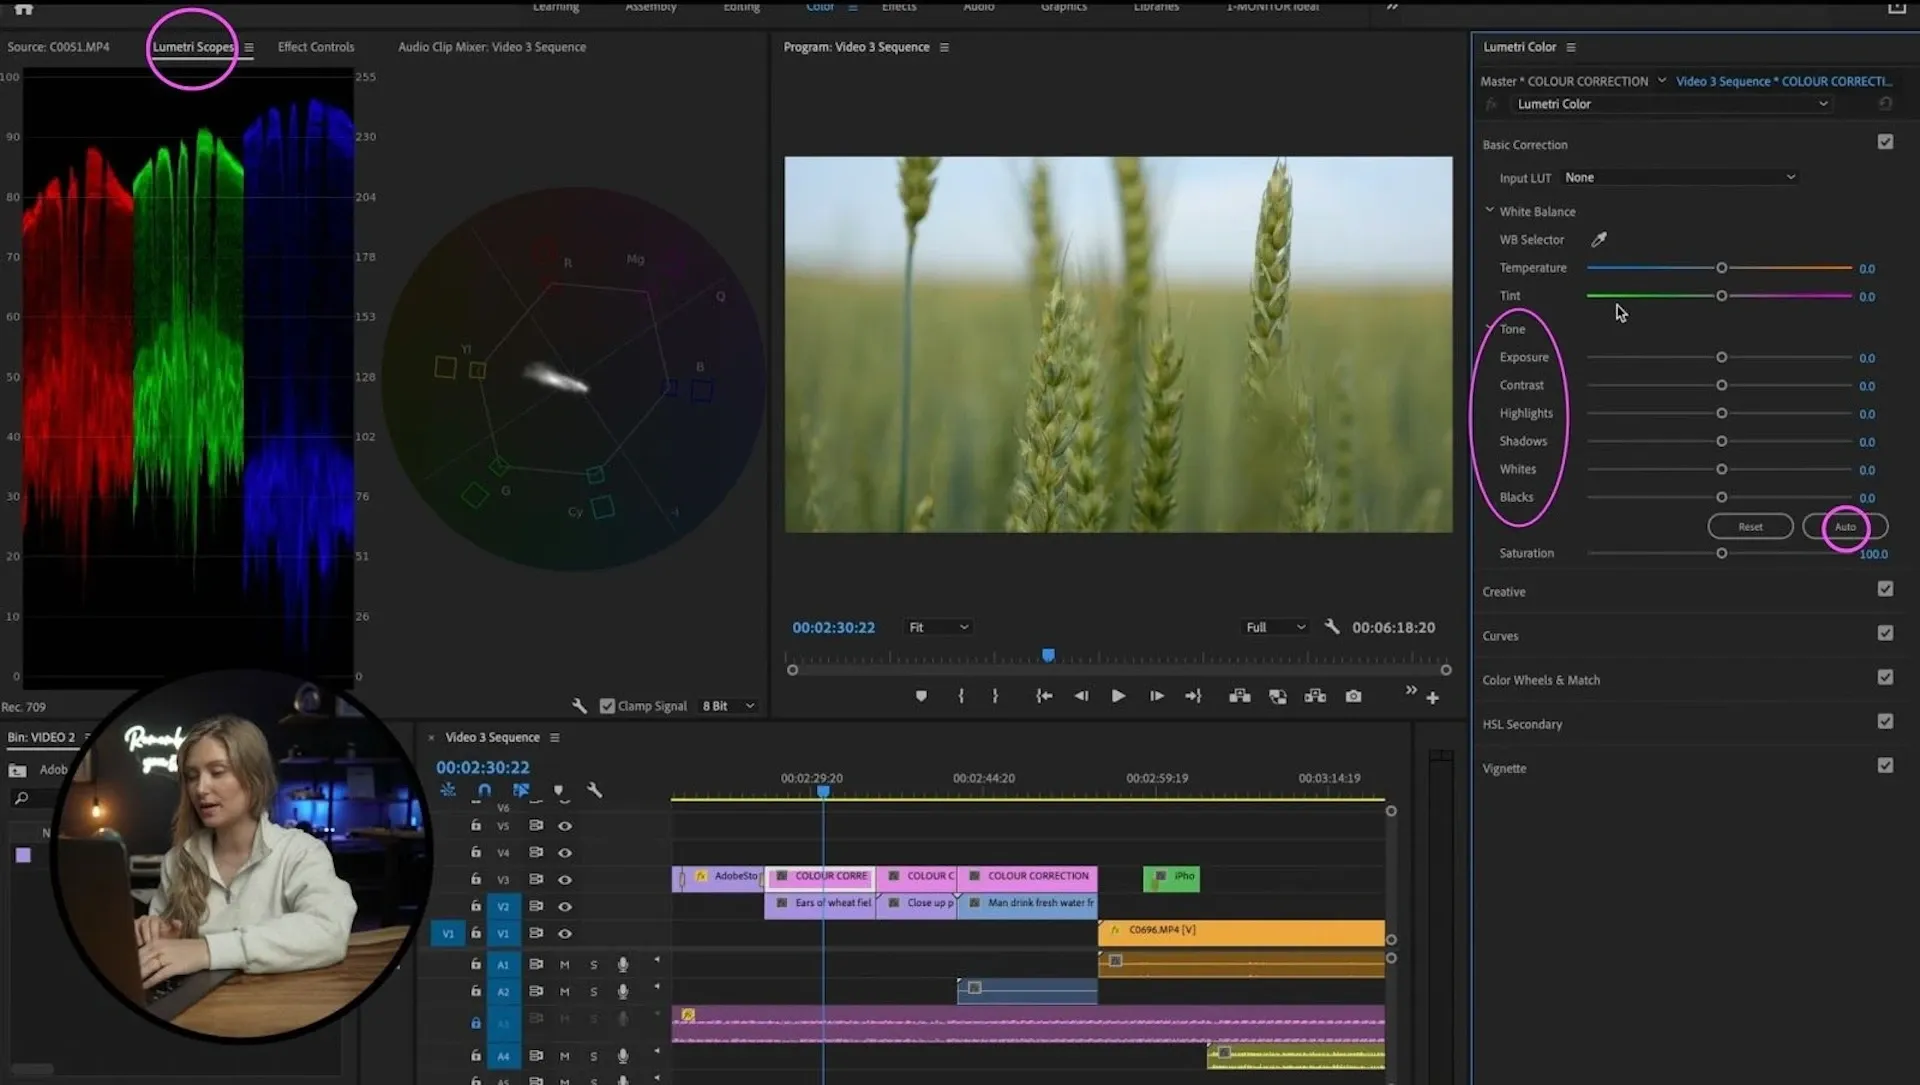
So, now you’ve got some (hopefully already color corrected) footage in Premiere Pro. If you don’t know how to color correct to get to this point, an easy way is to open your ‘Lumetri Scopes’ to make sure you don’t crush your blacks or blow out your whites.
After that, I use the ‘Auto’ feature on the right. Next, I make sure none of my shadows are below zero and that none of my highlights go above 100. I’ll adjust this with either the ‘Exposure’ slider, the ‘Highlights’ slider, or the ‘Blacks’ slider.
If I’d be grading my footage for a corporate video, I would likely go with a color that’s more bright and clean. For the audio, I’d choose something that’s calm and lighthearted. Audio plays a big role alongside color grading in conveying a tone for your videos. So it’s always important to match your audio to your color grade. For this example, I would search for ‘Calm’ or ‘Corporate’ music in Epidemic Sound’s library.
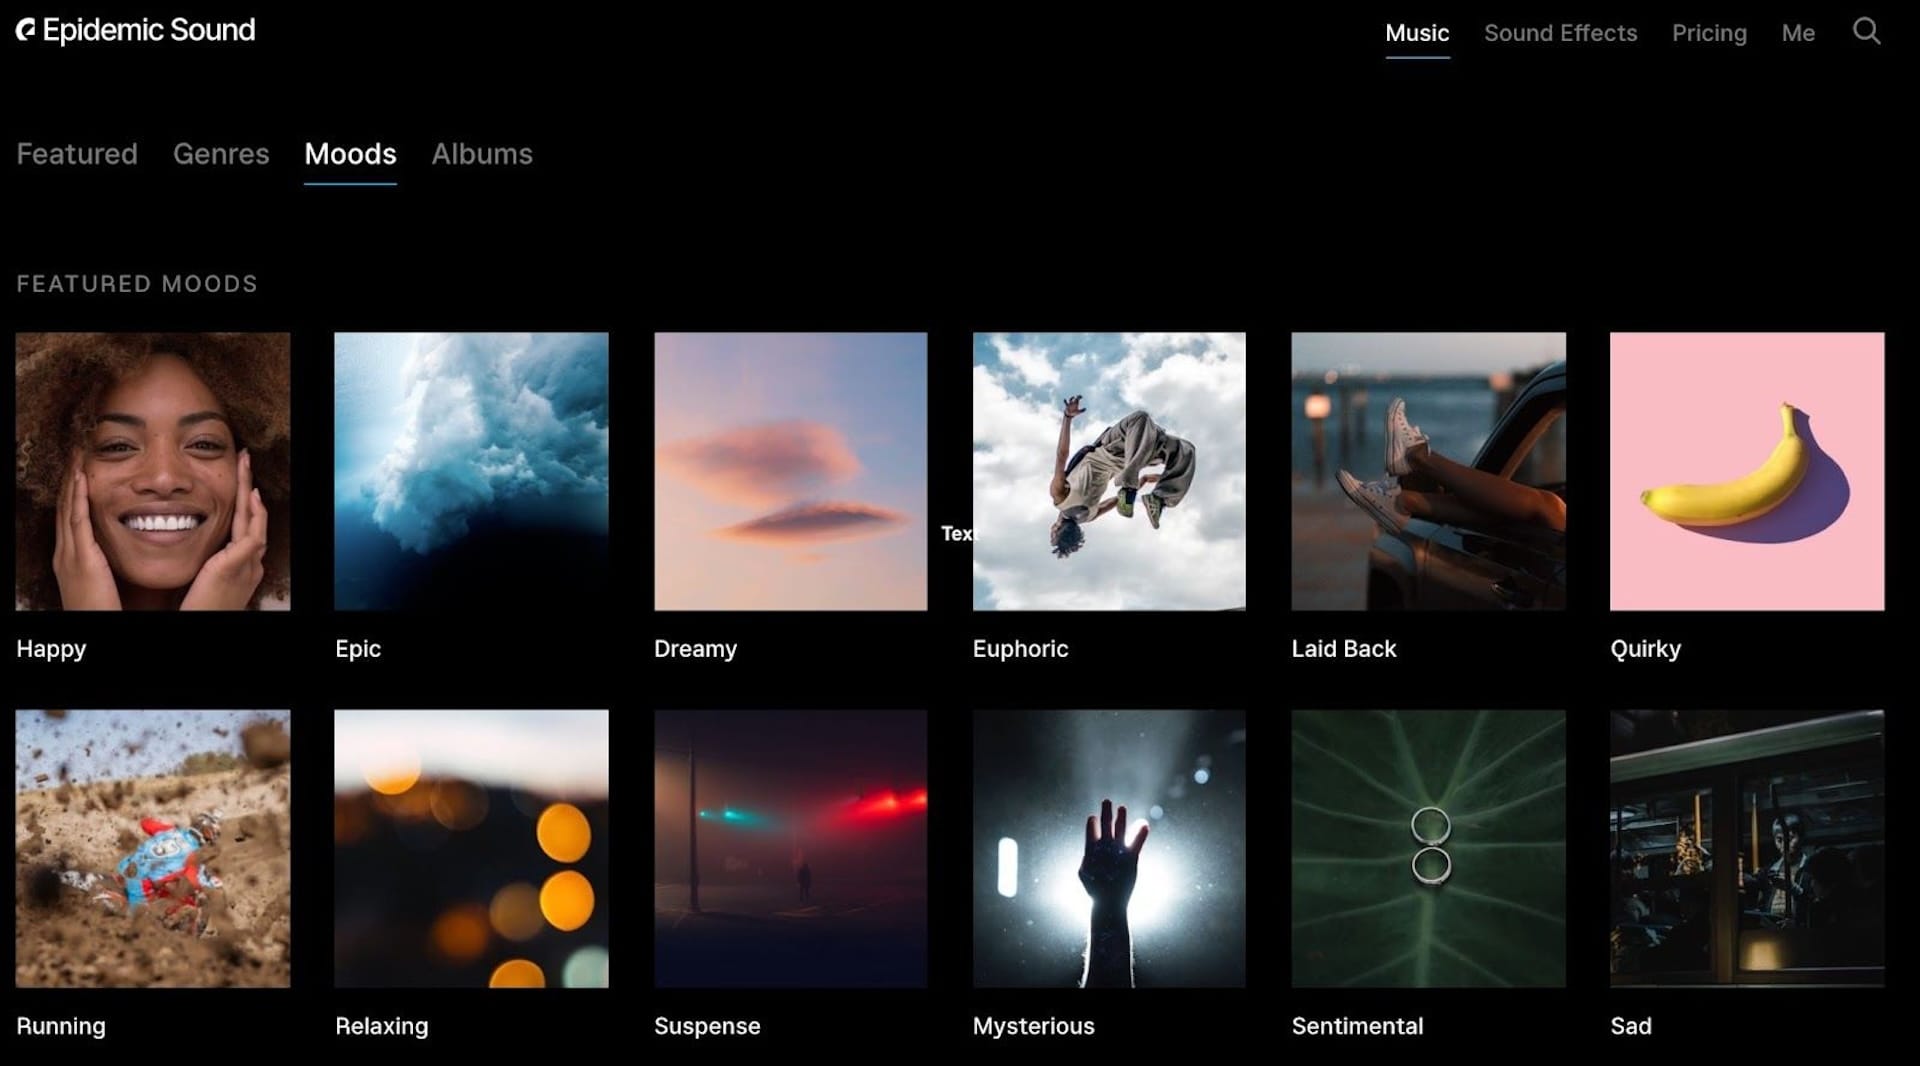
If I were to go for a more vintage look, I’d choose more muted colors and highlights. In terms of music, I’d go for a more moody and lo-fi beat from Epidemic Sound. For this example, though, I’ll go for a more classic “Lizzie Peirce travel video” type of look. You’ll be able to see the final result in the video at the bottom.
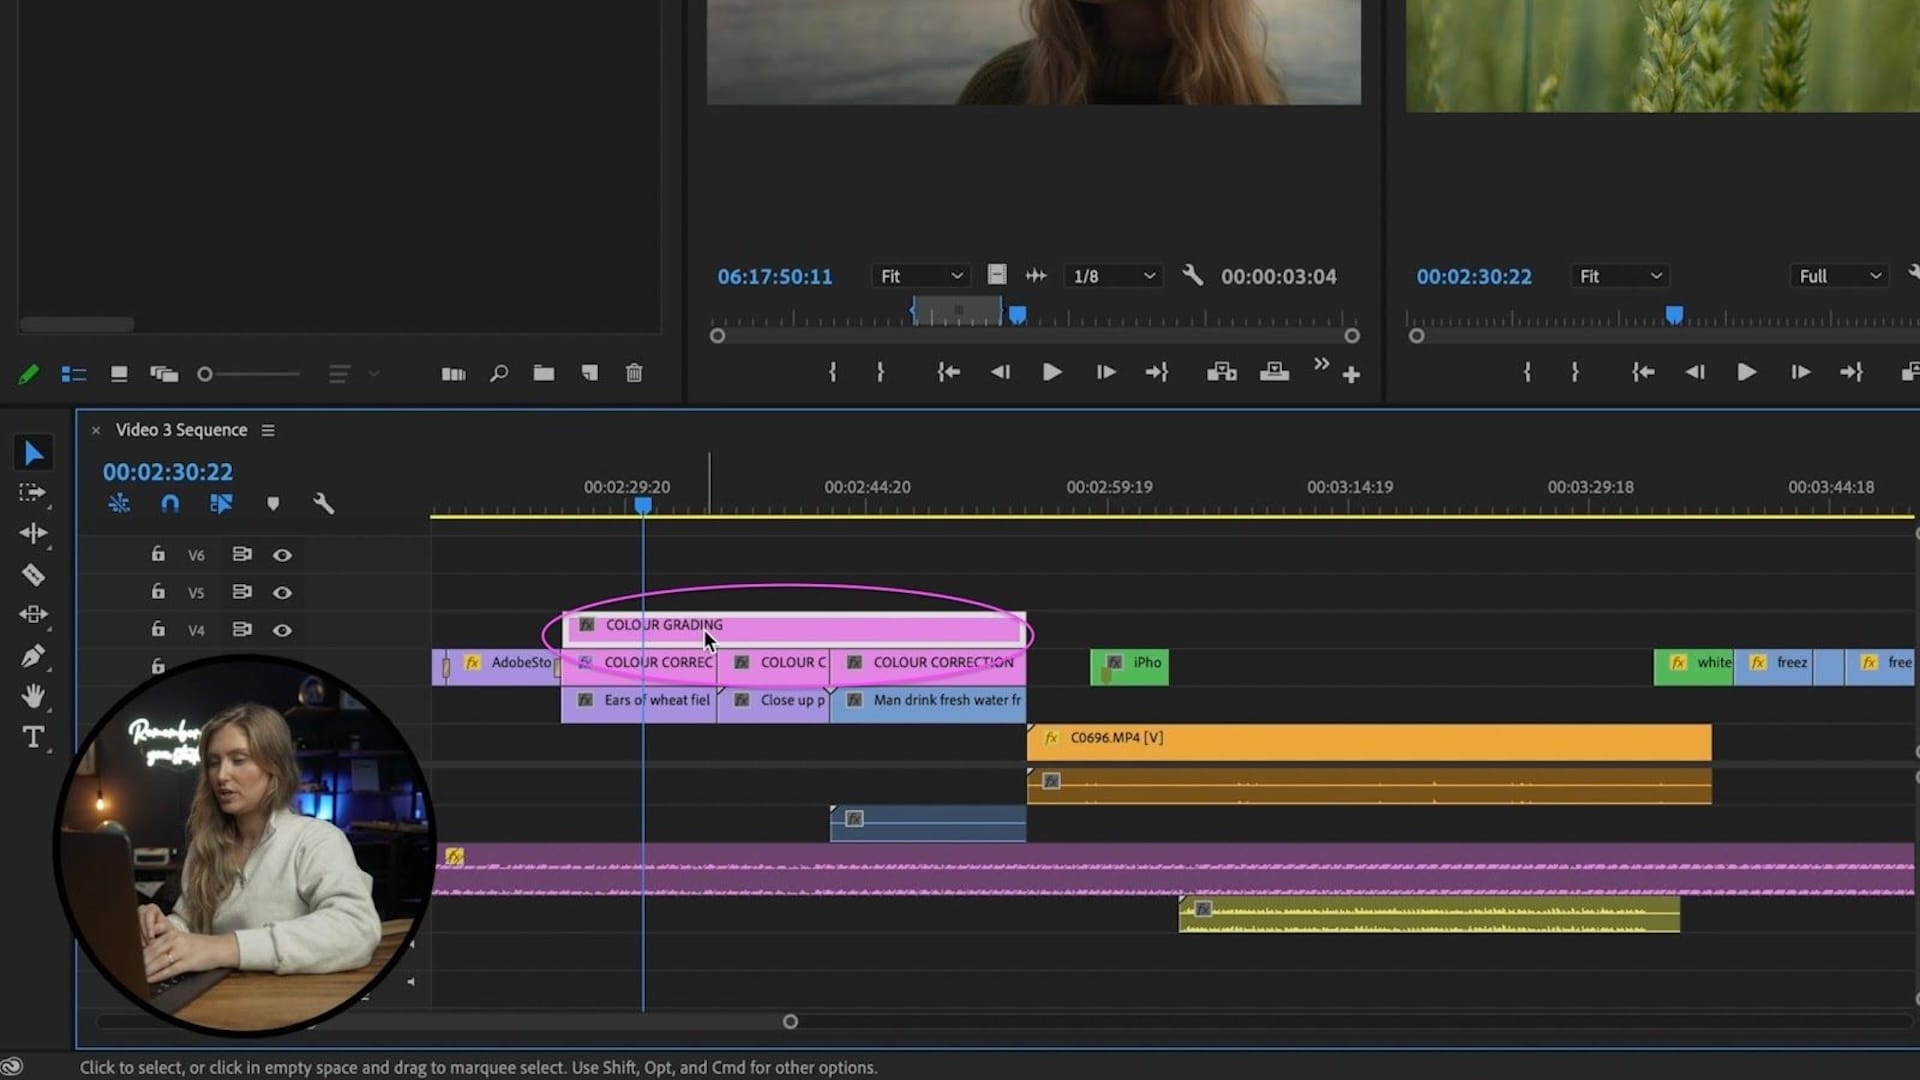
How to use an adjustment layer
Personally, I like to put all my color grading on an adjustment layer so it’s not ingrained in the video clip – just in case I want to change it later. This way, it also adjusts the color on every clip in the timeline rather than on each individual clip. The first section I grade in is in the ‘Creative’ drop-down menu. This is where I choose my shadow tint and my highlight tint. For this example, I’d like to add some blue in the shadows and adjust the tint balance to make sure it will only be applied in the darker shadows.
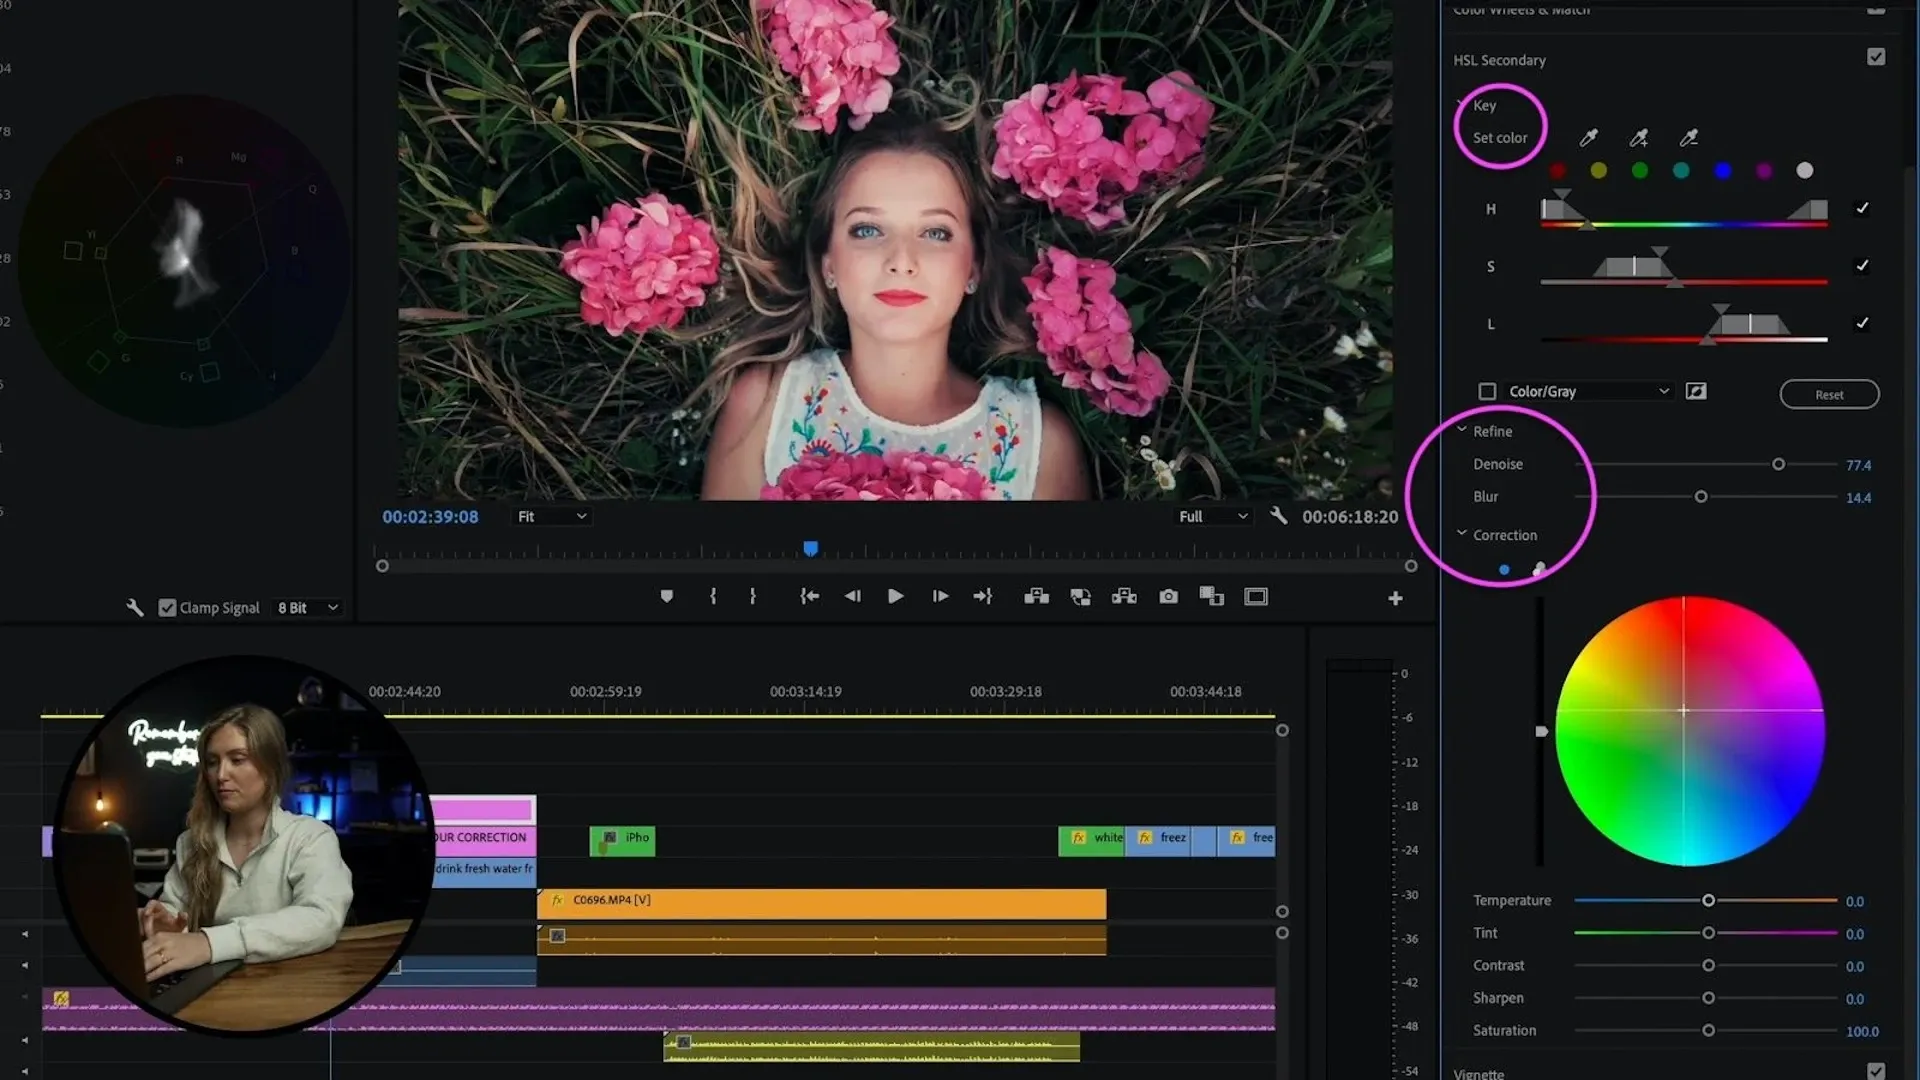
How to use color grading on skin tones
However, doing this can dramatically change the skin tones in your footage – and not for the better. Obviously, you want your skin tones to remain as normal as possible and not get that bluish hue it can take on. So what I do next is key out the reddish, orange colors – aka the skin tones – and then adjust that. I’m going to use the ‘Drop’ tool to select the skin tones, adjust my selection in the ‘Set color’ sliders, then de-noise and blur my mask. After that, I use the color correction wheel to bring back the orange colors in the skin tones. To make sure I’m not saturating my skin tones too much, I consistently turn off and on the mask. That way, I can check my work as I go.
Want to know I like to use my curves? In my opinion, a good old S-curve is always a great way to go. I like to flatten out my highlights and lift my blacks at the bottom of the curve. Throughout the whole process, I’m clicking on and off the adjustment layer to keep track of the difference between the original and the edited footage.
Lastly, I’ll add any random little stylized effect – if I feel I need to. In this case, why don’t we add a vignette! Check out the video below to see my finished color grade. Now, time for you to try it out yourself! Next up, I’ll be letting you in on my top 10 audio and video hacks – definitely don’t miss that.
Creator's Lab is an educational series co-produced by Adobe Stock and Epidemic Sound, aiming to provide tips and tricks to storytellers to bring their video content to the next level.
Lizzie Peirce is an Epidemic Sound ambassador and pro-content creator from Toronto. Lizzie is also running a production company together with her fiancé Chris Hau, who is a successful content creator as well.
Want to enhance your next video with some top-tier music but haven't got a subscription? Sign up below.

Are you a video editor or filmmaker? Whether you’re an absolute master or just a beginner, discover what Epidemic Sound has to offer on our Epidemic Sound for Filmmaking page. Oh, and if you’re looking for some background music for your videos, we got you covered.
Related posts: