What is chroma keying, and how do you use it?
Chroma keying is used to achieve eye-boggling green screen effects in Premiere Pro, Photoshop, After Effects, and more. Here’s how.


What is chroma keying?
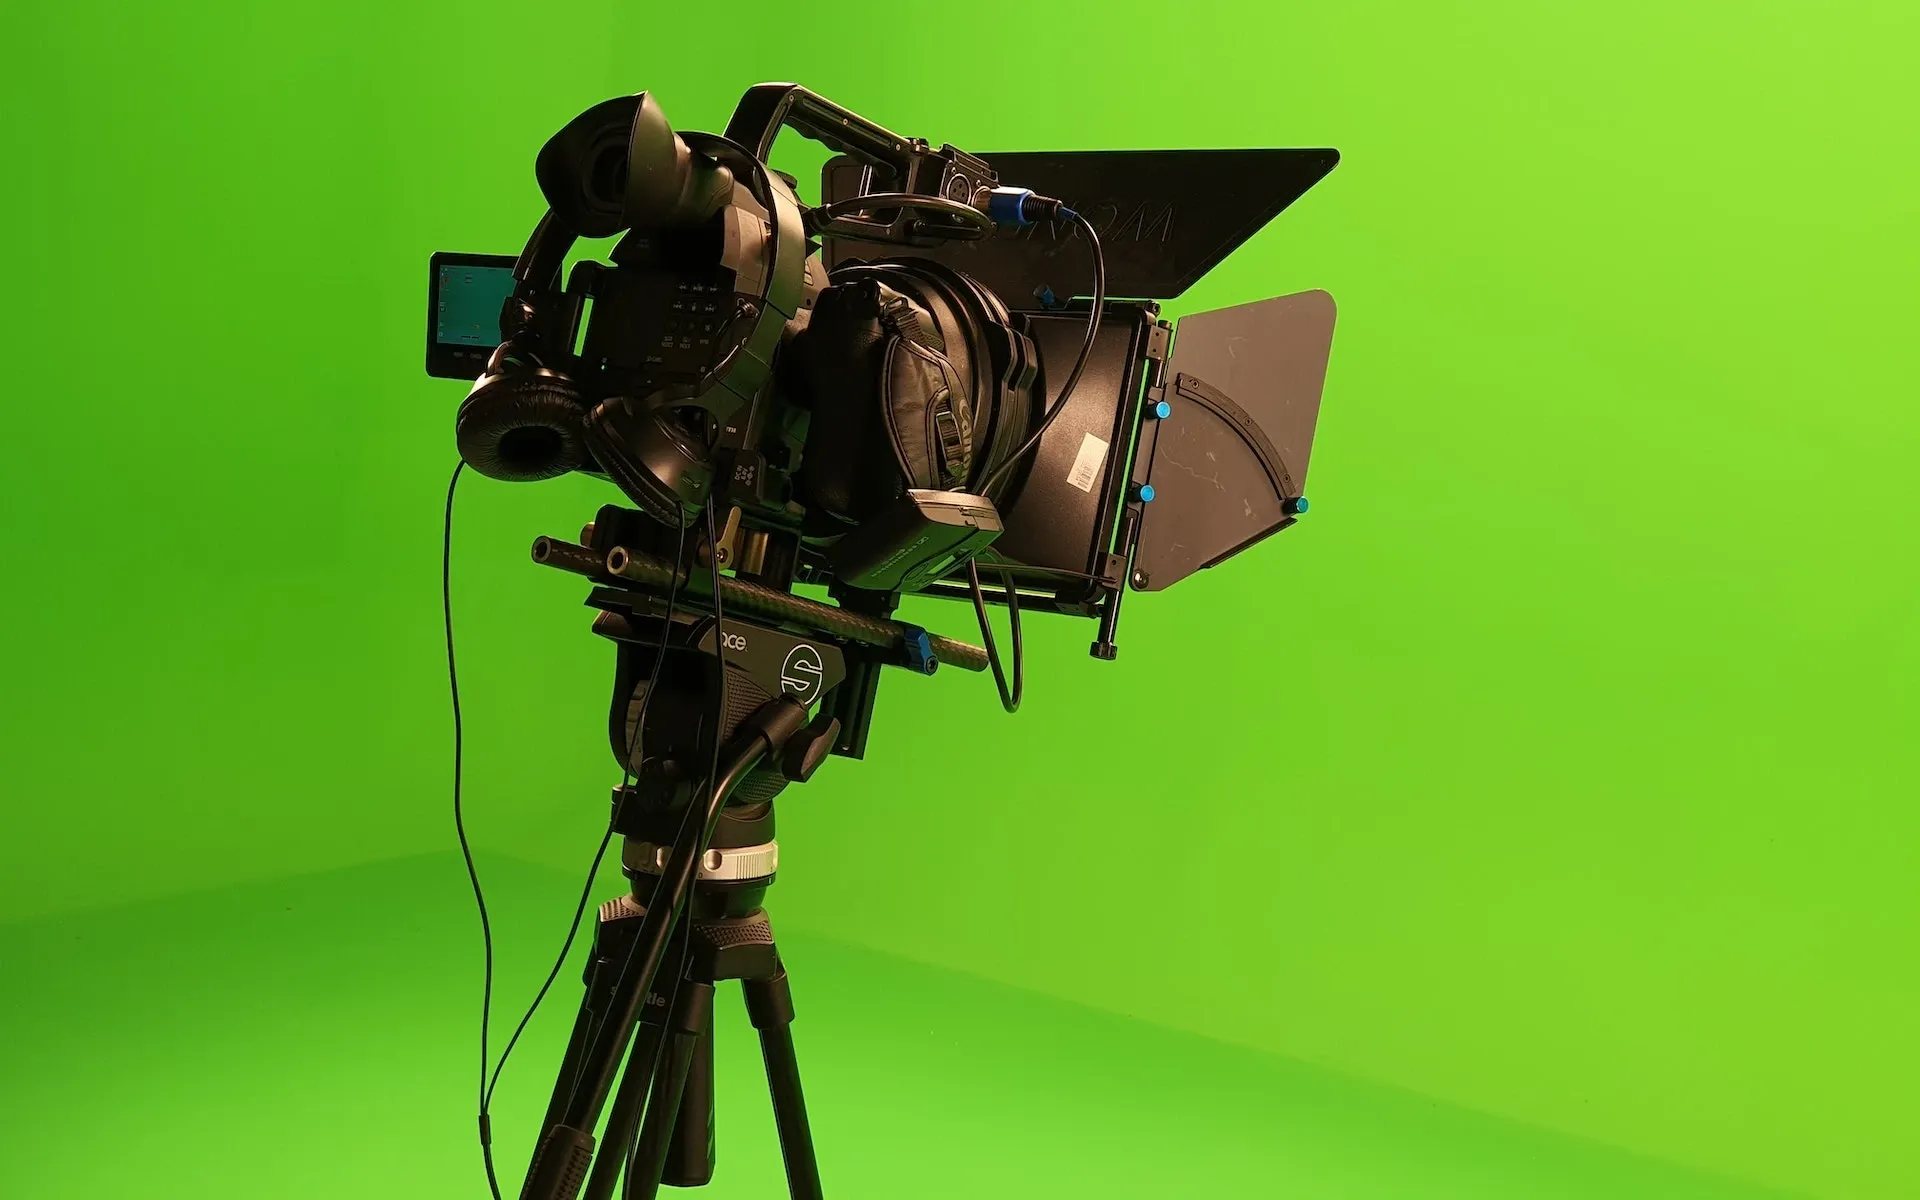
Chroma keying is a technique that comes from using a green screen. Two points of interest are filmed together: the green screen in the background, and the ‘real’ actors and objects in the foreground. The contrast in color allows you to isolate these things from each other.
Chroma keying is how weather reports are done on TV. It’s also how Tom Hardy drives around an uninhabitable desert in Mad Max: Fury Road. The green screen is ‘keyed’ in post-production, removing the green, leaving it transparent and free to fill with whatever image or video you want.
Chroma keying is also used to remove details from footage. If you’re doing wild stunts for a wild establishing shot or music video, you can use green harnesses and wires to ensure your actors make it out of principal photography in one piece. Then, once they’re safely back home eating dinner, you can chroma key the safety equipment so it becomes transparent.
Which color is best for chroma keying?
The best-known color for chroma keying is green, given how far removed it is from any human skin tone. This doesn’t work if your subject is wearing green, unless you want to do this.
Is chroma key only for green screen?
Traditionally, chroma keying used to be conducted with a blue screen, for similar reasons to green. Blue isn’t a human skin color, and unless someone’s wearing blue, it’s simple to pick out where the people end and the background begins.
You can use different colors for your background, but they might not work as well as green or blue. Plus, green and blue screens are the most readily available backgrounds for chroma keying – you’d may as well save yourself the trouble and stick with the stuff that works!
The basics of chroma keying
Before we dig into how to use chroma keying in Photoshop, Premiere Pro, After Effects and more, let’s cover some of the basic dos and don’ts.
Set everything up properly in your green screen shoot
Yep, you can ‘fix it in post’, but that can become such a pain. Give yourself the best head start by setting up your green screen shoot properly. This includes:
- Shooting the green screen and background footage with the same focal length, to make sure the scale is correct
- Avoid using green in your shot
- Refrain from using shiny objects; they can reflect the green and cause unwanted transparent spots in your footage
- Light your actors and green screen separately, and ideally have them six feet apart
- Match the lighting for your actors with the lighting of your intended background, to avoid it looking fake – if you've used chiaroscuro lighting, you'll need to keep to that theme!
- Light your green screen evenly and softly, so it looks as ‘blank’ as possible
- Use a fast shutter speed to decrease motion blur
- Film with a low ISO to avoid any extra digital artifacts appearing in your footage – these will make the post-production process more difficult
- Run through your scene several times before filming, to check if any unwanted shadows will pop up and ruin your green screen footage

If you cut corners with your green screen, your chroma keying will end up being janky. You’ll likely experience spill, too. This means the green ‘spills’ onto your real-life subjects due to poor lighting, reflective objects, or some green earrings you forgot to remove.
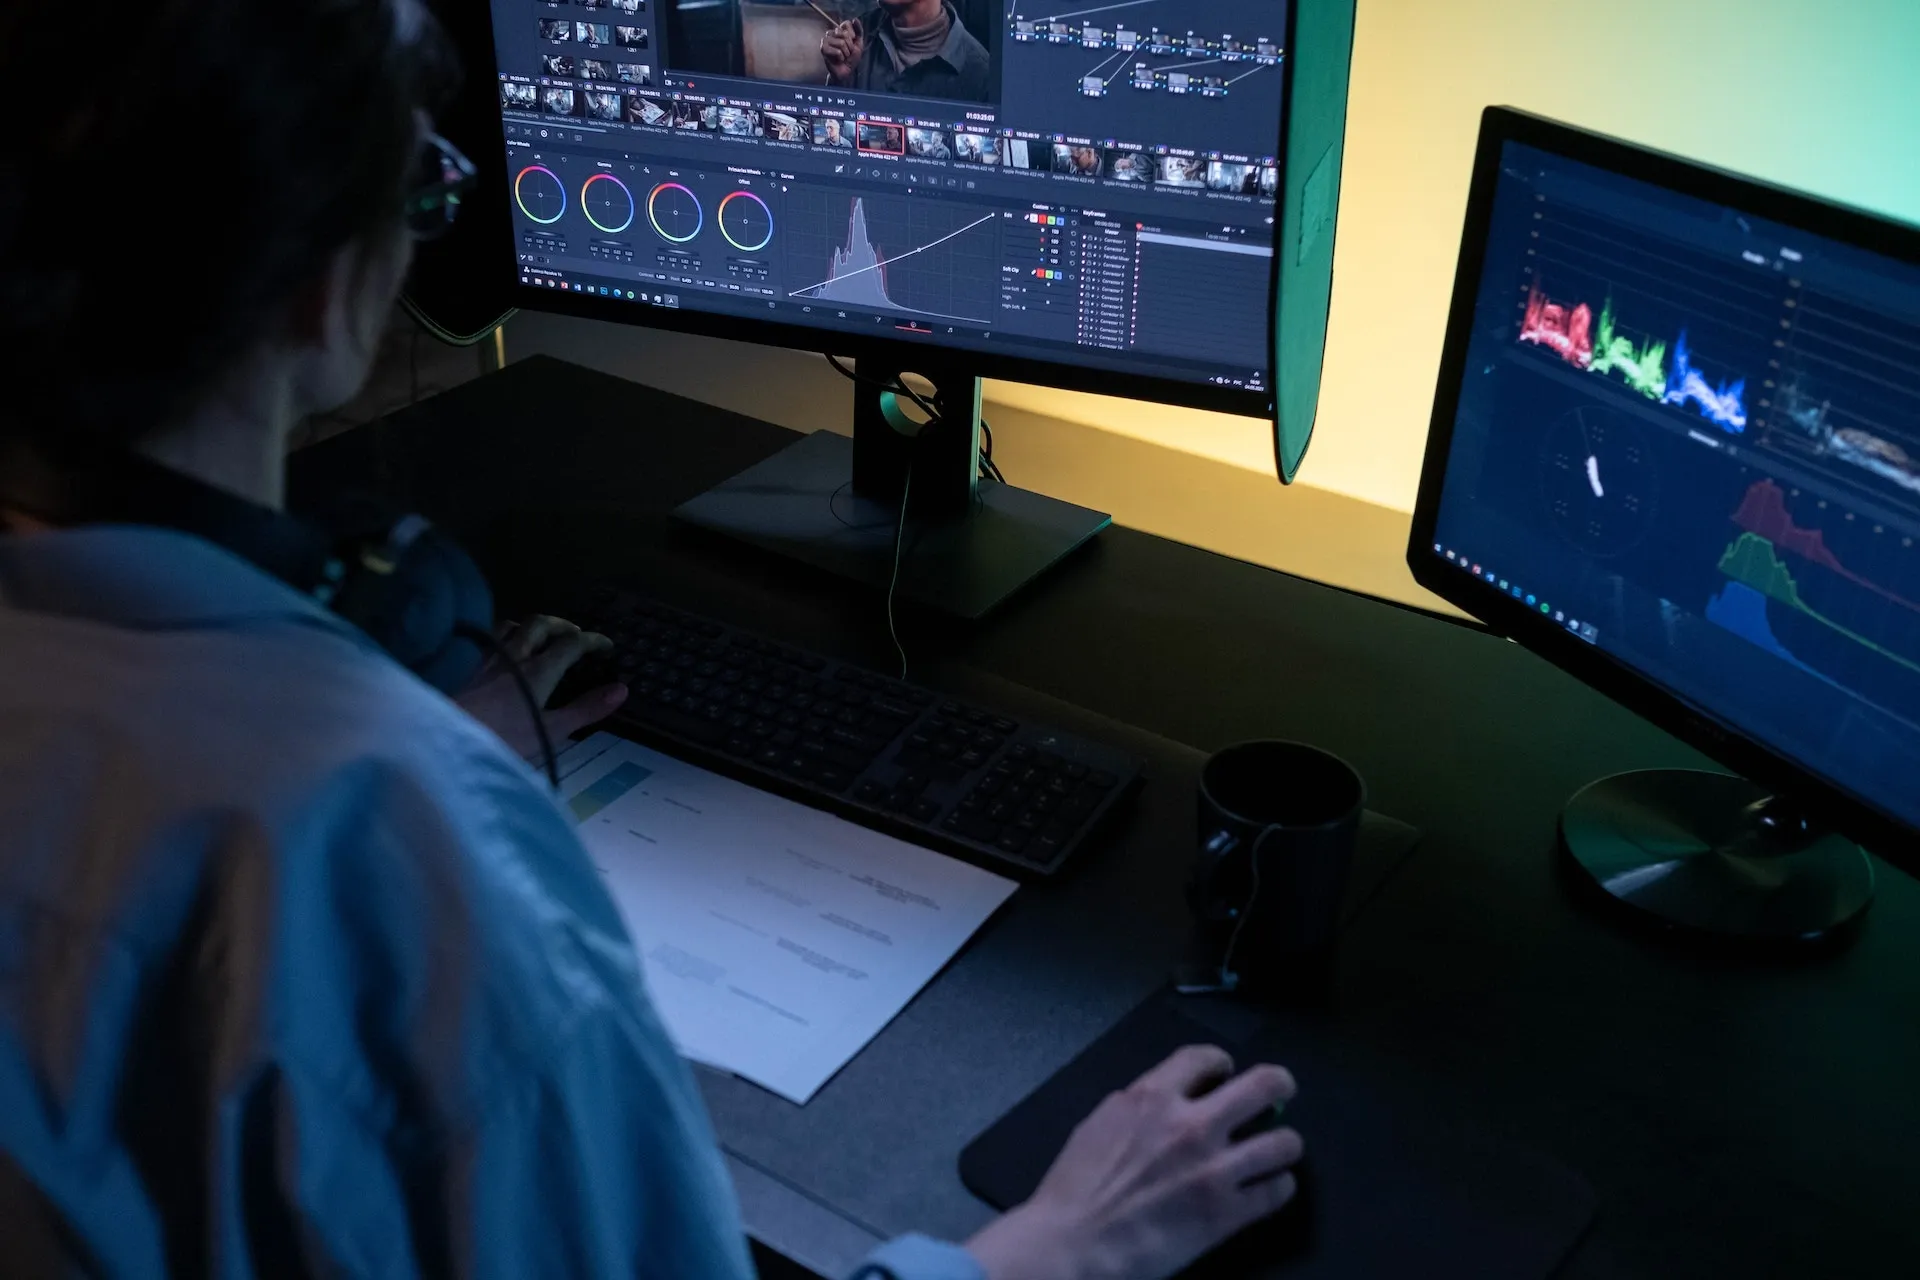
How to do chroma keying in different software
So, we’ve rattled through the basics of what chroma keying is, why it’s done, and what you should have ready before you shoot your footage. Now it’s time to key your footage in the video editing app or software of your choice.
Let’s look at some of the most popular choices.
Chroma keying in Adobe Premiere Pro
Premiere Pro is a top-notch, industry-leading video editor – it’s been used in everything from ‘Avatar’ to ‘Gone Girl’, in case you were curious.
Here’s how to nail chroma keying in Premiere Pro:
- Open your green screen project, then activate the ‘Ultra Key’ effect. Find it by clicking ‘Effects’, ‘Video Effects’, then ‘Keying’.
- Select the eyedropper-shaped tool from the ‘Effects Control’ window. Use it to click on a green area of the background, ideally near your subject’s face/the focal point of your foreground.
- Switch the ‘Output View’ to ‘Alpha’. This helps you see the details around the edges of your subject, splitting the foreground into white and the background into black. If the white area doesn’t look 100%, it means your keying wasn’t successful there – the background might have been too bright, or there may have been something reflective that you forgot to remove during your shoot.
- Clean up your chroma keying. If your subject has some black leaking in, head to ‘Transparency’ under the ‘Matte Generation’ option. Reduce the slider for a thicker line, or increase it to soften borders.
- Keep going by tidying up the background. Crank the ‘Pedestal’ slider up to remove your green screen from the clip, making the background black in the ‘Alpha’ view. Increase the ‘Shadow’ slider to add shadow to your subject, making it seem a little more natural when you add your new background.
- Switch your output view from ‘Alpha’ to ‘Composite’, to see how well your chroma keying worked. Import your desired background, then move your keyed clip to the second video layer of your project. Drop the background underneath the keyed footage, and it should slot together nicely!
- If you need to make some final adjustments, you can do more pruning with the ‘Matte Cleanup’ tool. Once you’re here, adjust the ‘Choke’ slider to blend your subject seamlessly into the background. Keep this going with the ‘Soften’ slider, and head to the ‘Spill Suppression’ section if pesky bits of green are showing up where they shouldn’t.
- Your chroma keying in Premiere Pro is now done!
Need some uptempo bangers to soundtrack your chroma-keyed footage? Or a mellow, reflective song? Or even just some sound effects? Don’t worry. We’ve got you covered. Check out our catalog of 50,000 tracks and 200,000 unique sound effects and variations below.

Chroma keying in Adobe After Effects
After Effects is a motion graphics software that’s just as powerful as Premiere Pro. Here’s how to nail chroma keying in After Effects:
- Open your green screen project by clicking ‘’New Composition From Footage’. Once that’s loaded, click the ‘Window’ tab and scroll down to ‘Effects & Presets’.
- From there, open ‘Animation Presets’. Open the ‘Presets’ folder, then ‘Image – Utilities’. Scroll to the catchily named ‘Keylight + Keylight Cleaner + Advanced Spill Suppressor’ preset, and drag it onto your footage. This bundles three chroma key effects into one.
- Start with the ‘Keylight’ effect. Use the eyedropper-shaped tool to select the green screen as your ‘Screen Color’. Then, change the ‘View’ setting to ‘Screen Matte’. This gives you a white, black and gray background, similar to the ‘Alpha’ view in Premiere Pro.
- Open the ‘Screen Matte’ settings, adjusting ‘Clip Black’ and ‘Clip White’ until the background is completely black and your subject is totally white.
- Change the ‘View’ to ‘Intermediate Result’, then play around with the ‘Transparency Grid’ to check how successful your background removal was. At this stage, you can play your footage back, to look for any blemishes. If something’s up, head back to ‘Screen Matte’ and tweak the levels as necessary.
- Now it’s time for the second part of the preset: ‘Keylight Cleaner’. This tool’s been busy behind the scenes, cleaning the edges between your foreground and background. However, you can manually adjust ‘Reduce Chatter’, to minimize visible imperfections around your edges; and you can play with ‘Alpha Contrast’, which sharpens the edges.
- Move on to the ‘Advanced Spill Suppressor’. This helps tidy any pesky green spills in people’s hair, between their fingers, and so on. This tool is turned off, so just hit the check box beside it to fire it up. If it doesn’t sweep up all the green, you can pick the colors out manually by changing the ‘Method’ to ‘Ultra’. You can set the key color yourself here.
- Add a background by importing your desired file and dragging it onto your project timeline, below your chroma-keyed footage.

Chroma keying in Adobe Photoshop
Photoshop is the graphics editor. Here’s how to boss chroma keying in Photoshop:
- Open your green screen media in Photoshop, then click ‘Select’ and ‘Color Range’. Check the ‘Inverted’ box, and toggle ‘Selection Preview’ to ‘Black Matte’.
- Use the eyedropper-shaped tool to select the green. Hold down ‘Shift’ to keep selecting the background, then hit ‘OK’ once you’re happy with your selection.
- Add a Layer Mask to your subject – this should auto-fill the shape of your selected background.
- You’ve removed the green screen, so add your background media! Just drag and drop that puppy and watch it merge behind your foreground subject.
- Tidy up your mask if needed. Double-click the mask layer, then hit ‘Select and Mask’. Experiment with the ‘Feather’, ‘Contrast’, and ‘Shift Edge’ options to smooth out any inconsistencies between your foreground and background.
Chroma keying in CapCut
CapCut is a free video editor often associated with TikTok. It still packs a punch, though – let’s look at how to chroma key for free in CapCut:
- Open your background footage in CapCut. Then, click ‘Overlay’, then ‘Add Overlay’, and add your green screen footage.
- Search the menus at the bottom of the screen until you find ‘Chroma Key’. Use the color picker to select the green you want to remove.
- Select ‘Intensity’, dragging the slider until the green has been removed from your footage.
- Click the ‘Shadow’ option to play around with shadows, lending your footage a more realistic look.
- Once you’re done, click the check mark to confirm your chroma keying shenanigans.
Chroma keying in iMovie
iMovie is Apple’s user-friendly video editor. It’s known for being simple, but can it handle green screen? Yep, iMovie does have chroma keying capabilities. Here’s how you do it:
- Add your green screen and background footage to iMovie, placing the former on a timeline above the latter. Click your green screen footage, then head to the ‘Video Overlay Settings’ button.
- Toggle the drop-down menu from ‘Cutaway’ to ‘Green/Blue Screen’. iMovie automatically chroma keys the green away, leaving you with a snazzy-looking product.
- If your footage needs tidying, use the ‘Softness’ and ‘Clean-up’ tools above your video preview. You can crop and erase unwanted pieces of your footage here, which is pretty neat.
So, now that you've learned what chroma keying is, why people do it, and how to nail it yourself, it’s time to experiment! Take your time, make mistakes, and learn which software and techniques work best for you.
If you want to take your chroma-keyed content to the next level, why not try Epidemic Sound? Everyone uses our music to soundtrack their stories, from rookie content creators to massive, worldwide businesses.
Our catalog is high-quality, affordable, and safe. An Epidemic Sound subscription goes beyond royalty-free music, removing the headache of licensing and freeing you up to do what you do best. You can enjoy the safety of our license hand-in-hand with our massive catalog, covering just about every genre you can think of. You’ll also gain unlimited access to our advanced search functions — finding the right sound’s never been easier.
It’s better than royalty-free. It’s worry-free. Get started with Epidemic Sound below.

Are you a filmmaker wanting to go pro? We've got you covered with background music for videos, including:
Take your video editing to the next level with our massive catalog of music for filmmakers.