How to create a week’s worth of social media content in a day
Learn how to create a week’s worth of social media content with Adobe, Epidemic Sound and Josh Olufemii.

Growing your social media following can be tough when quantity is often rewarded over quality. With templates from Adobe Stock and music from Epidemic Sound, you can create a week’s worth of content in a day without compromising.
Check out Josh Olufemii's video below, then keep reading for more details on how to create one week’s worth of social media content in a day.
How to plan social media content for a week
Let’s say we’re a fashion blogger. We need to create a week’s worth of social media content for our Instagram channel, but we only have one day to do it. That might sound impossible, but Adobe Stock can make it easier than a game of checkers. Here’s how the magic happens.
How to create social media content with Adobe Stock Templates
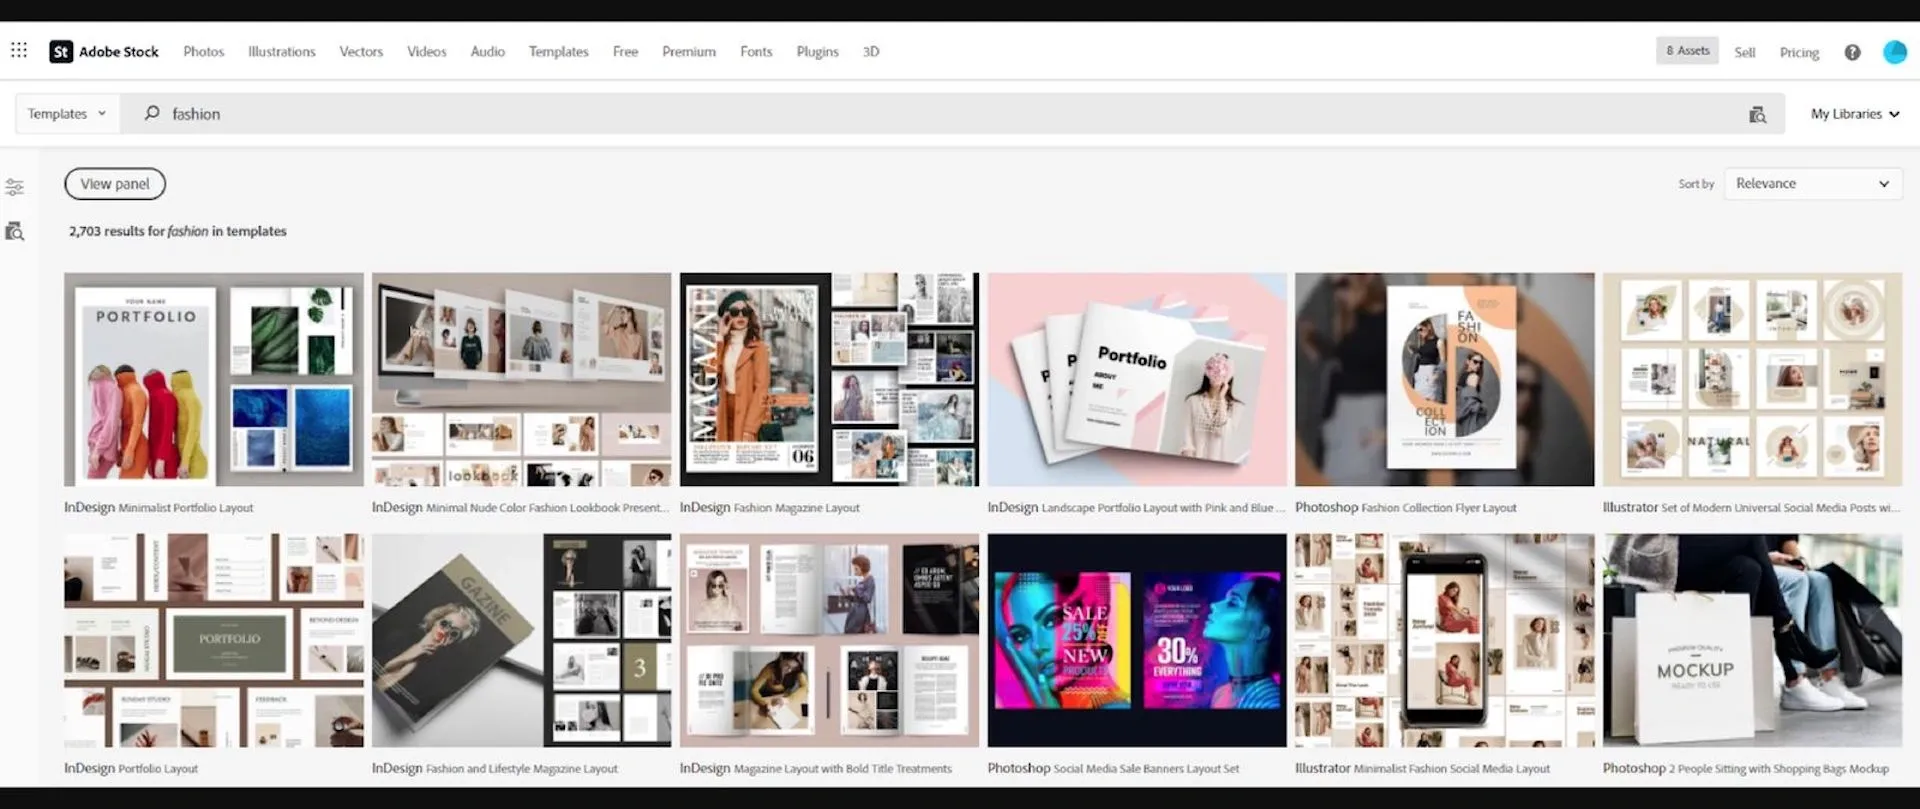
1. Head to the ‘Templates’ tab on the Adobe Stock website, then type in what we’re looking for. In this case, we’re a fashion blogger, so we’ll type in ‘fashion.’
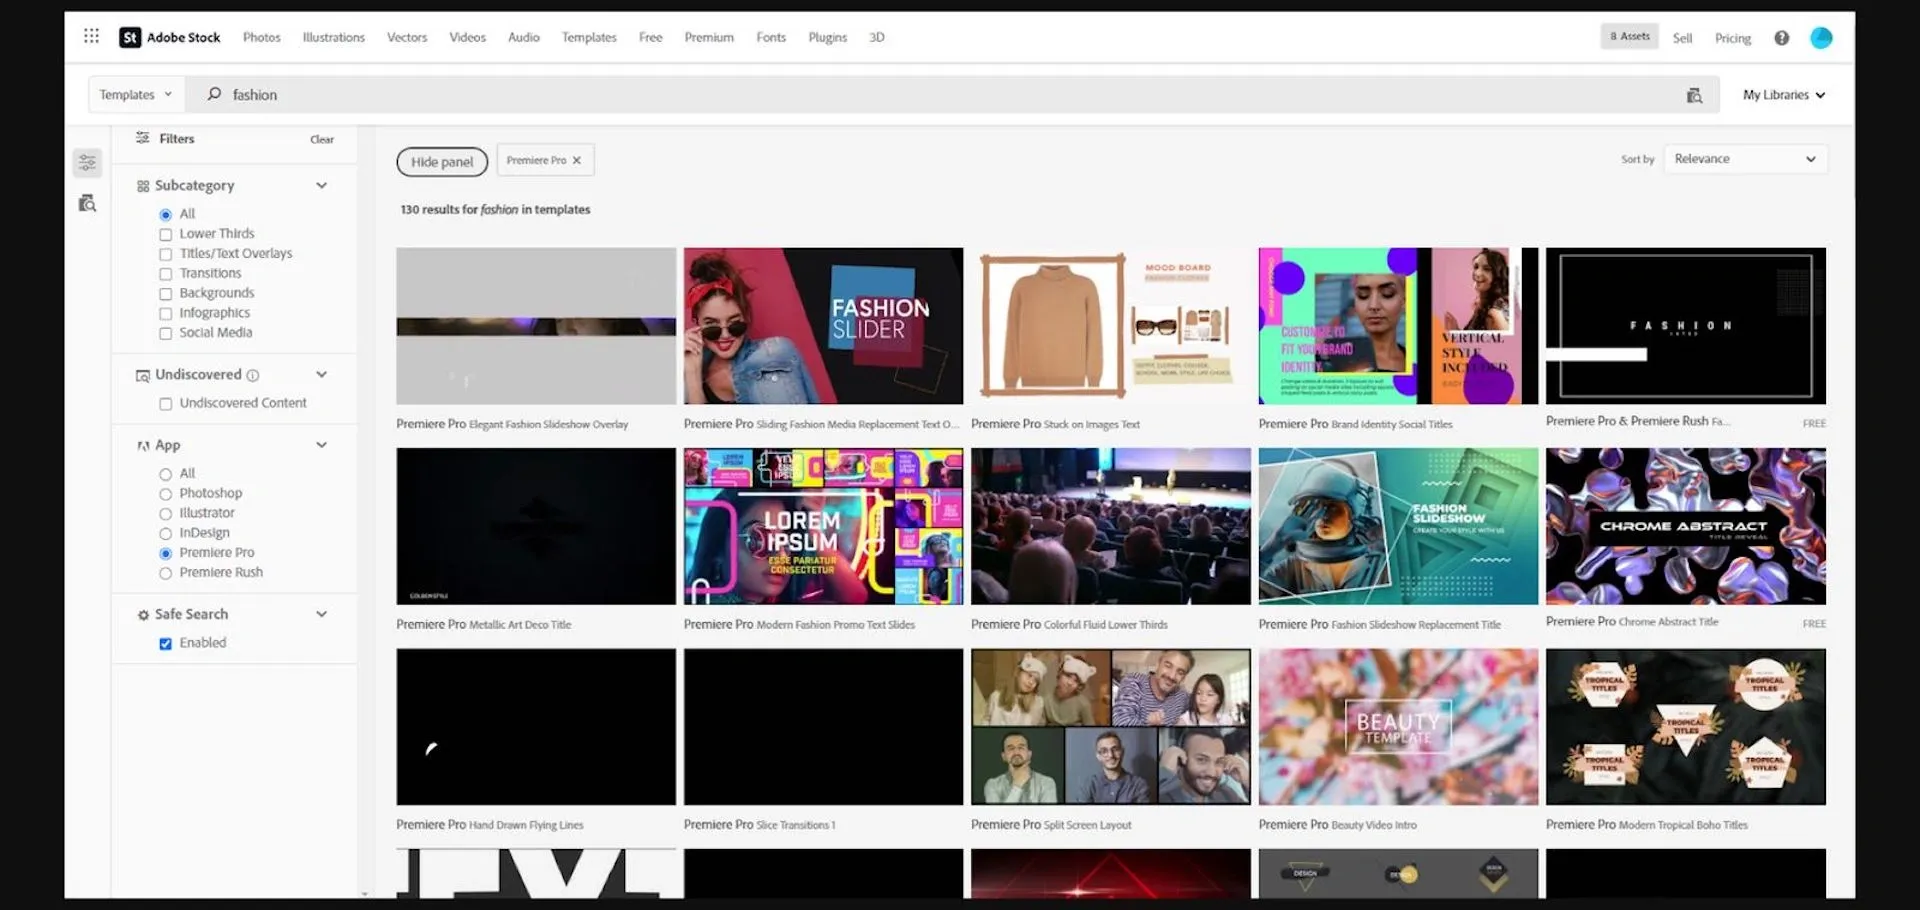
2. Choose our template. As you can see, there’s a massive collection to choose from. However, we’re looking specifically for templates we can use in Premiere Pro, as we want to make video content. All we have to do is click the ‘View panel’ button to reveal our filter options, then check the ‘Premiere Pro’ box.
3. Now it’s time to browse Adobe Stock’s amazing selection of Mogrt templates. Mogrt is short for ‘motion graphics template,’ the file type most commonly used in Premiere Pro.
4. Remember, we’re looking to create a week’s worth of social media content. That means we need to find something with at least seven different styles in the template, to add a little variety to each of our posts. This one is an animated pitch deck, but the style works really well for what we have in mind.
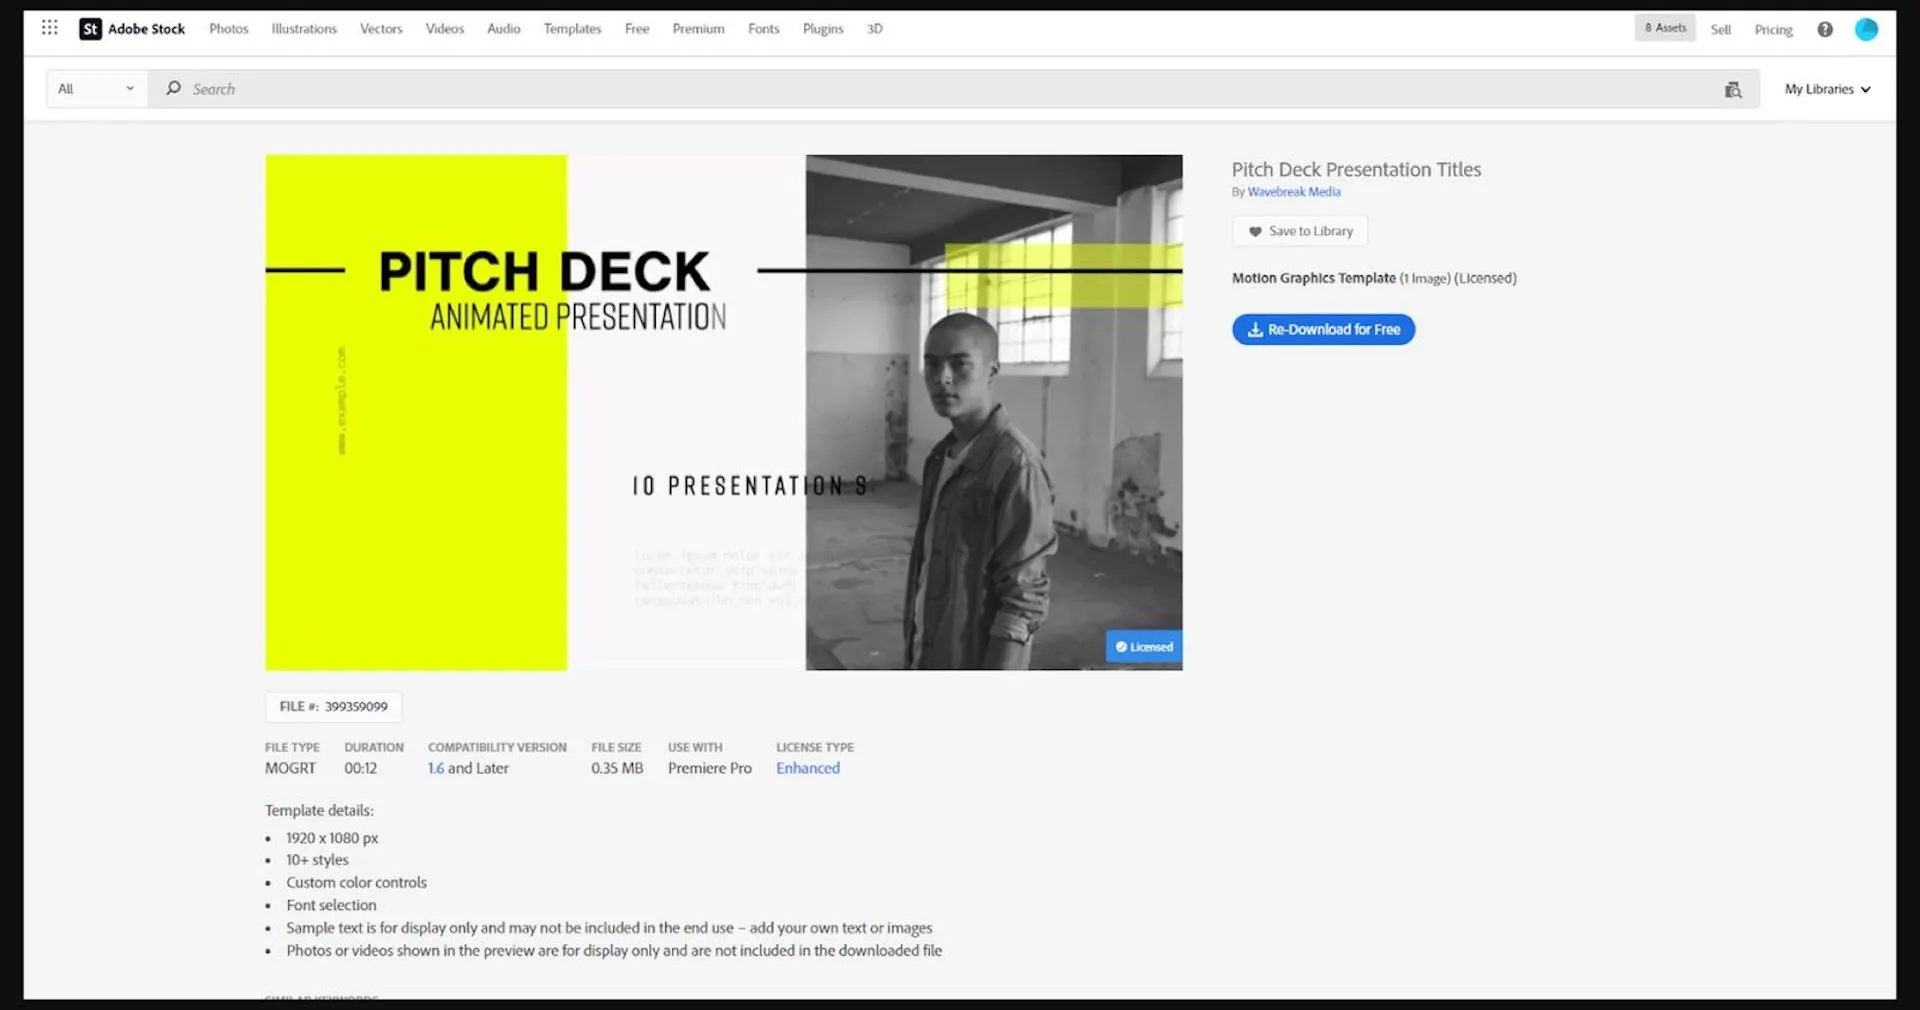
5. If we already have an Adobe Stock plan, we just hit the ‘License’ button. It’s also possible to grab a free trial here and download the file that way.
6. After downloading the Mogrt file, load it into Premiere Pro. With the program open, let’s create a new sequence by clicking the ‘New Item’ icon, then ‘Sequence.’
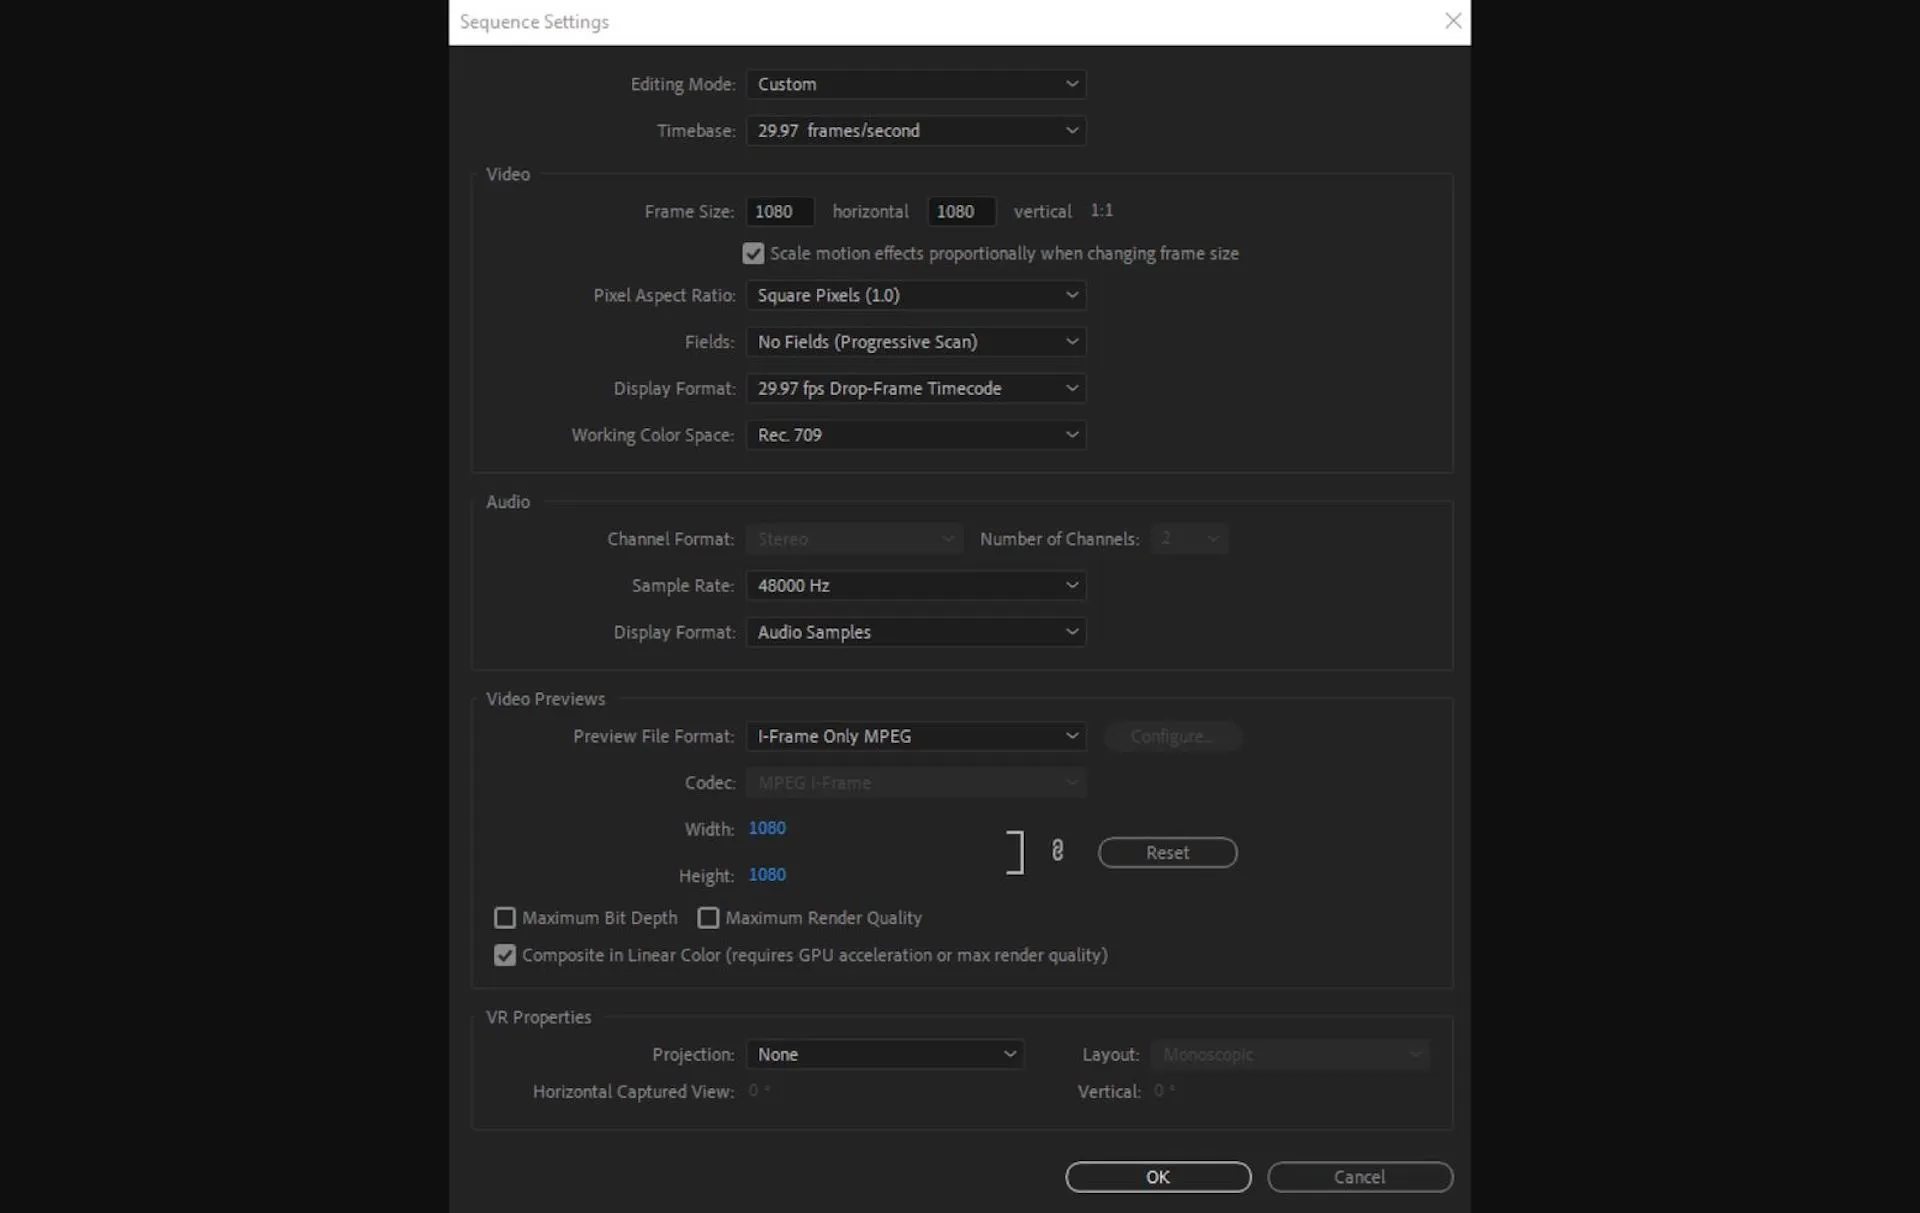
7. Hop over to the ‘Settings’ tab, swapping the ‘Editing Mode’ to ‘Custom.’ This way, we can change a few things like Timebase, Frame Size and Pixel Aspect Ratio.
8. Since we’re creating content for Instagram, we need to edit the frame size. Let’s make it 1080 x 1080, so it’ll come out as a square video. In this section, ensure the ‘Pixel Aspect Ratio’ is set to ‘Square Pixels’ and the ‘Fields’ box is on ‘No Fields.’ These settings will provide the best result and stop anything from looking out of character when uploaded to Instagram. Once we’re done, click ‘OK’ at the bottom of the window.
9. Now we have a sequence created, let’s switch over to the ‘Graphics’ workspace to access the ‘Essential Graphics’ panel. Just click the ‘Workspaces’ button on the top right to open our workspace options.
10. To install the Mogrt file we downloaded from Adobe Stock, click the button on the bottom right of the ‘Essential Graphics’ panel. Once it’s in, the template will show up in the panel for us to use.
11. Let's drag it onto our timeline and see what it looks like.
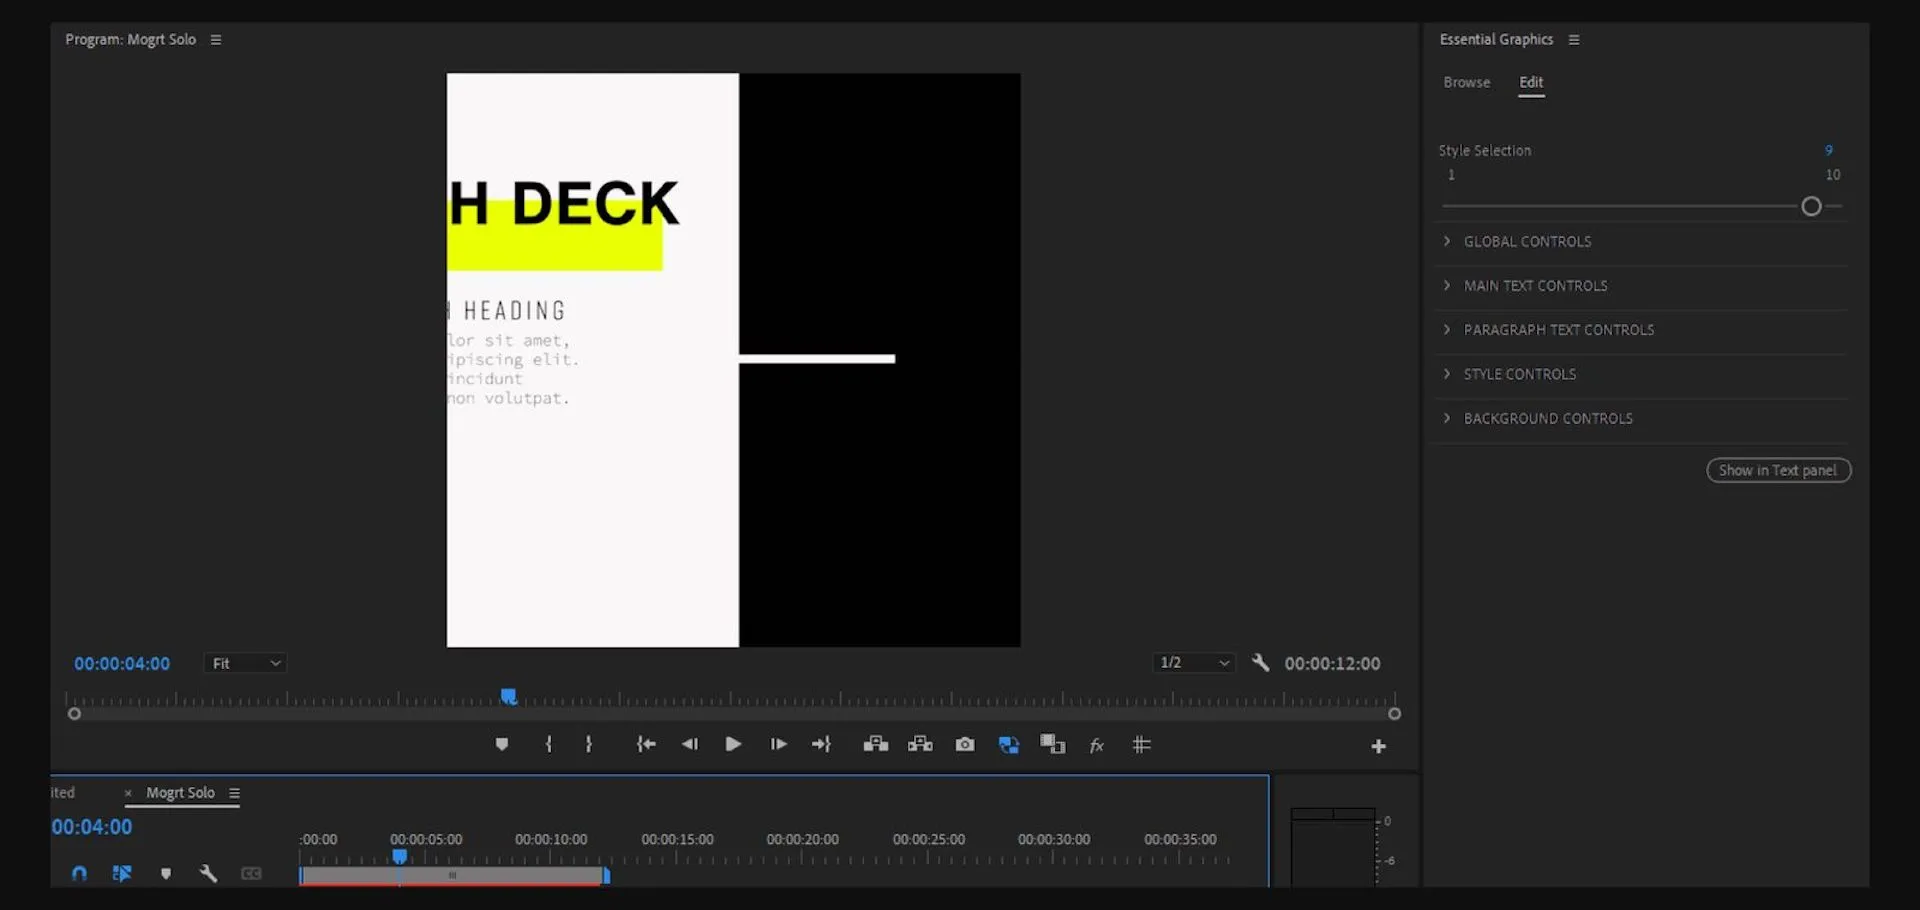
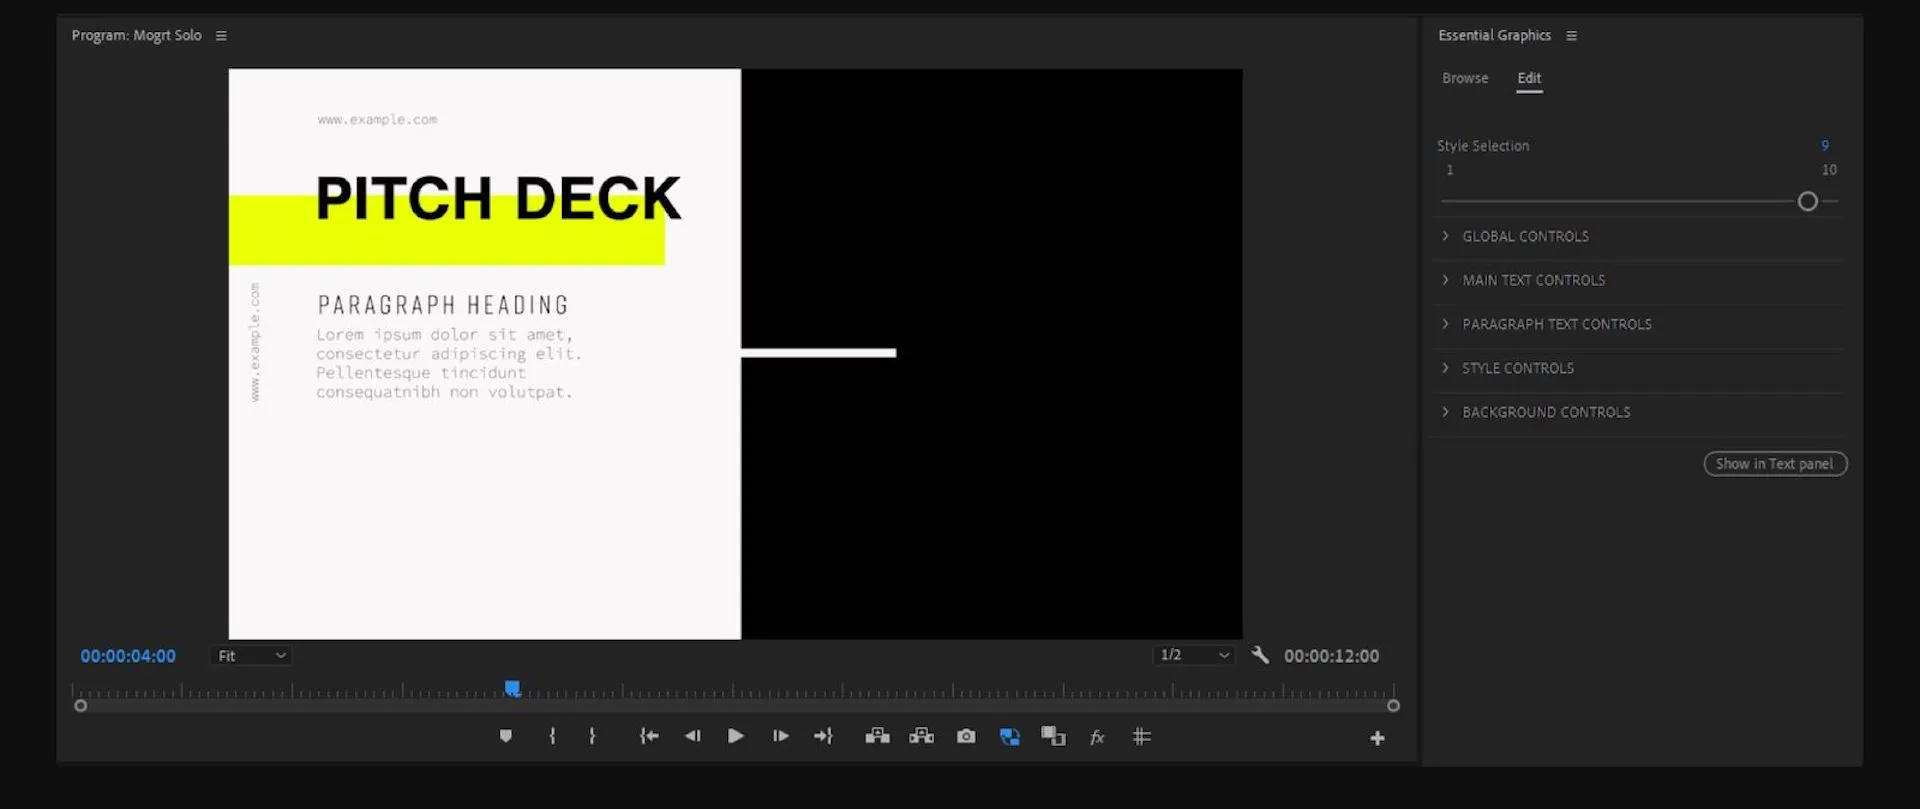
12. Our template is cropped because it was meant for a wider resolution, but we can easily move things around. Click our template layer, then head to the ‘Edit' tab in the ‘Essential Graphics’ panel. This displays all the options we can change in this Mogrt template. For example, we can move the slider for our ‘Style Selection’ to change which style we want to use.
13. To change the text, we’ll just dive into ‘MAIN TEXT CONTROLS’ and start replacing the text with whatever we like. Let’s say we want to show off an ‘Outfit of the Day’ – we’ll type in ‘OOTD’ in ‘Text 01.’ We can move the position of the text with the ‘X’ and ‘Y’ parameters while also tweaking things like the font, text size and color. Do this for all the text options we want to change and keep in our video.
14. Since we’re displaying an outfit in our content, we’ll need to throw in an image. Let’s move this Mogrt layer to the video track above, so we can make space for the image underneath. All we have to do is click and drag it up to create a second video track.
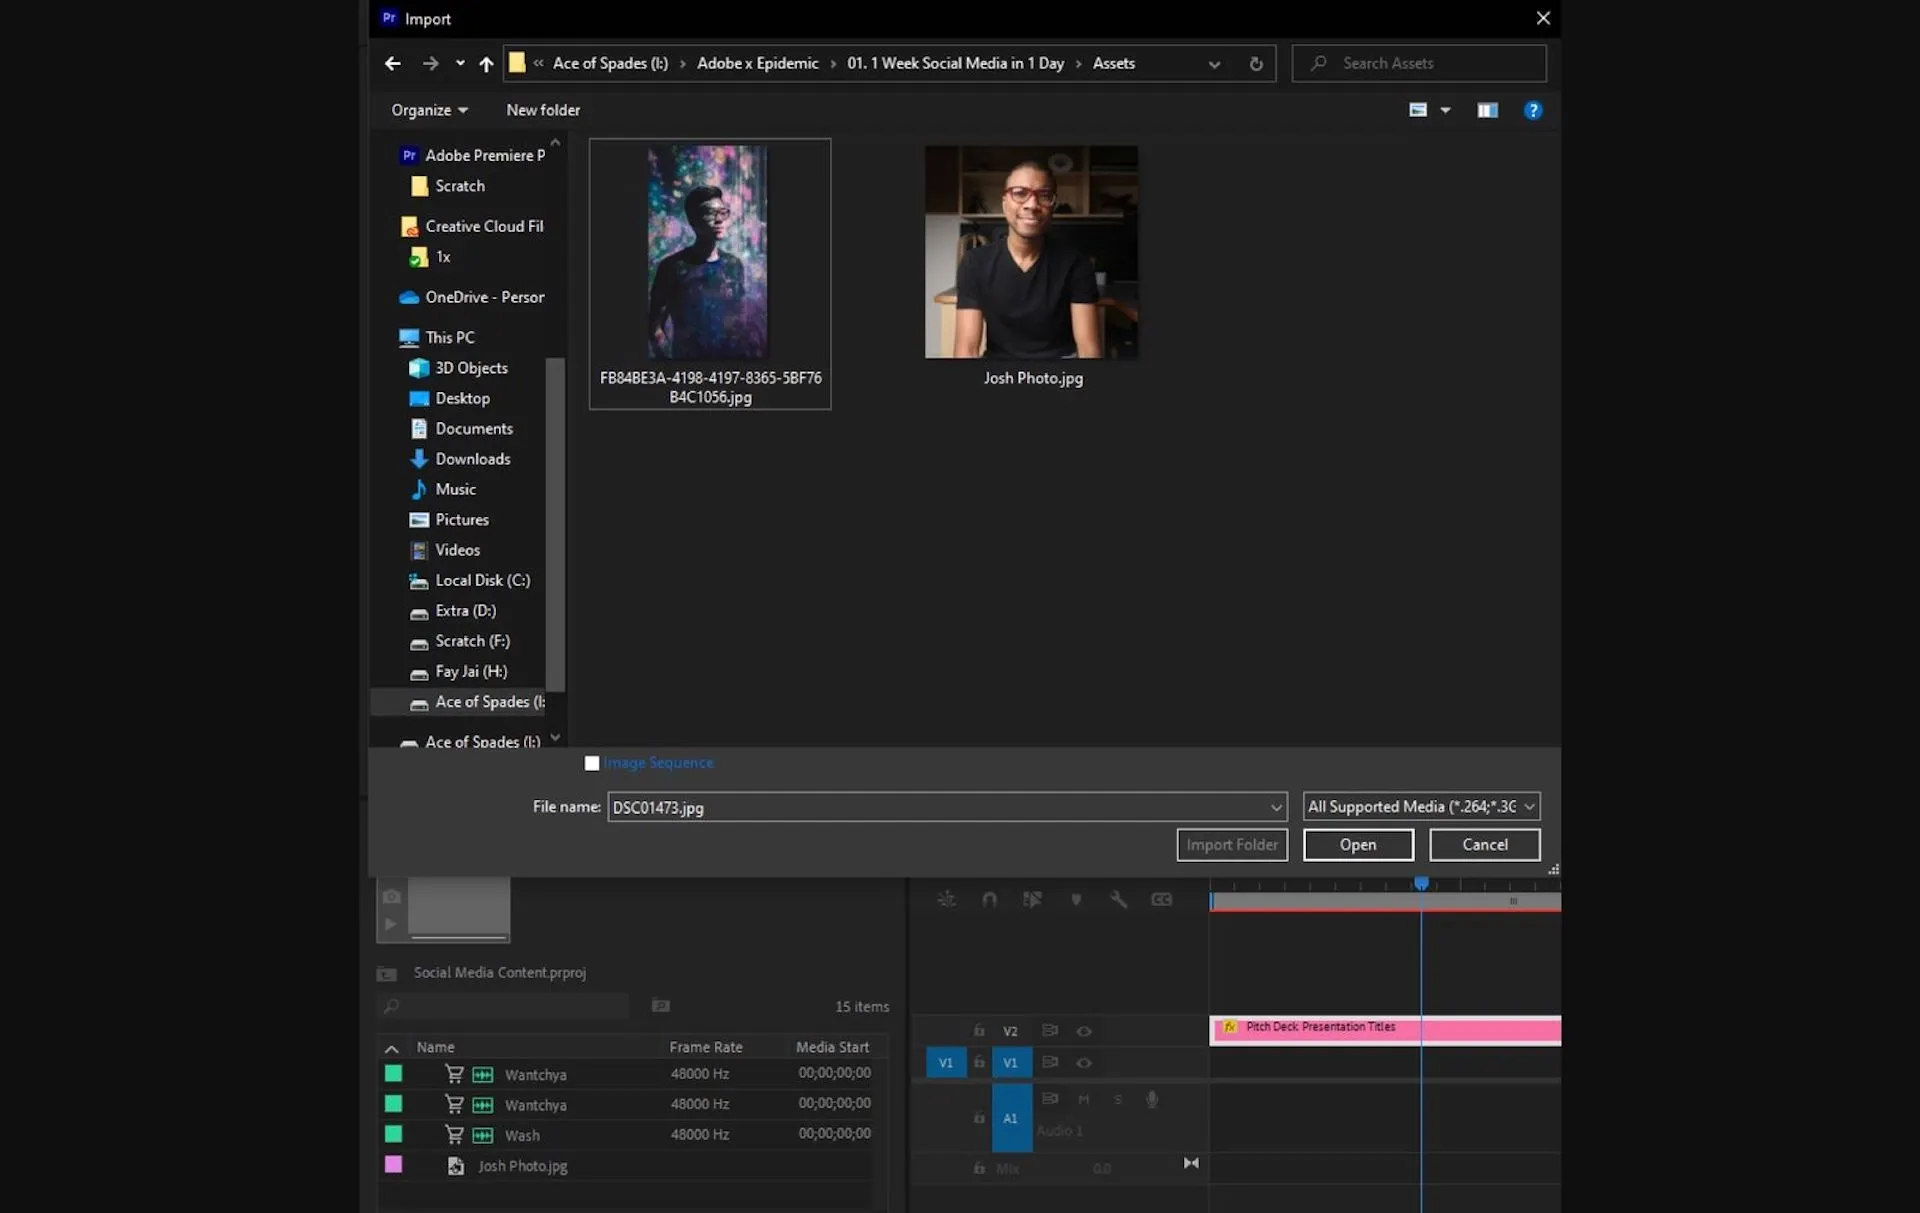
15. Next, double-click an empty space on our ‘Project’ panel to import the photo we want in this video.
16. Once the photo is imported, drag and drop it onto the timeline. But remember: drop it underneath our Mogrt layer.
17. Next, let’s extend the photo so it fits within the duration of the Mogrt template. We just click on either end of the photo layer, then drag it to however long we want the photo to last.
18. We’ll want to resize and reposition the photo by clicking the photo layer, then heading to the ‘Effects Control’ panel.
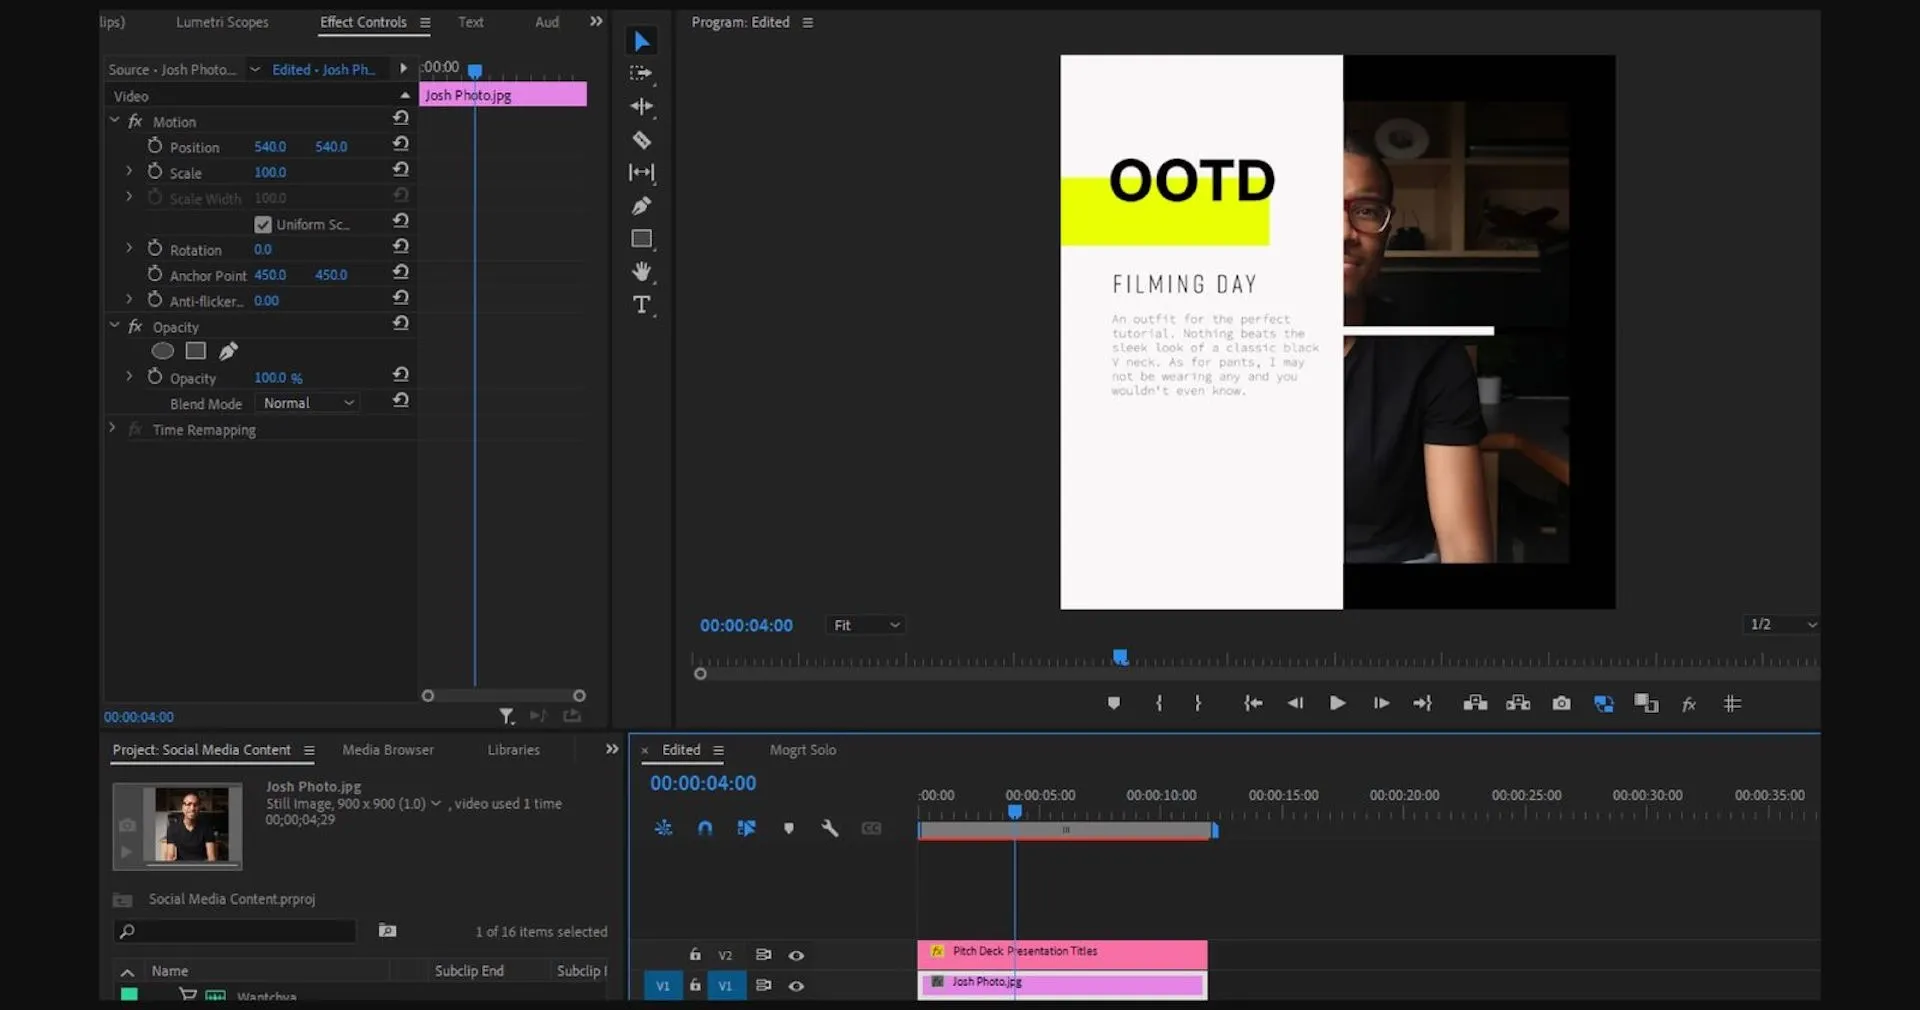
19. Under ‘Motion,’ let’s start moving the parameters under ‘Position’ and ‘Scale’ until the photo fits our video.
20. We just need to check what that looks like when we play it back. If it all looks good, then we’re ready to move onto the next step.
Adding Music With Adobe Stock Audio and Epidemic Sound
Now that we’ve nailed the visual aspect, let’s discuss audio. Music is such an important part of creating the right atmosphere for the content we watch; after all, bad music kills good video.
We want viewers to be sucked into the content. Music helps achieve that, and we can find the perfect track with Adobe Stock audio – we don’t even have to leave Premiere Pro. Here’s how.
1. Head to ‘Window’ at the top, then open up the ‘Essential Sound’ panel. In the ‘Browse’ tab, we’ll have instant access to a whole host of music catalogs.

2. Click on ‘Filters,’ where it’s possible to scroll through variables like tempo, duration and vocals.
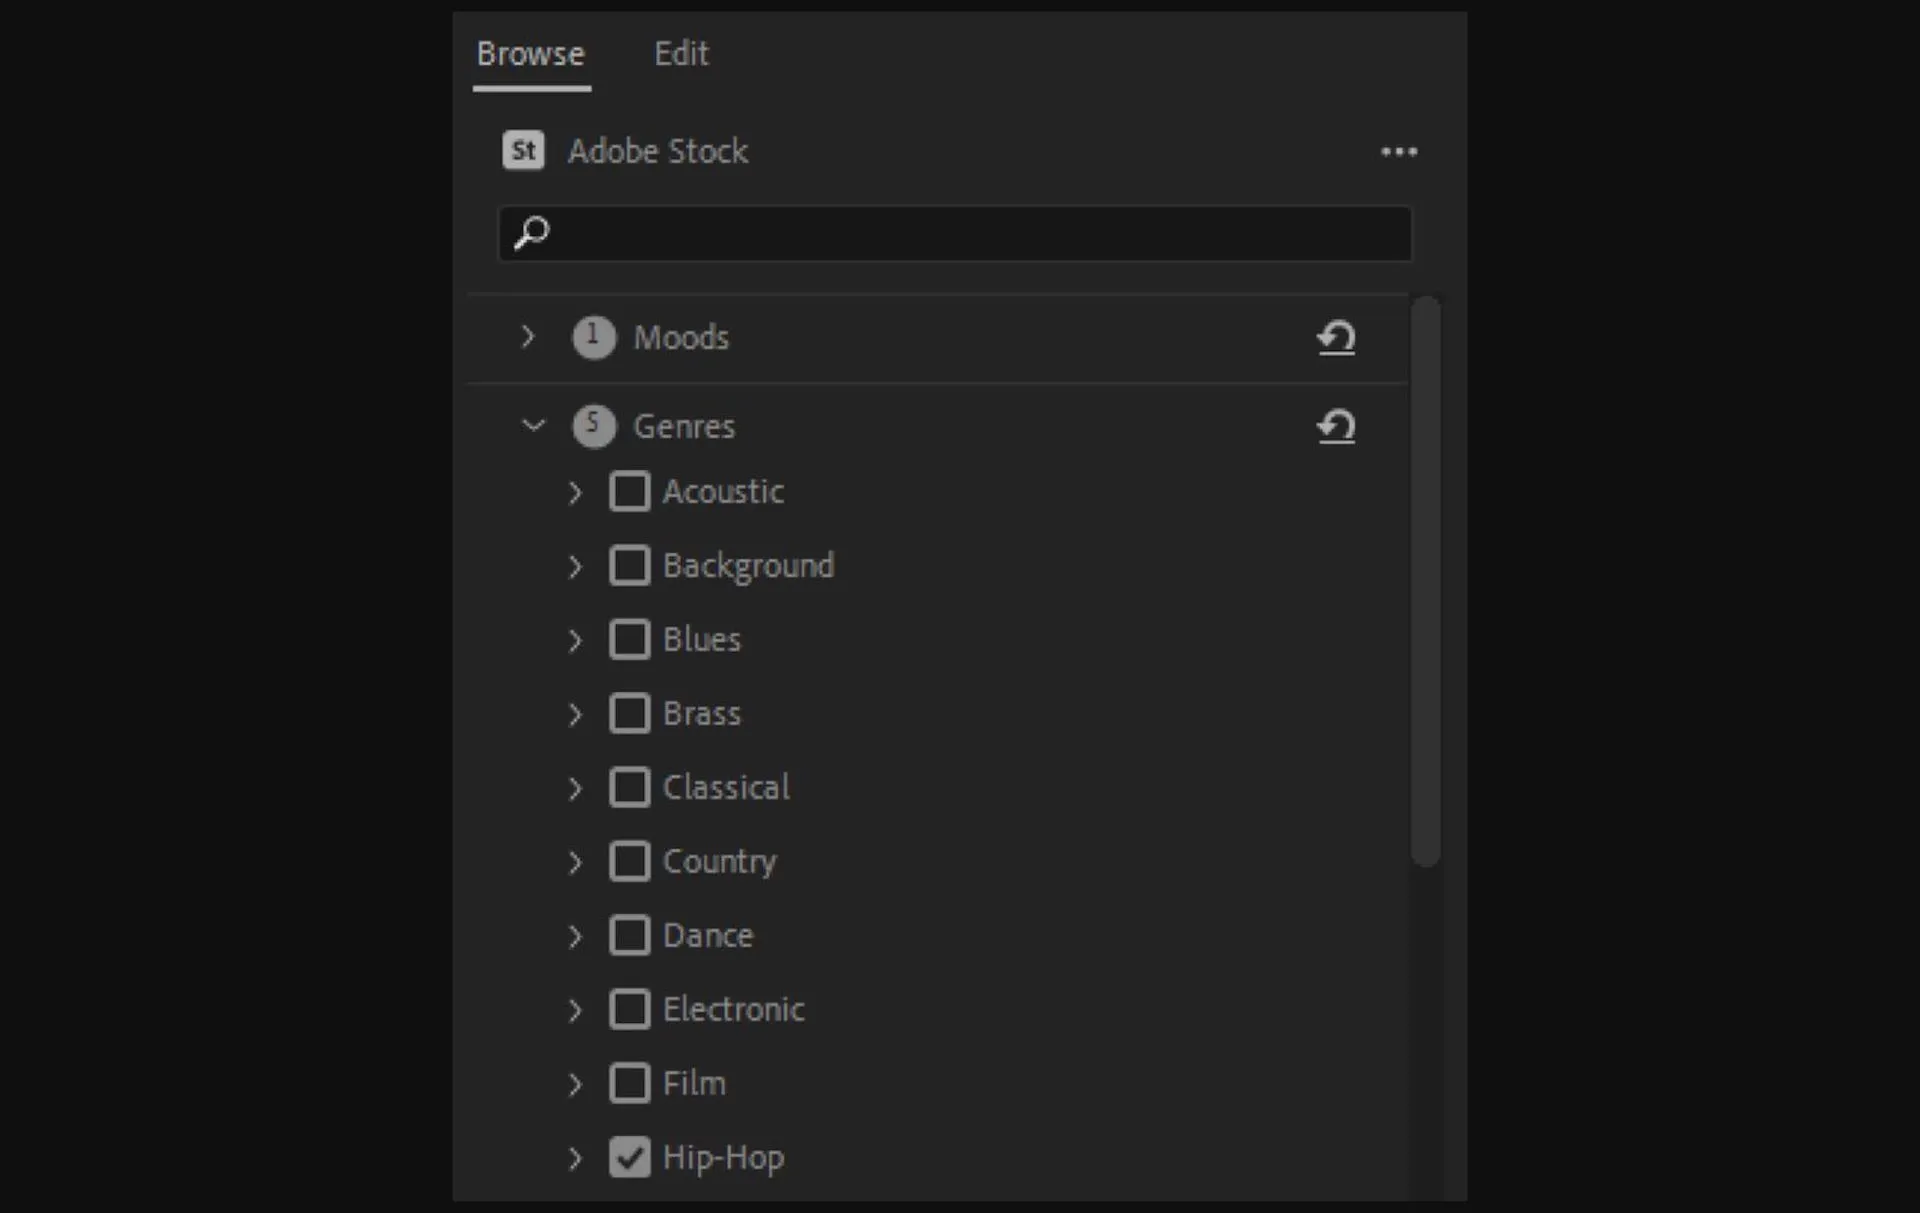
3. Check the ‘Epidemic Sound’ box. Epidemic Sound’s catalog has more than 50,000 tracks and 200,000 unique sound effects and variations, ensuring there’s music for every moment.
4. Refine our search with options like ‘Moods’ and ‘Genre.’ For our content today, we’re feeling like some Hip-Hop; let’s select that under the ‘Genres’ tab. As for ‘Mood,’ let’s go for something laid back like ‘Atmospheric.’
5. We’ll be given a list of amazing Epidemic Sound tracks to choose from. If we want to hear how a track sounds alongside our edit, the ‘Timeline sync’ feature is worth using. As long as this box is checked, we can hit the ‘Play’ button on the track to preview it right away. Let’s choose Frook's Always Raining.

6. Another way to preview tracks is simply dragging and dropping them onto our project timeline, right in the audio track.
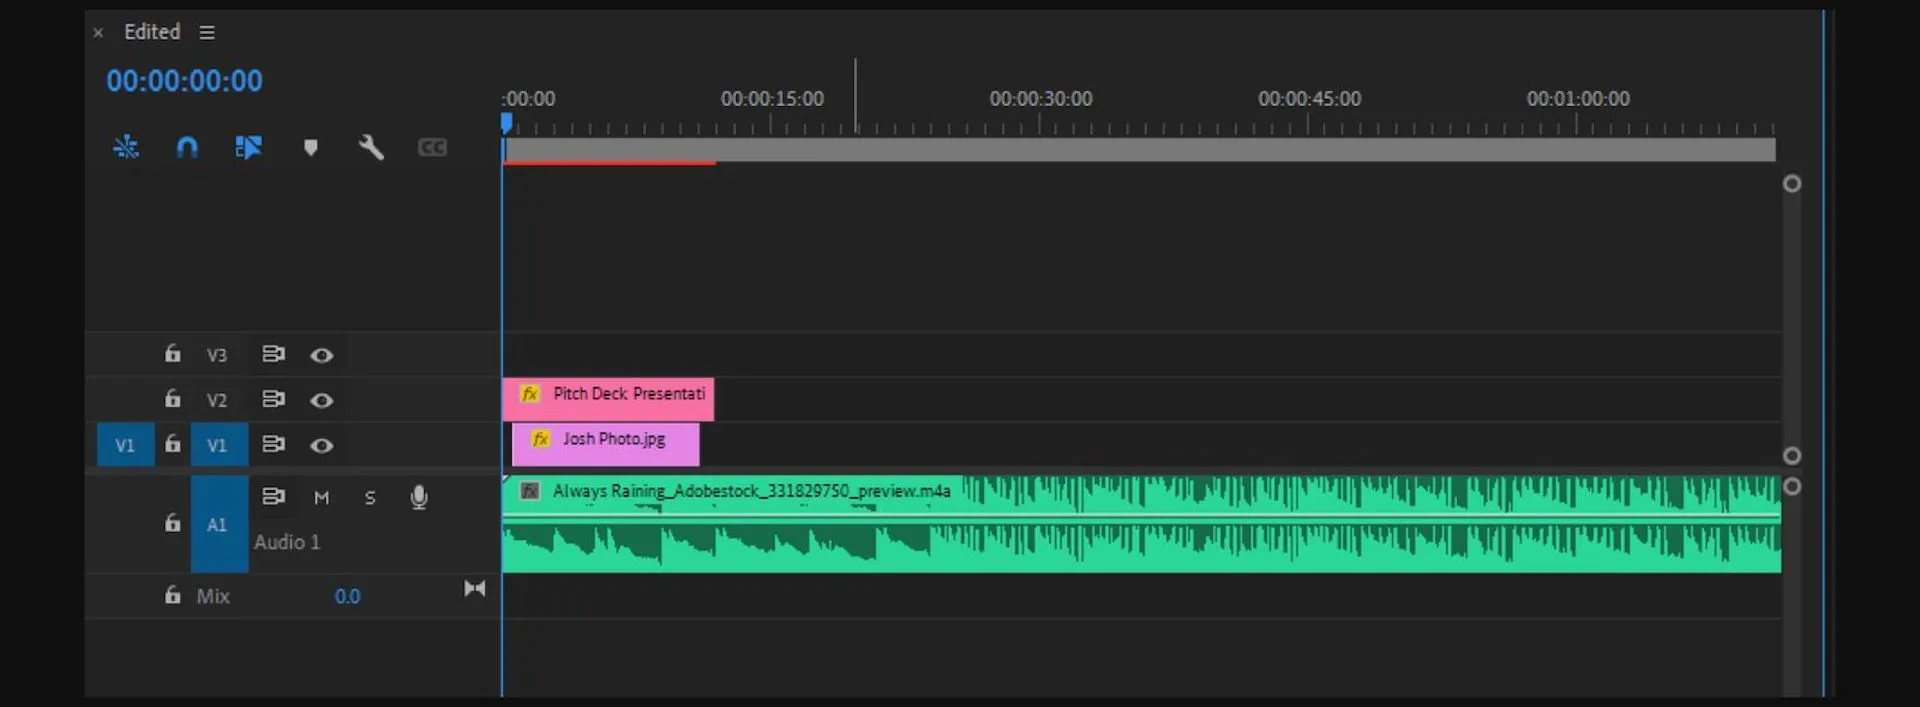
7. Let’s cut the music so the beat starts along the beginning of the video, and then play it back. If it starts too late or too early, we can always drag it along the timeline to adjust.
8. To purchase the track directly in Premiere Pro, click the shopping cart icon next to the music. Once we’ve bought the track with Adobe Stock credits, we won’t have to pay anything else to use it.
Exporting Our Content
The image is chosen, the text is replaced and we’ve found the perfect track. It’s time to export our first animated social media post.
For a simple video like this, we can use the ‘Quick Export’ button. This automatically picks the most popular or frequent preset. From there, we’ll choose where we want to save the file, name it, then hit the ‘Export’ button.
Just like that, we’ve created an engaging post that’s not only eye-catching but musically rich. To create a week’s worth of social media content, we’d simply repeat what we’ve done six times, choosing the other styles in the template and changing the text, images and music where necessary.
And that’s it. We’ve just created a week’s worth of social media content in a day. We can mix it up and create a mixture of still images and animated/video content if needed – whatever’s best for our socials.
How do I create a social media content plan?
If you want to create social media content weeks in advance on a regular basis, it might be worth starting a social media content plan. This can help you find gaps in your schedule, plan ahead and deliver consistently high-quality content for your audience. Learn more about how to create a social media content calendar here.
Related posts: