Shooting an interview: 10 top tips for nailing your footage
Shooting an interview? Check out our top 10 tips.

Shooting an interview can be rewarding, but it’s complex. Dig into this article and find out the essentials you need to ace your footage.
We’ll go through 10 tips to keep in mind while shooting an interview, plus some things to avoid. But first, let’s answer a couple of quick questions.
How long does it take to shoot an interview?
How long is a piece of string? The length for interview shoots depends on a bunch of variables: how much time does your interviewee have, how available are you and your team, how easy-going is the topic, do you have additional interviewees if you don’t get what you need – it’s impossible to narrow it down to one answer. You could get 10 minutes of useable footage from a 12-minute interview, or you could get 30 seconds.

To be on the safe side, it’s worth shooting more footage than you’ll need. Some companies swear by capturing 10 times the amount of content that they’ve planned for. So, if you’re aiming for a three-minute interview, shoot around half an hour of conversation.
Even if most of the footage doesn’t make the final cut, you can use some of the information provided to add context elsewhere in your film. If you’re using more than one camera, these extra slices of content are great for B-roll.
Can you shoot an interview on your iPhone?
You can certainly shoot an interview on an iPhone – the newer models are packing great cameras. If you get yourself a gimbal or tripod, some decent lighting, an adequate space to record in, and a good microphone, you’ll be able to capture usable footage.

However, learning how to record an interview on an iPhone isn’t the same as doing so with standalone cameras. For one, Apple’s flagship mobile device doesn’t offer the same levels of customization you’d get from cameras; you’ll suffer issues like battery drain much quicker on an iPhone, too. Also, purely going on aesthetics, an interviewee will likely feel more comfortable being filmed with a camera – it looks more professional than an iPhone.
Another element that’ll lend your footage a professional feel is the music. After all, the soundtrack can make or break your content – nail it every time with Epidemic Sound. Browse our catalog of more than 50,000 tracks below and find the perfect match today.

10 top tips for shooting interview footage
This is what you’re here for, right? Let’s go, then – 10 tips on how to shoot interviews. We’ll cover:
1. Give your subject discussion points before the interview
2. Pick an appropriate interview environment
3. Decide between natural lighting or something more stylized
5. Frame your subject and background
6. Prepare your camera’s settings
7. Have the interviewee spell and say their name
8. Shoot more footage than you’ll need
9. Ask the subject to mix the question into their answer
1. Give your subject discussion points before the interview
Whether your subject is a tech whistleblower, a head of state, or an office worker, they need to feel comfortable on camera. One easy way to relax them is by giving them discussion points ahead of your interview.
However, there’s a difference between giving guidance and spilling the beans. If you give your interviewee the exact line of questioning and run through it with them beforehand, your filmed interview may lose the spontaneity and unexpected reactions that make this kind of content so appealing.
You could include some discussion points as part of a briefing pack, checking in with your subject to ensure they’re comfortable with all the things you’d like to cover. That way, you can avoid any nasty surprises during the filmed interview.
If you’ve arranged your interview through a third-party contact, like management or a PR agency, you’ll do well to follow their rules. If you’re told that a specific topic is out of bounds, it’s usually for a reason. See below, if you don’t mind wincing.
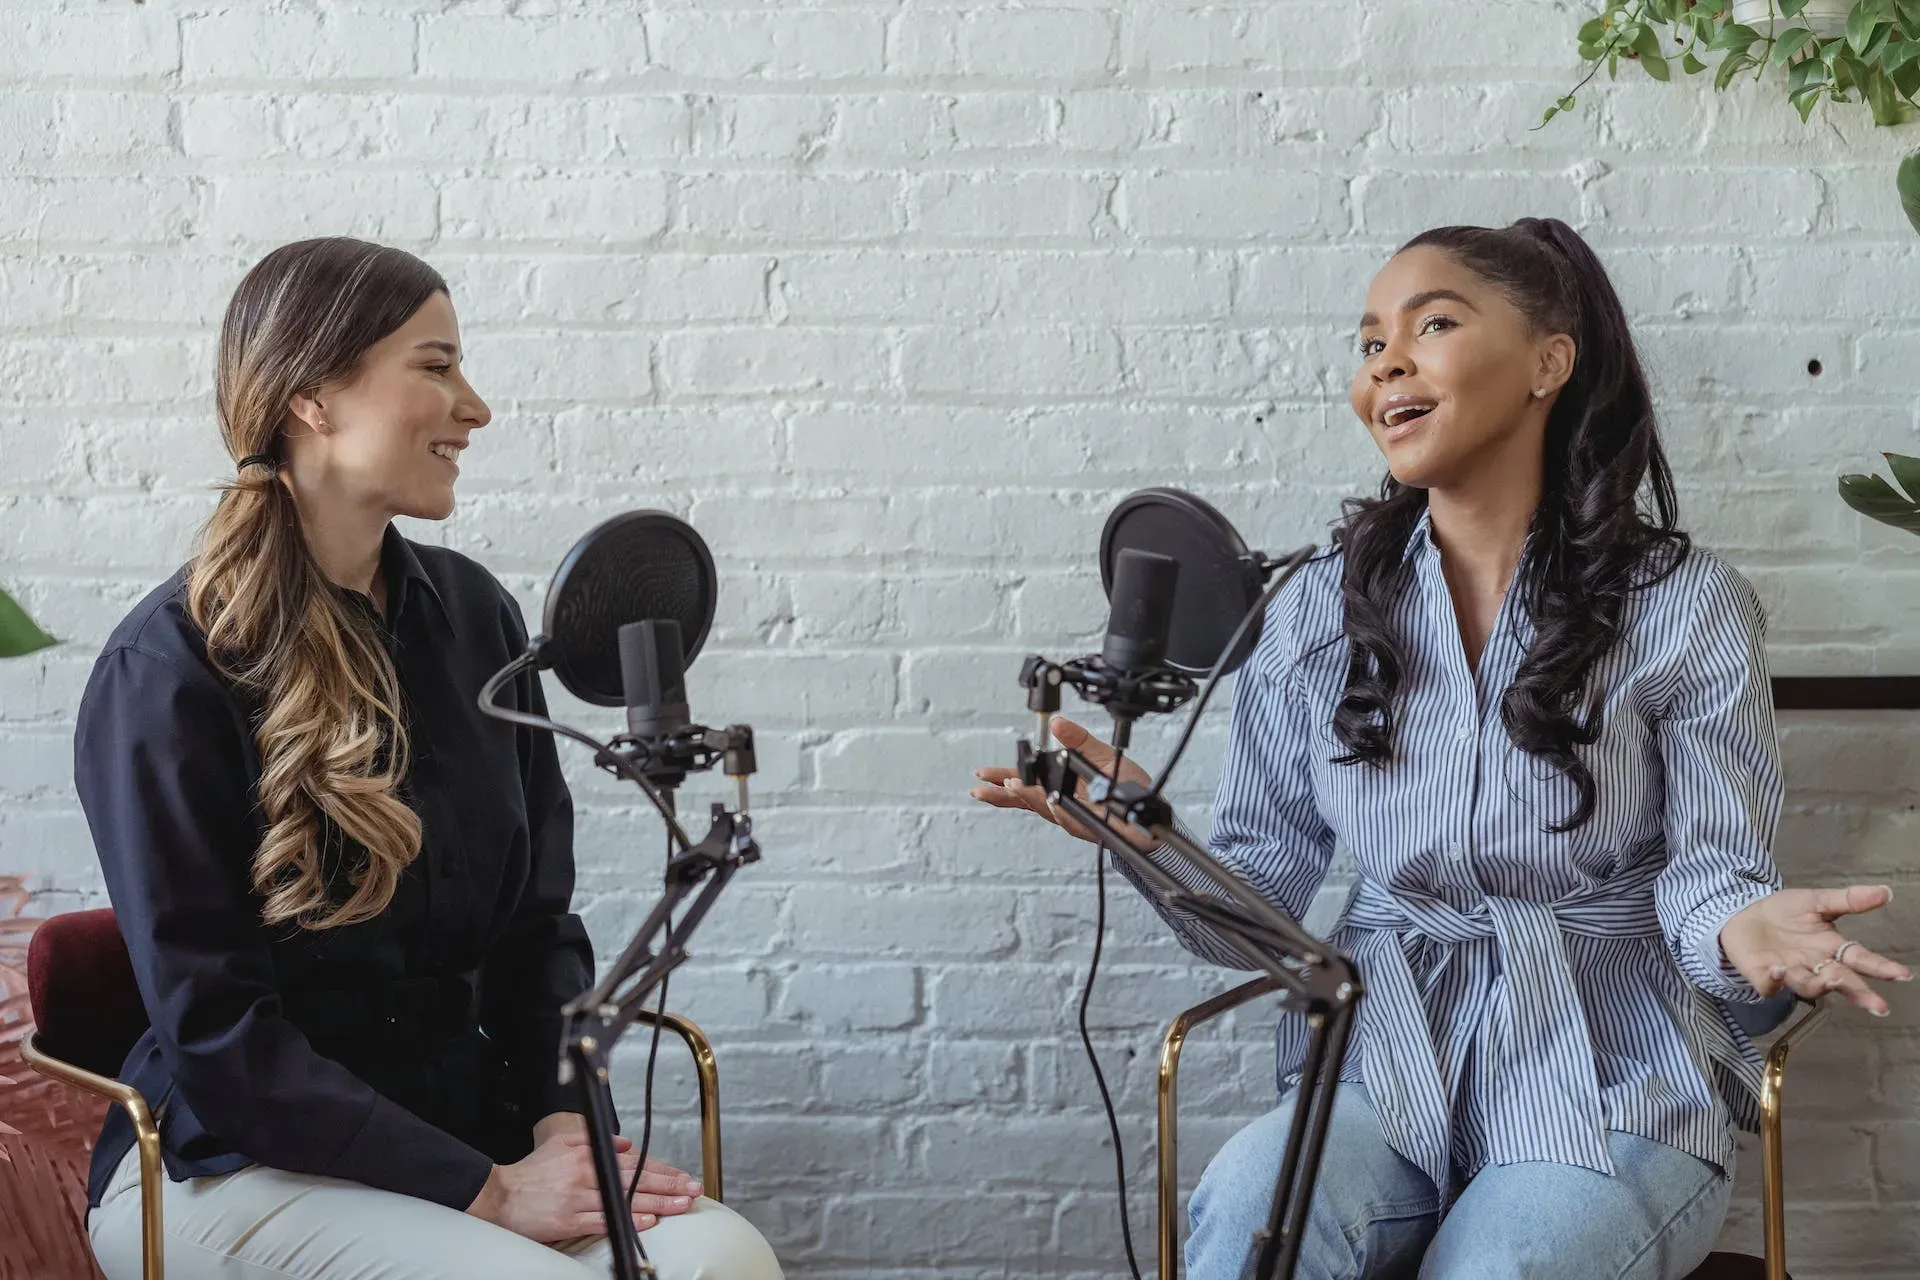
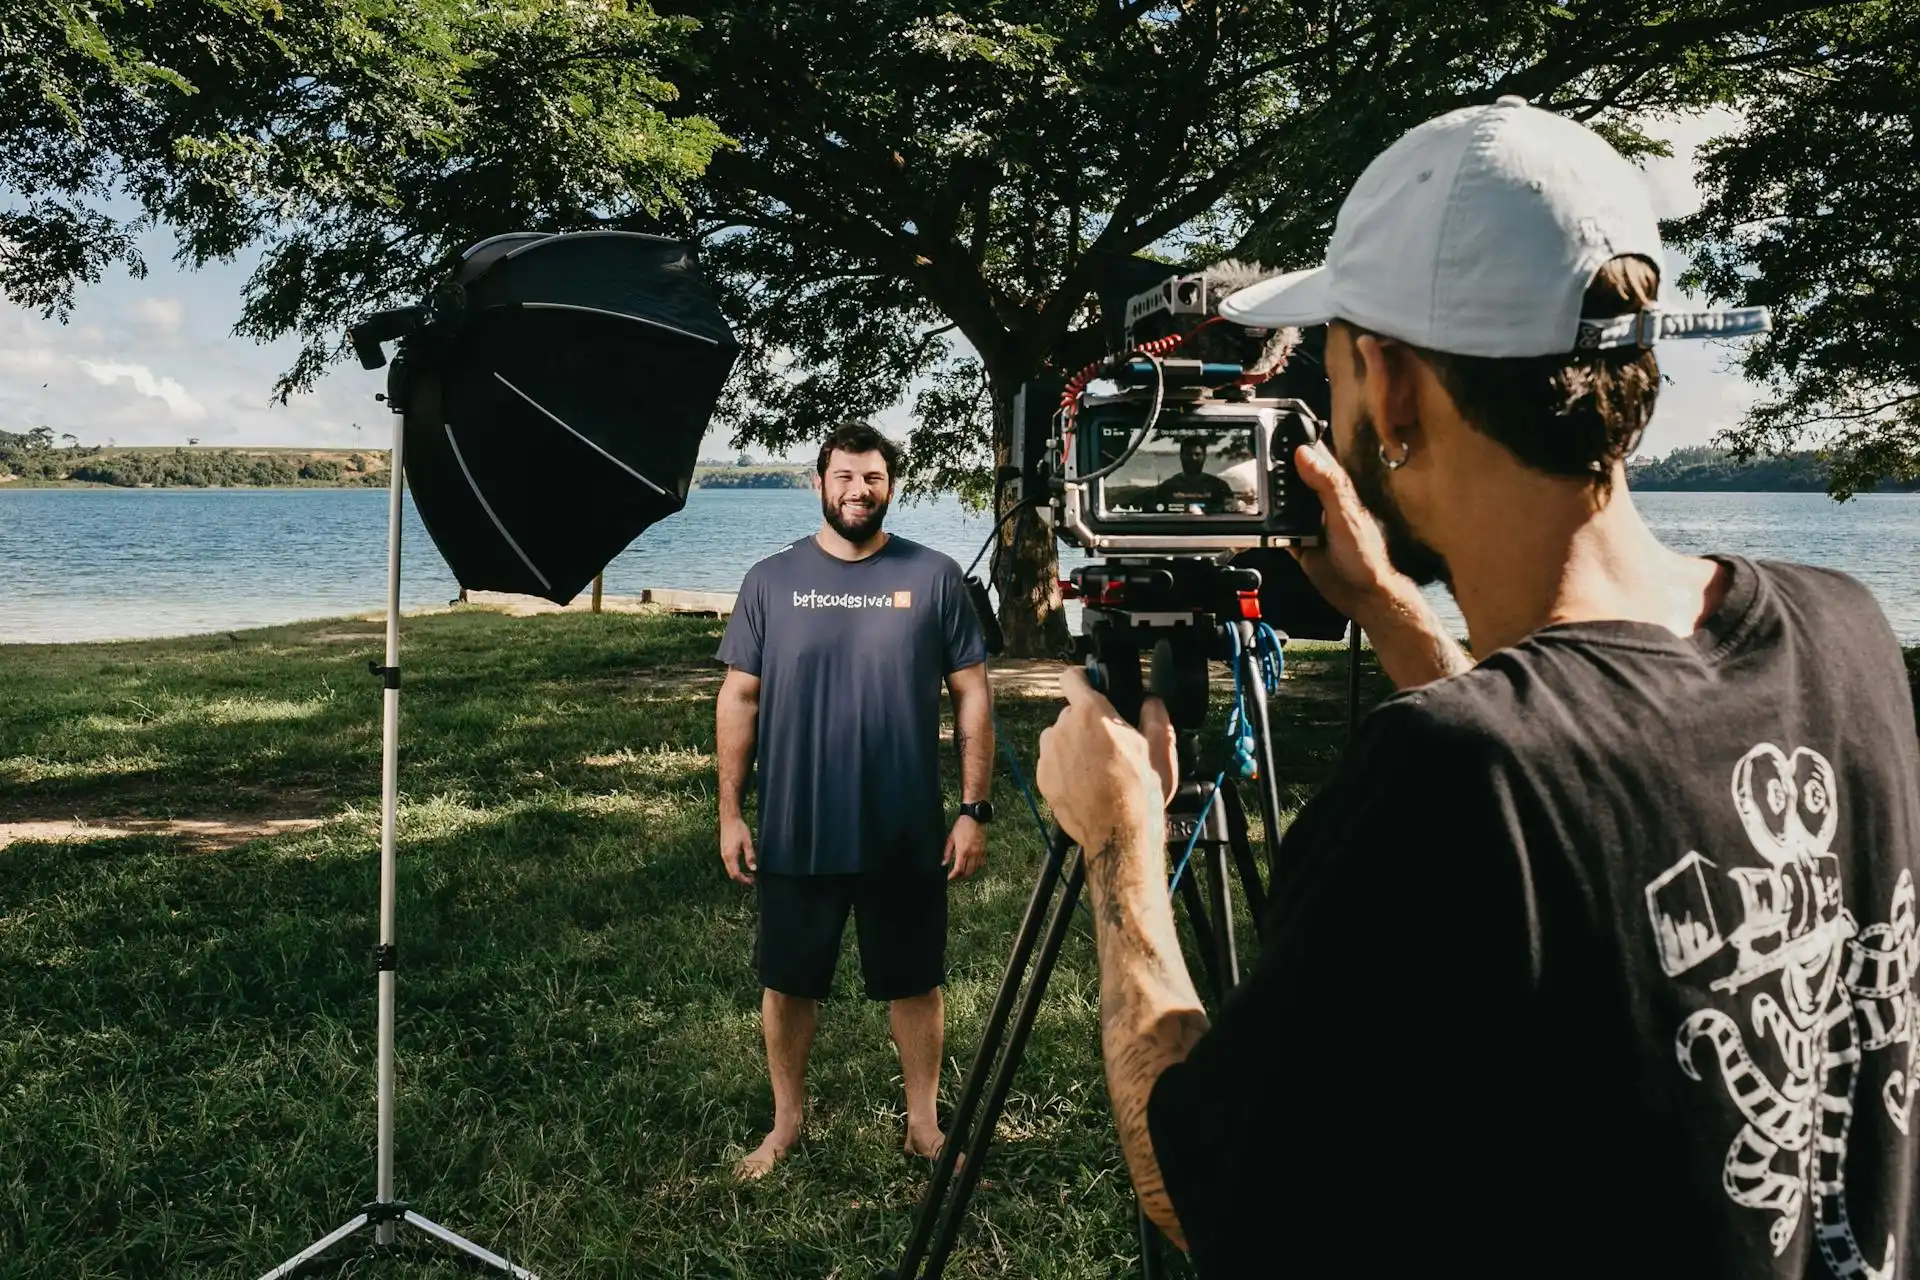
2. Pick an appropriate interview environment
An interview hinges on a subject being able to speak their truth. If they’re constantly interrupted by noise pollution like birdsong, slamming doors, buzzing electrical appliances, and angry neighbors, that truth becomes difficult to hear.
Whether you interview someone at their home, in a studio, or in a field, your needs should be met. Will there be enough light, and if not, will you have the means to reproduce that light? How bad is the background noise? Are there enough power outlets? Review the space, film some test footage if you’re able, and see if it’s up to the task. Even if you're shooting a vox pop, the location needs to work – after all, bad audio kills good video.
Whether you interview someone at their home, in a studio, or in a field, your needs should be met. Will there be enough light, and if not, will you have the means to reproduce that light? How bad is the background noise? Are there enough power outlets? Review the space, film some test footage if you’re able, and see if it’s up to the task. Even if you're shooting a vox pop, the location needs to work – after all, bad audio kills good video.
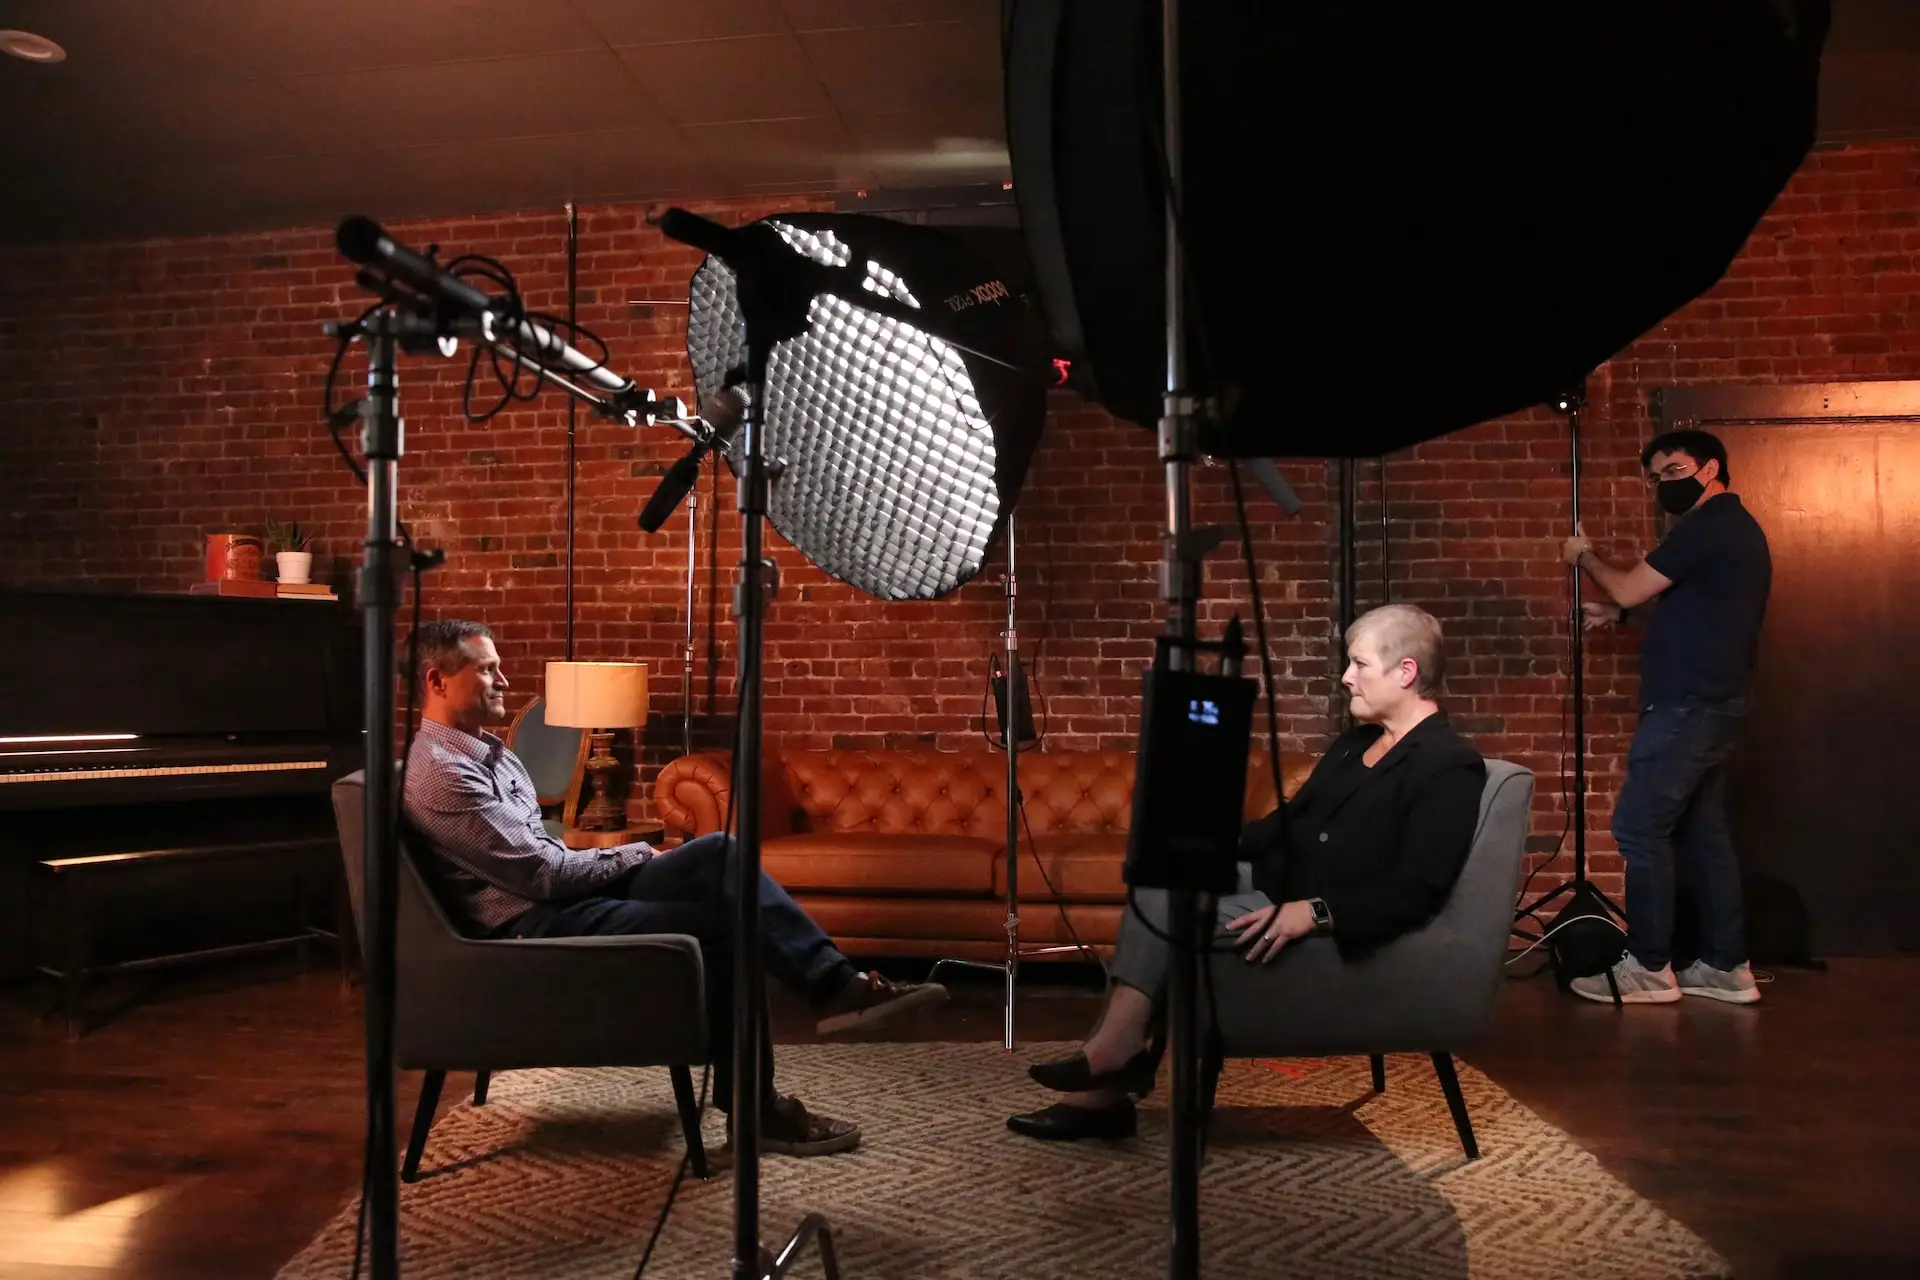
3. Decide between natural lighting or something more stylized
Most interviews work best with natural lighting, or at least natural-style lighting. Placing your subject in a room with lots of light coming from the windows will create a warm, pleasant-looking shot. If you’re outside and natural lighting conditions aren’t producing the results you’re after, you could use a diffuser and bounce board to reflect light onto your subject.
More often than not, though, you’ll be shooting in a controlled environment. If this is the case, you can use the three-point lighting technique. This requires:
- A key light, placed close to your main camera and at a roughly 45-degree angle from your subject
- A fill light, placed opposite your key light
- A backlight, placed behind or to the side of your subject at a 45-degree angle
This combination of shadow and light will help create a natural-looking image with real depth. But just because you’re filming an interview, it doesn’t mean that your footage has to look ‘real.’ Chiaroscuro lighting can work a treat for dramatic or serious interviews, while a lo-fi, intentionally boring setup could work for a mockumentary.
4. Optimize for sound
Sure, you want your content to look good, but people watch interviews to know what the subject has to say. If they can’t hear it – or if you can’t hear it when you’re reviewing the footage – then the interview hasn’t done its job.
Check your levels, and shoot some test footage to make sure it all sounds as it should. If you’re filming multiple interviewees, set their mics’ volume to the same level; if you’re going to ask questions off-camera, turn your voice down so it doesn’t overpower your subject.
And even if you’re just filming one person, you’ll still need a microphone – the built-in mic on your iPhone or camera won’t cut the mustard here. Professional content requires professional audio, and you’ll be able to achieve that with an external microphone.
Do you want zero trace of a microphone in the shot, giving the impression of ‘natural’ speech? You should check out boom mics. How about a discrete, small microphone that’ll capture all the tiny nuances? You might want to make friends with the trusty lavalier microphone.
Or maybe you’d like the mic to remain in the shot, either in the subject’s hand or resting on a stand nearby. The kind of microphone you use for your interview will depend on the conditions in which you shoot – one person’s treasure is another’s trash. Test your audio gear with some footage beforehand, see how it works with the rest of your set-up, and come to the interview with a plan B in case your main microphone cuts out.
5. Frame your subject and background
Even when you’re filming one person in an empty office, there are framing elements to consider. A wall with the smallest dash of detail is better than a plain white background, even if it’s just a bulletin board.
You’ll need to meet your subject’s eyeline, too – if you’re talking to them from behind the camera but you’re towering above them, their natural reaction will be to gaze up at you. That’s going to look odd. Shoot some test footage with the subject before you record, get them comfortable, and position them (and yourself) so that when they’re answering your questions, they’re addressing the camera.
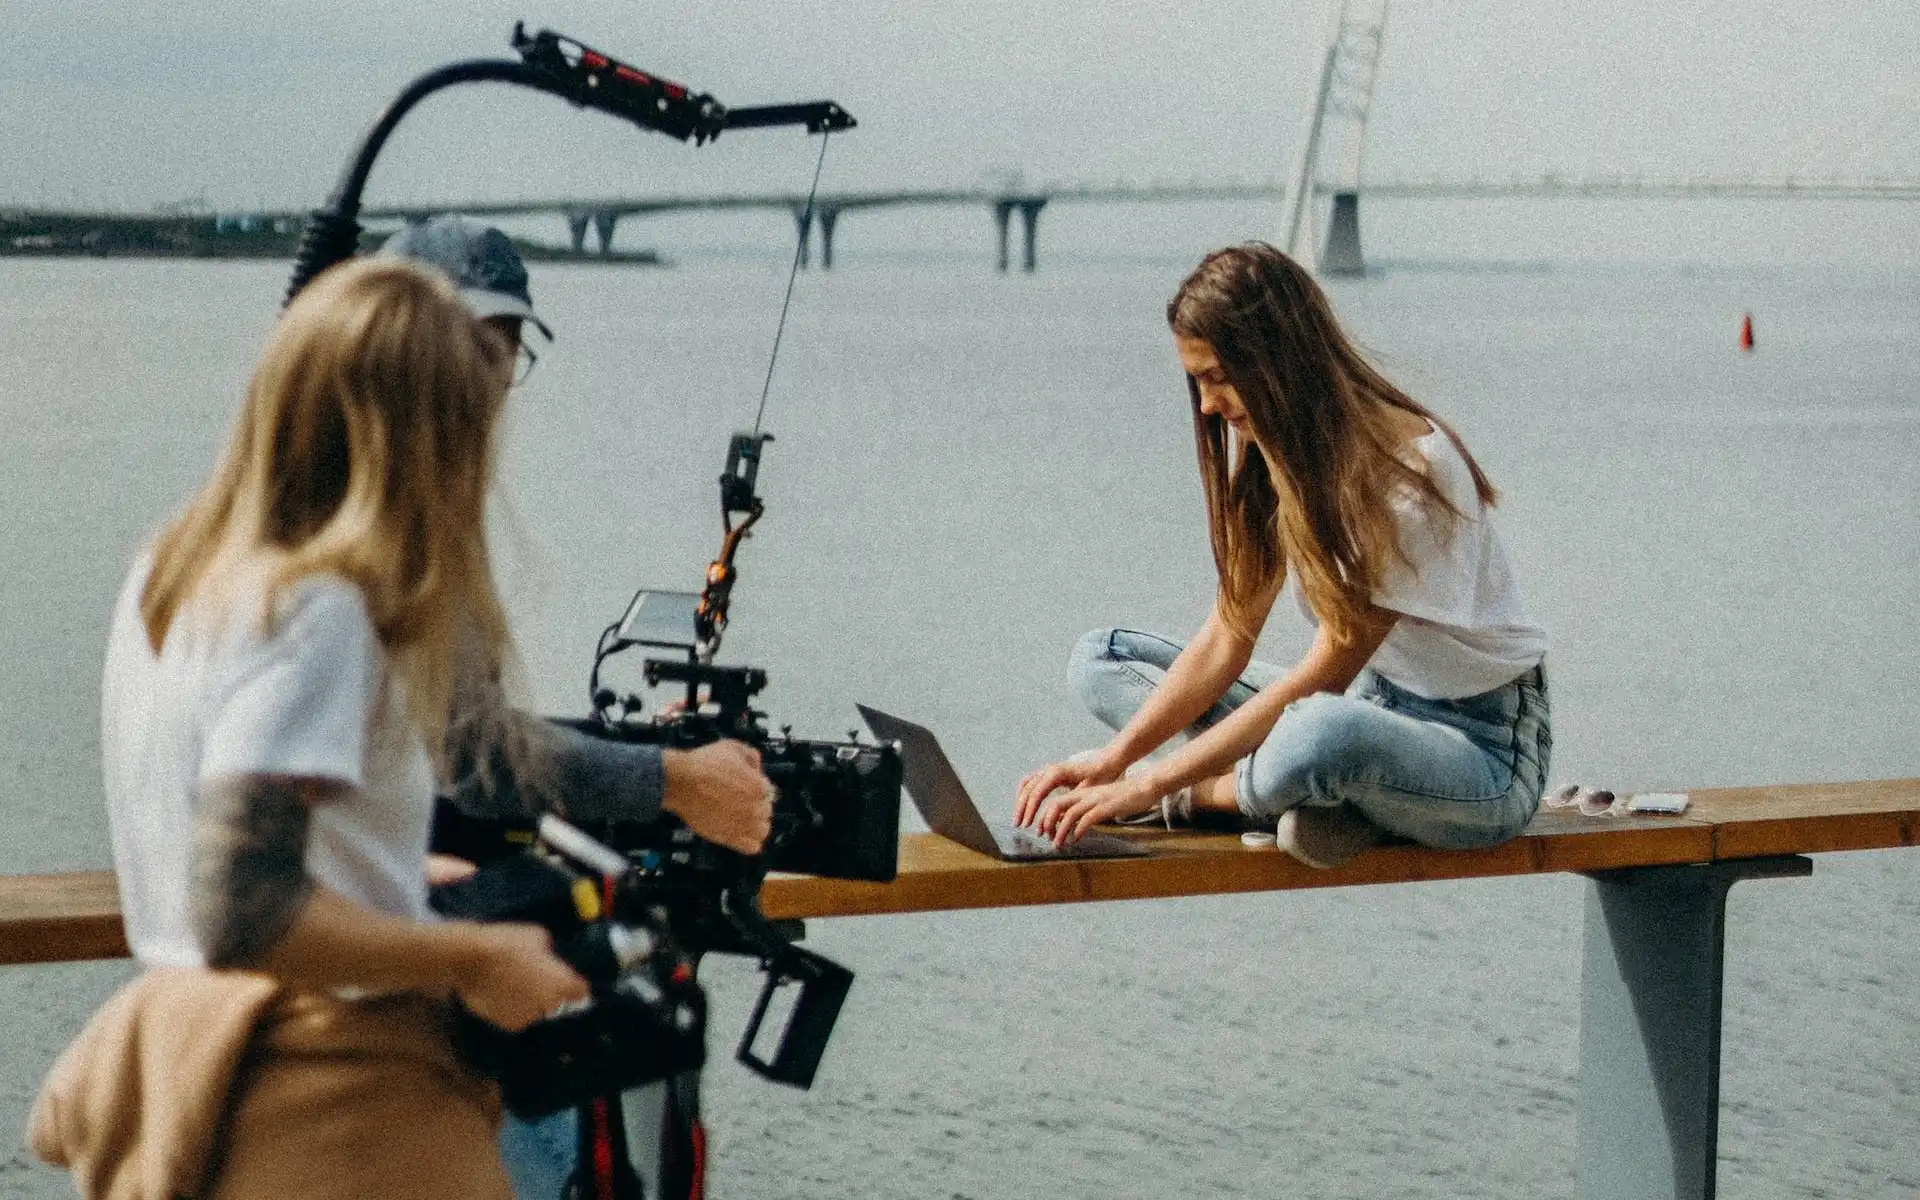
The subject doesn’t always have to look at the camera, though. If you’re shooting with several cameras, you can add a bunch of different angles and perspectives to the mix, giving viewers a fuller picture of your subject. In most cases, though, there should be one camera to which the subject speaks directly.
Deciding between one camera or more is something you’ll have to figure out before you shoot. As we touched on, multiple cameras will offer more angles, footage, and ways into the topic; they also let you go to and from the interviewer and interviewee, following the 180-degree rule and framing them separately. However, depending on who your subject is and what you’re discussing, they may feel uncomfortable with more than one camera.

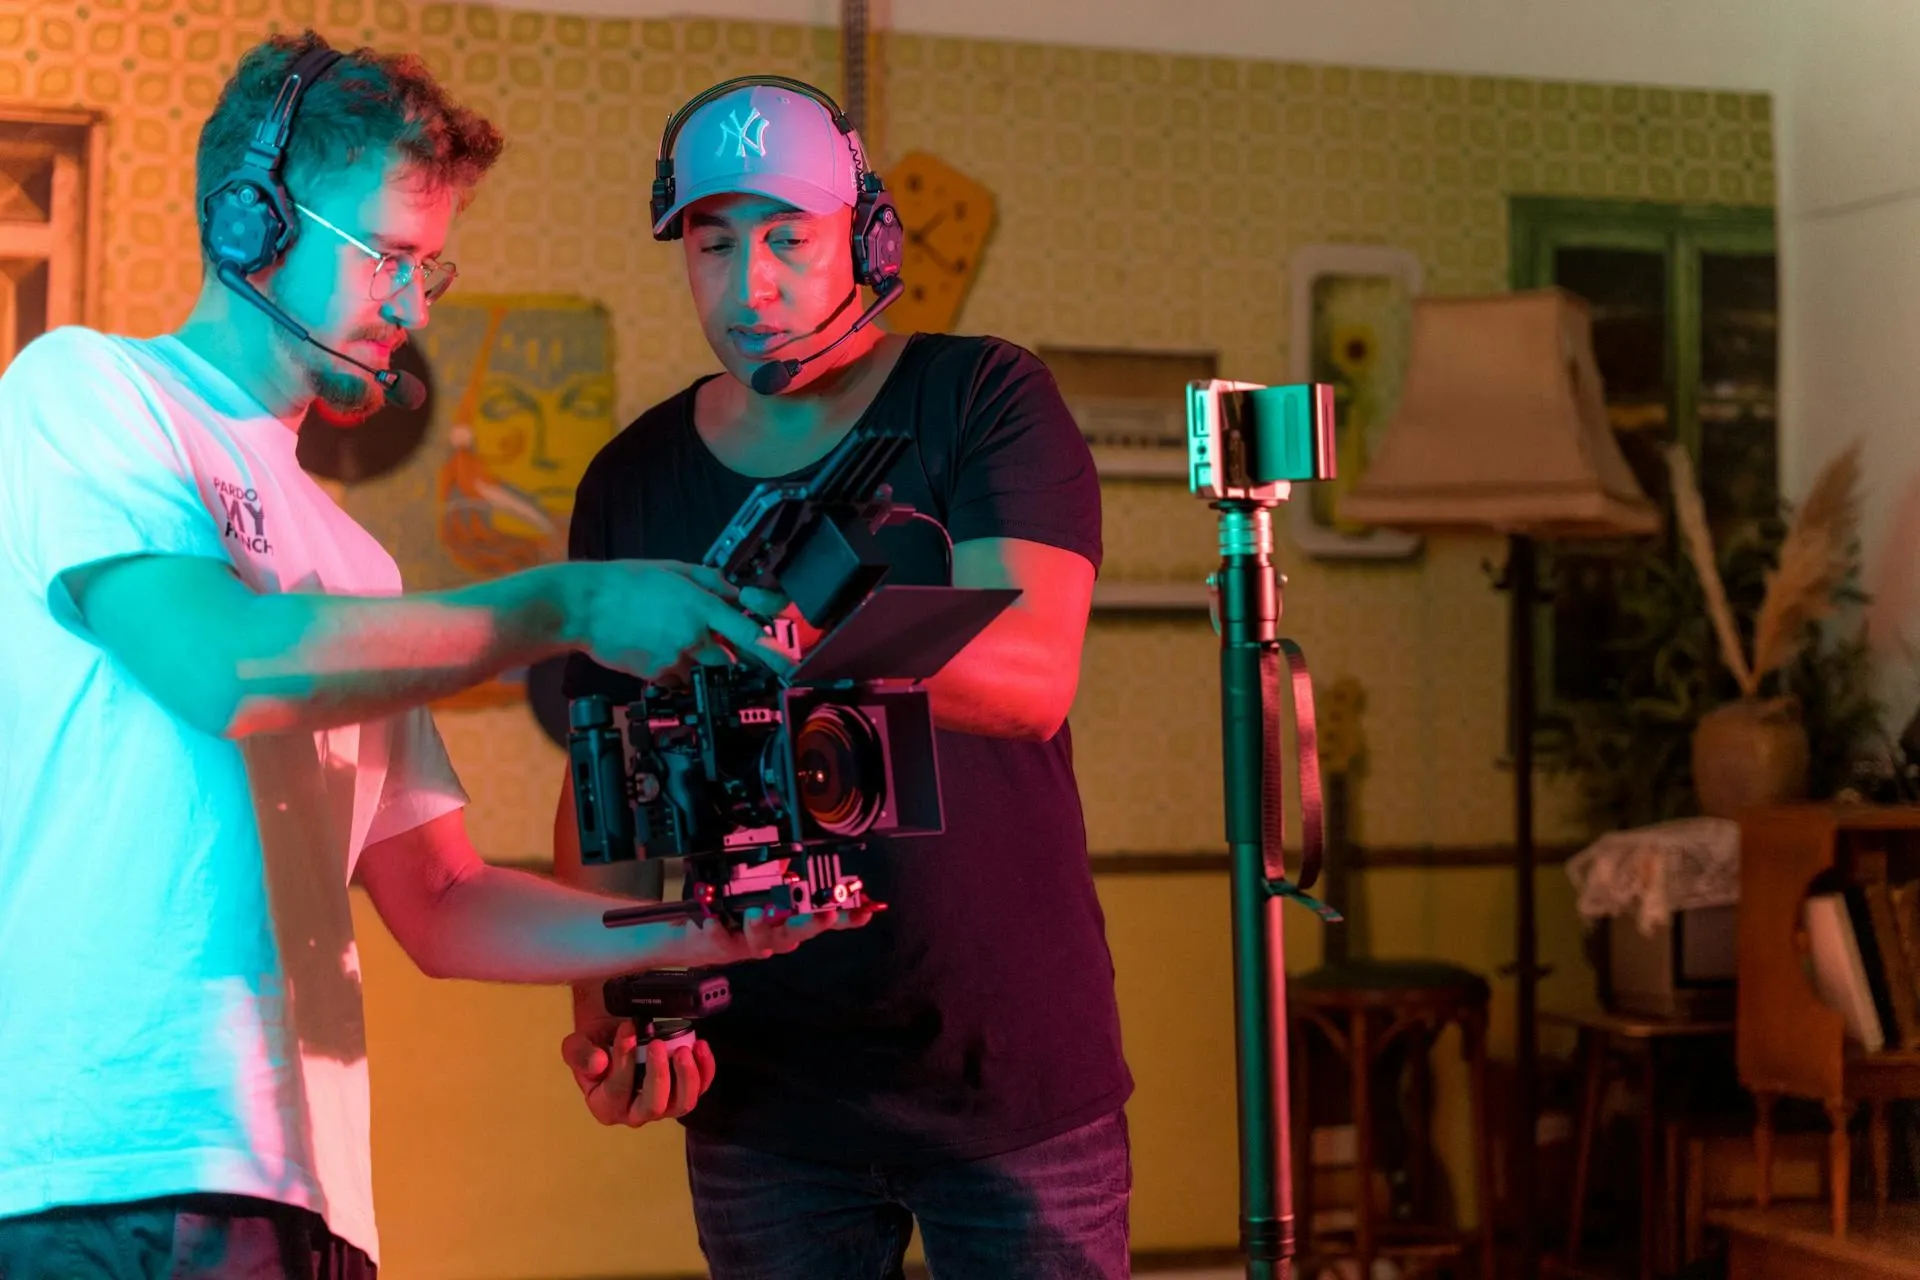
6. Prepare your camera’s settings
Autofocus on a handheld camera won’t do – your interviewee deserves the same amount of time and care you’d spend on another piece of content. Let’s look at some recommended camera settings when filming an interview:
- Shutter speed: For an interview where the subject is seated, try using a shutter speed of 1/50 – they’re not moving around much, so you probably won’t need anything higher. If your subject is on the move, or uses lots of wild gestures while speaking, it can’t hurt to bump the shutter speed up and avoid blur.
- F-stop: Also known as aperture size, f-stop denotes how much light enters your lens. For interviews, an f-stop between 1.8 and 5.6 will create a moody, more cinematic feel with an out-of-focus background. Increase the f-stop if your subject is moving, or if you’d like the background to appear sharper.
- ISO: This alters the brightness of your footage as it’s filmed. If you’ve lit your subject under controlled conditions, then you can probably keep your ISO set to around 100. If you’re using natural light or your in-studio setup isn’t delivering the goods, increase the ISO; just don’t pump it too high, or your footage will become grainy.
7. Have the interviewee spell and say their name
Forgive us for teaching you how to suck eggs, but this is important. Start rolling, then ask your subject to say and spell out their name before you start asking questions – if they have a specific role in a company, get them to say that, too.
Doing this takes around 15 seconds and can save you a headache. For one, it stops you mispronouncing people’s names on camera – you wouldn’t think that you’ve been saying Martin Scorsese’s name wrong all your life, but you have.
Second of all, it helps out with your lower thirds. Your subject’s role at a company might be one thing on LinkedIn, but the official title – or the one they’d prefer you use – might be different. Also, if you’re interviewing a public figure, you can double-check which titles, honors, or references they’d like mentioned.

8. Shoot more footage than you’ll need
Unless you’re shooting a live interview, you’ll need some B-roll footage to supplement the main discussion. There'll be moments when you need to cut away from the subject’s face to emphasize a point; if they’re talking about their bodybuilding achievements, it might be nice to cut to their trophy cabinet, or photos of them competing.
Your interview can work without B-roll, but most filmmakers will use it. It’s more visually interesting, it adds context, and it can help you smooth over any awkward, stilted sections of the interview.
9. Ask the subject to mix the question into their answer
Assuming that you – or the interviewer you’re using – aren’t on camera, you still need your subject’s answers to make sense in the final edit. For example, if you ask your interviewee what their favorite band is, their natural reaction is to just say ‘Black Sabbath.’
You’ll have to coach them to word their answers differently: ‘My favorite band is Black Sabbath.’ You can then follow up with a question, like ‘What makes them your favorite band?’ From there, your subject will expand on the topic, allowing room for you to remove your questions in the edit and give the footage a smoother feel.
10. Capture room tone
Room tone, room noise, room ambience – whatever you call it, make sure it’s there. Before, during, and after the interview, record the ‘silence’ of the space you’re recording in. This serves as the natural room tone, which you can use to iron out any awkward silences, slips of the tongue, or rough edits.
Mistakes to avoid when shooting an interview
We’ve gone through 10 things to remember when shooting an interview, but let’s finish with some points to avoid. Here they are:
- Not doing your research: It might sound obvious, but make sure you cover all bases. Unless you’re the second coming of Larry King, you’ll need to know a lot about your chosen topic and interviewee. If you don’t prepare, you may come off a little amateurish, and your subject might have a harder time opening up.
- Interviewing subjects with moving chairs: The chair legs will scrape against the floor, the subject will move in and out of the shot, the joints may creak – it’s going to cause trouble. Get some robust, solid stools, chairs, or a sofa that’ll keep your interviewee still.
- Asking closed questions: If you ask a question that can be answered with a simple ‘yes’ or ‘no,’ the footage won’t be particularly interesting. There are exceptions, of course – if you’re covering deeply personal or controversial topics – but for the most part, avoid closed questions.
- Rushing your interviewee: Interrupting and changing the course of a conversation while your subject talks can harm your footage. A subject may be willing to expand on a topic, but if they’re cut off while they think of their next point, they’ll never get there. Take your time, give your subject space, and be careful if you think they’re rambling – they might be cooking up a golden nugget for you.
- Not syncing your audio and video equipment: Audio levels, white balance, frame rate – you can say ‘We’ll fix it in post!’ with all the enthusiasm in the world, but it’ll be less stressful for everyone if your equipment is set up correctly during the shoot. Then, if something does go wrong, it hopefully won’t be a huge deal.
- Interrupting your interviewee: Even if you don’t mean to, a simple ‘hmmm’ or ‘yep’ can make your footage a nightmare to edit. Even if you agree with your subject, nod rather than saying anything – it’ll make the edit so much easier.
Now that you’ve learned the basic dos and don’ts of shooting an interview, it’s time to get to work. Make your subjects feel welcome, prepare yourself, and set up for a smooth post-production process. Nailing your soundtrack will help solve that lattermost point – let us take care of it.
Our catalog is high-quality, affordable, and safe. An Epidemic Sound subscription goes beyond royalty-free music, removing the headache of licensing and freeing you up to do what you do best. You can enjoy the safety of our license hand-in-hand with our massive catalog of 50,000 tracks, covering just about every genre you can think of. You’ll also gain unlimited access to our advanced search functions — finding the right sound’s never been easier.
It’s better than royalty-free. It’s worry-free. Get started with Epidemic Sound below.

Filmmakers, look this way! Level up your skills and learn more about background music for videos, including:
Make your video editing count and browse our massive catalog of music for filmmakers.