What is the Ken Burns effect, and how do I use it?
The Ken Burns effect is a popular technique used by content creators. It spices up still images and videos, making stationary visuals seem exciting. But what is it, and how do you use it in programs like iMovie and Premiere Pro?

The Ken Burns effect is a popular technique used by content creators. It spices up still images and videos, making stationary visuals seem exciting. But what is it, and how do you use it in programs like iMovie and Premiere Pro?
What is the Ken Burns effect?
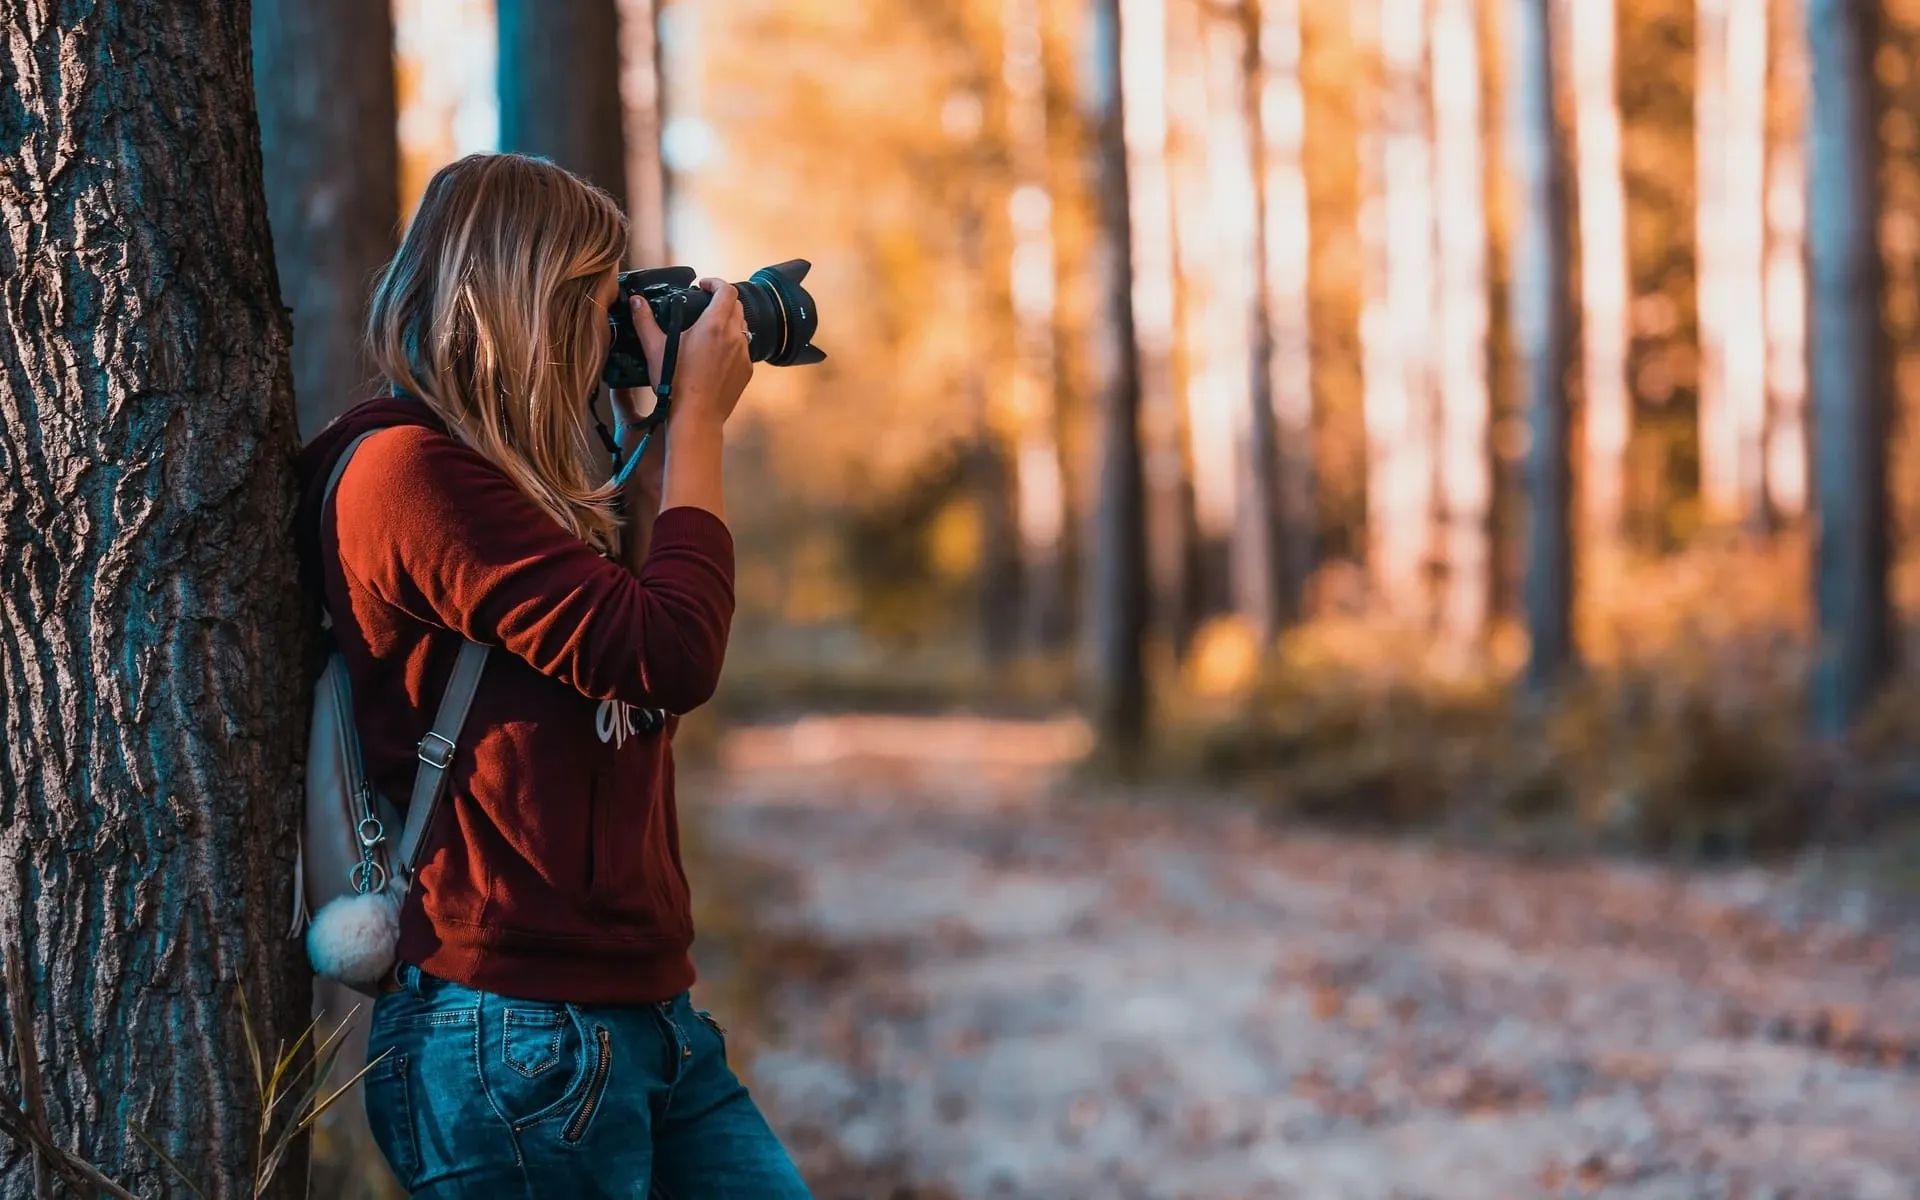
The Ken Burns effect is named after the person who popularized it: the documentary filmmaker Ken Burns. Basically, it’s a panning, zooming and transitioning technique that gives the illusion of motion, even if you’re looking at a still image. Take a look below.
It’s often used in documentaries where video footage isn’t available, to keep the viewer’s eye engaged despite the lack of movement on-screen. You’ll often spot the Ken Burns effect in historical documentaries that rely on archive footage, but it pops up in fictional content, too – the found footage film Lake Mungo Ken Burnses you to tears.
It’s often used for photos, but the Ken Burns effect can also work in videos, either in post-production or in-camera.
How do you use the Ken Burns effect?
The most common way to achieve the Ken Burns effect is during post-production. This is because, naturally, you have to wait until you’re using video editing software to apply it to still images. Let’s check out the different usages of the Ken Burns effect, then how you can use it in your software.
How do you zoom out with the Ken Burns effect?
This is probably the most common trait of the Ken Burns effect. An image will be on-screen, and as the music plays or the narrator speaks, you can zoom in on the subject in question.
For example, if you’re making a video about… an ice hockey team, start with a photo of the entire team. Then, as the voiceover begins to discuss a certain member, you’d slowly zoom in so that person becomes the main focus of the shot.

How do you pan with the Ken Burns effect?
Another trick you can nail with the Ken Burns effect is panning. Say you’re still making your ice hockey documentary, and want to describe several team members. Once you’ve zoomed into one member, you can pan across the image to the following person. Boom – you’ve got yourself a new point of focus. How exciting.
How do you transition with the Ken Burns effect?
Let’s say your ice hockey documentary takes a turn. One of the players left the team to start an animal sanctuary. You’ve zoomed, panned, and then faded to black. Fade back in, and there’s a photograph of said player surrounded by his lovely goats – now, pan and zoom to your heart’s content.
Fading or using a transition effect is a key part of using the Ken Burns effect. Hard, sudden transitions will jolt viewers out of the experience, so it’s best to use subtle effects like fades.
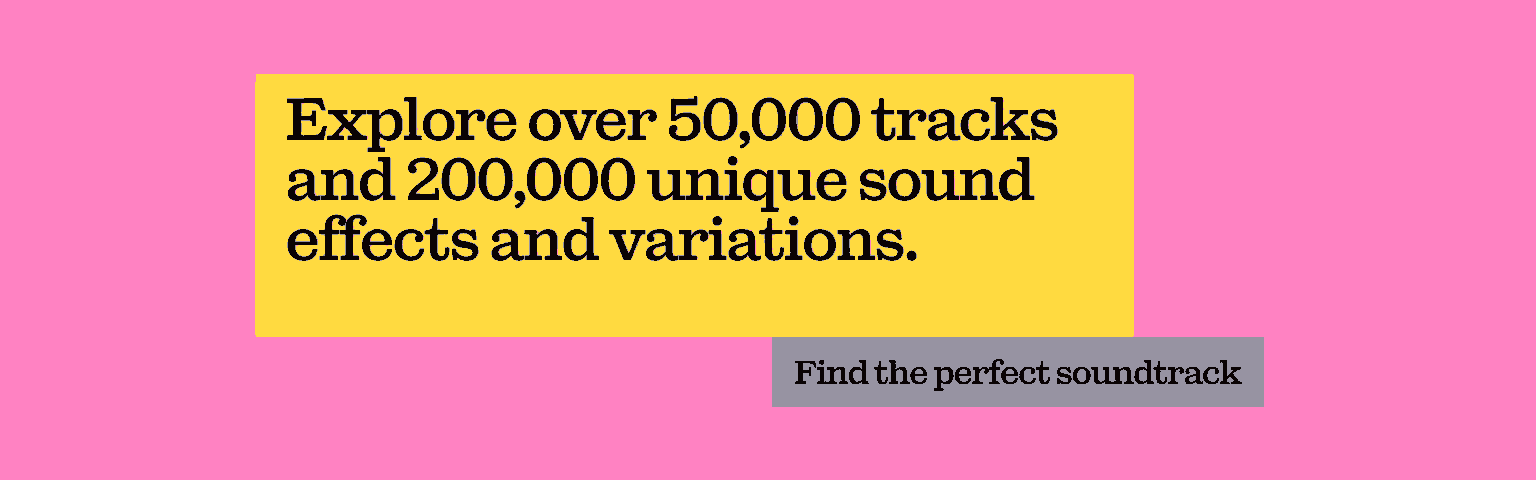
If you’re using the Ken Burns effect, you’ll probably need some music to accompany your top-notch content. We’ve got you covered. Check out our catalog of 50,000 tracks below.
How do you add the Ken Burns effect to iMovie?
Using the Ken Burns effect in iMovie is super simple. This is because Apple’s co-founder, Steve Jobs, asked Ken Burns if he could use his name in iMovie. Burns accepted, and as a result, there’s literally a ‘Ken Burns effect’ button in iMovie! Here’s how to get in on the action.
How to add the Ken Burns effect to iMovie on a Mac
- In your iMovie app, select a photo or clip on your project timeline.
- Click the ‘Cropping’ button, which looks like a small square with the sides poking out. This gives you access to all the cropping tools.
- Click the ‘Ken Burns’ button. Two frames, titled ‘Start’ and ‘End,’ will appear on either side of your selected photo or clip.
- You can set the crop at either the beginning or end of the clip. Drag and resize the Ken Burns frame until it looks how you’d like.
- If you’re not happy with your changes, just hit the ‘Reset’ button.
- Once you’re done, click the ‘Apply’ button in the top-right of the screen – it looks like a check mark.

How to add the Ken Burns effect to iMovie on an iPhone
- In your iMovie mobile app, select a photo or video from your project timeline.
- Go to the ‘Viewer’ section at the top and turn on the Ken Burns effect.
- Pinch the viewer and place the Ken Burns header at either the start or end of your chosen image or clip.
- Tap the Ken Burns icon to enable or disable the effect. If you’d like to reset it, just tap the ‘Reset’ button in the preview window.
How do you add the Ken Burns effect to Premiere Pro?
While it doesn’t have its own dedicated button like iMovie, you can still apply the Ken Burns effect in Adobe Premiere Pro. There are a few more steps involved, though. Follow the below to add the Ken Burns effect in Adobe Premiere Pro.

- In the Adobe Premiere Pro software, import all the files you want to include in your final piece of content.
- Next, click ‘Choose File,’ ‘New,’ and ‘Sequence.’ In the ‘New Sequence’ dialog box, hit ‘Digital SLR Preset.’
- Your images will automatically be set to five seconds’ length. You can decrease or increase this in the ‘Project’ panel.
- Click the ‘Icon View’ button in the ‘Project’ panel. This allows you to order your clips how you want them to appear. Hit ‘Automate to Sequence’ near the bottom of the screen, and go with the default settings Premiere Pro gives you.
- The clips will appear on the targeted V track in the ‘Timeline’ panel. Cross-dissolve transitions will have been added between your clips by default.
- Hop over to the ‘Editing’ workspace and press Shift+5 to open the ‘Effect Controls’ panel. This is where you can create your Ken Burns effect in Premiere Pro.
- For example, if you want to zoom in, keyframe ‘Scale’ across your chosen clip. Right-click the first keyframe and hit ‘Ease Out.’ For the second keyframe, click ‘Ease In.’ Play the clip through to ensure it’s looking smooth.
- In the ‘Effect Controls panel,’ right-click ‘Motion’ and hit ‘Save Preset.’ This saves your specific Ken Burns effect, meaning you can save each of them with different names. For example, one could be called ‘Ken Burns Pan Left,’ while another could be named ‘Ken Burns Zoom In Right.’ You can also add a description, if you want to leave yourself a reminder.
- Find your saved Ken Burns effect in the ‘Presets’ folder in the ‘Effects’ panel. Drag and drop onto as many clips as you want!
The Ken Burns effect is simple to use but hard to master. Once you become more comfortable with it, you’ll get better at knowing when to use it, for how long, and when not to use it.
Once you’ve nailed your footage and editing, you’ll probably need some music. Don’t settle for second-best – find what you want, when you want with Epidemic Sound. Our catalog grants you a direct license to all our tracks, worry-free.

Are you a video editor or filmmaker? Whether you’re an absolute master or just a beginner, discover what Epidemic Sound has to offer on our Epidemic Sound for Filmmaking page. Oh, and if you’re looking for some background music for your videos, we got you covered.
Related posts: