How to create a hyperlapse with any camera
Hyperlapses can be incredibly visually pleasing and to create one you need both time and patience. But one thing you don't need is a fancy camera.

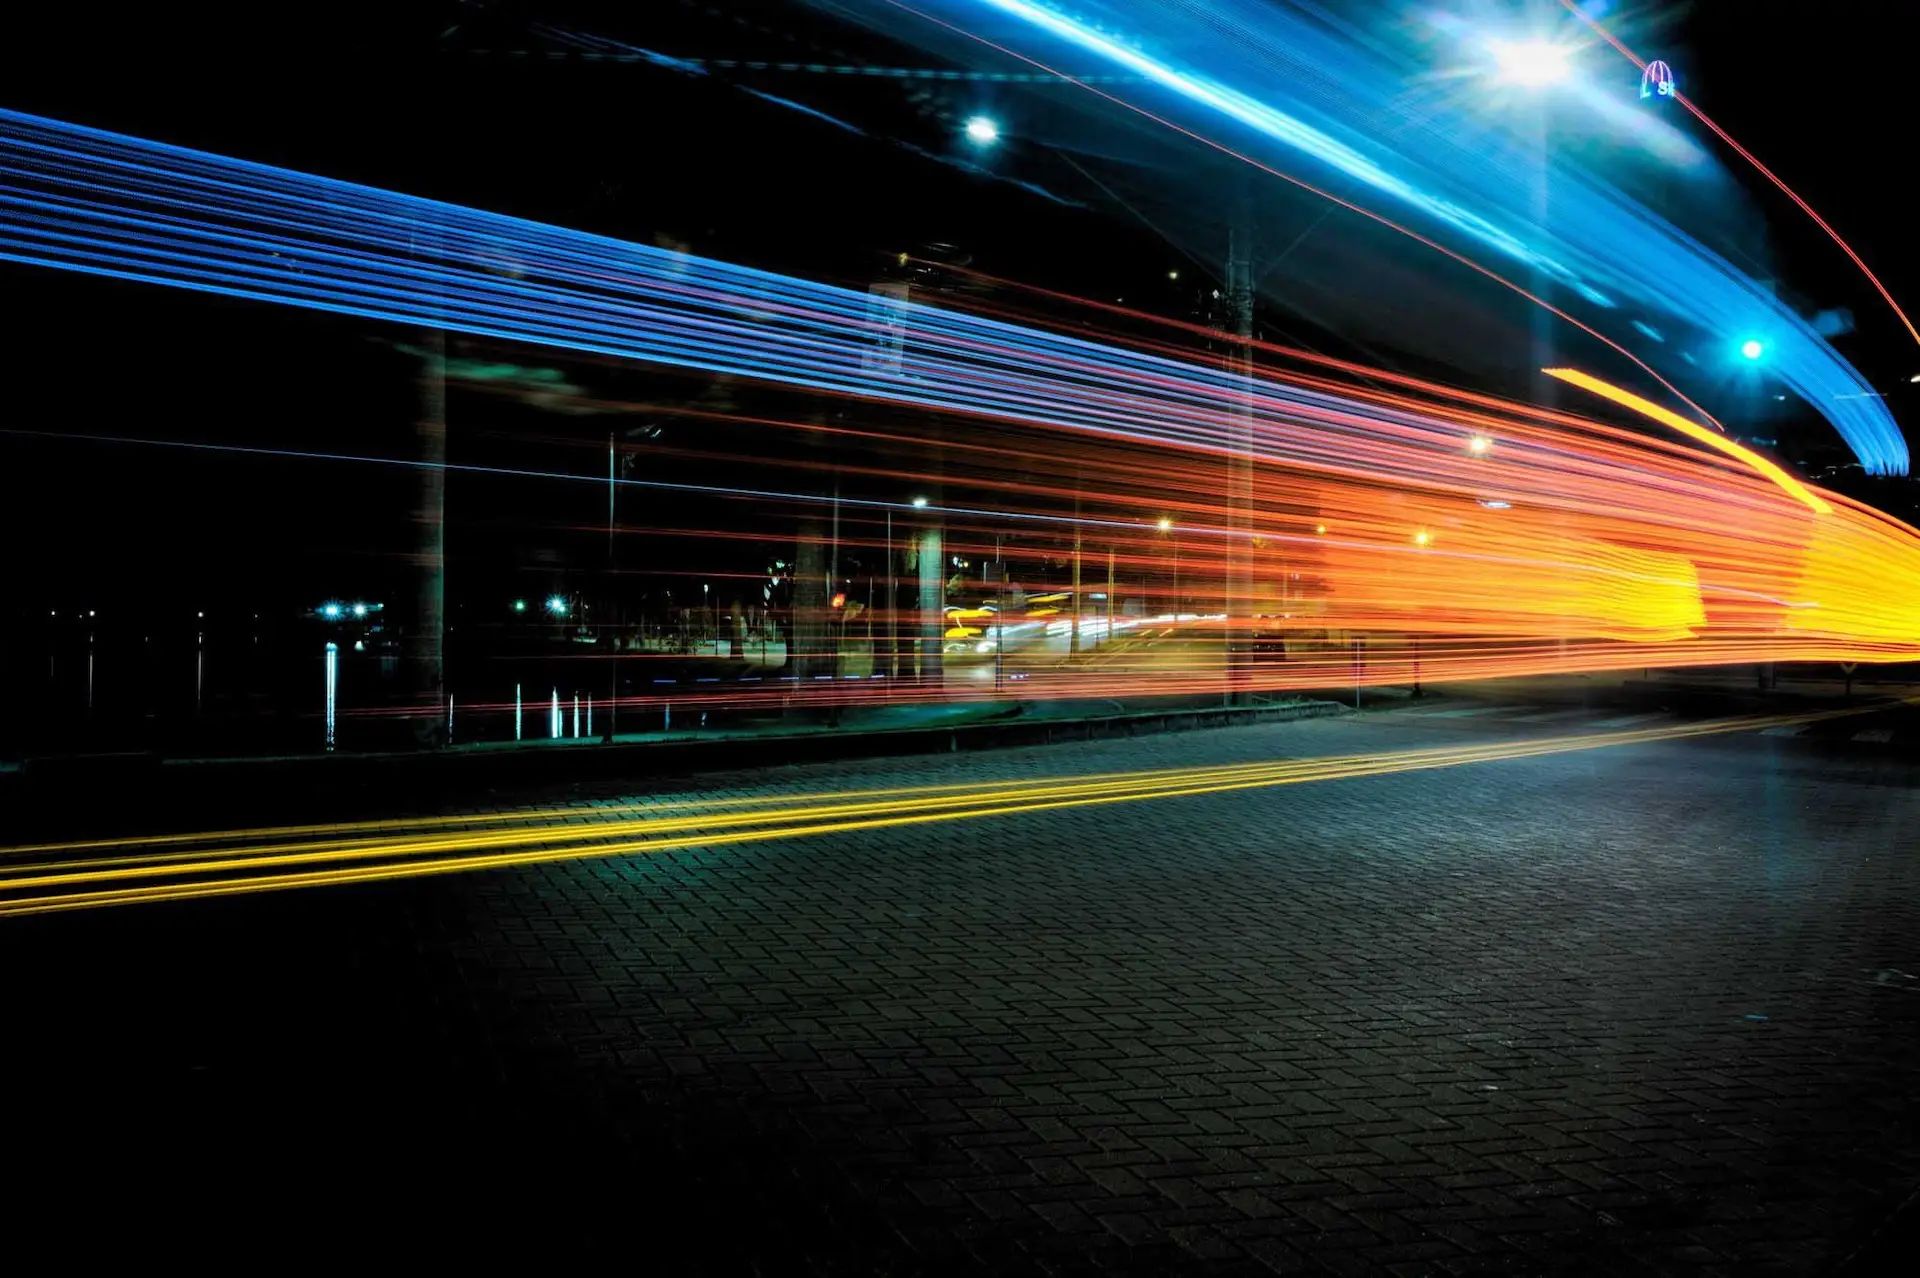
What’s the difference between timelapse and hyperlapse? Hyperlapse essentially is the same thing as timelapse, but with a greater range of motion. In time-lapse, movement is captured but the camera is either static or moving very short distances (like a panoramic rotator or tilt-pan) whereas in hyperlapse, the camera is capturing considerable distance. So you’re speeding up the process of covering distance, so by their very nature hyperlapse are incredibly visually pleasing and eye-catching.
Hyperlapse requires moving the camera in a regimented way a very short distance (we’re talking inches and feet here) before recomposing the scene and taking the next photo, then repeating this over and over and over.
So what does hyperlapse require? Time, patience, a little skill and a lot of vision…. but any camera will do the trick, from a RAW-shooting, high spec DSLR right down to your entry-level smartphone. You can add in different lenses for different effects, but ultimately you can apply this technique to any camera, which makes it really achievable for everyone. Also, a tripod is pretty essential here to keep sturdiness – handheld is not recommended.
Essentially you’re inching closer to (or around) a subject and bringing the viewer on a journey with you, following a path. A good rule of thumb for movement is to keep to a foot’s length of movement each time. You can use an intervalometer, which will automatically take the image for you in a specific interval of time - possibly allowing you to just focus on setting up the next shot - but this can actually be more hassle than its worth, and these are generally just used for timelapse, where the camera is static.
The subject is the most important thing here. Even though the eye in the finished product might be captivated by the movement around the subject, it’s the subject that anchors everything. So make sure you have a very fixed point in the setting you’ve chosen –– using grid lines can be invaluable here or anchoring a marker point. Also, keep the symmetry and natural lines in the scene, the horizon shouldn’t move up and down.
The sturdier, heavier the tripod the better and the correct head type is essential - especially if you have a fairly hefty, heavy lens - as the standard rolling ball head is so easy to move and adjust for photography, but in this case you need absolute precision. Having the right equipment makes the whole set up easier, as you’re essentially stopping and starting, positioning and re-positioning.
Always shoot in manual modes, and that goes across the board from ISO to shutter speed, aperture and white balance to focus, you want ultimate control over how the camera picks up the scene, rather than allowing it to re-adjust in the ‘auto’ setting every time the scene slightly changes.
What speed should you go? Well it depends on the breadth, scale and pace of movement you want in the final video, but also on the length you want. If you need a video that’s 30 seconds long and at the standard 24 frames per second, you’ll need to take 720 images. To be entirely mathematical about it, you could then divide your final image amount by the path you want to take to figure out an exact distance you need to travel between each still. Each footstep is a photograph, so you can even count it out.
Once shot, edit in a photo editing app (Lightroom is good for copying and pasting presents or edits from one shot onto a whole batch of shots) and then inputting into a video editing software and that’s it – you’ve created a hyperlapse! Now, go off and practice some more to make this skill really sharp.